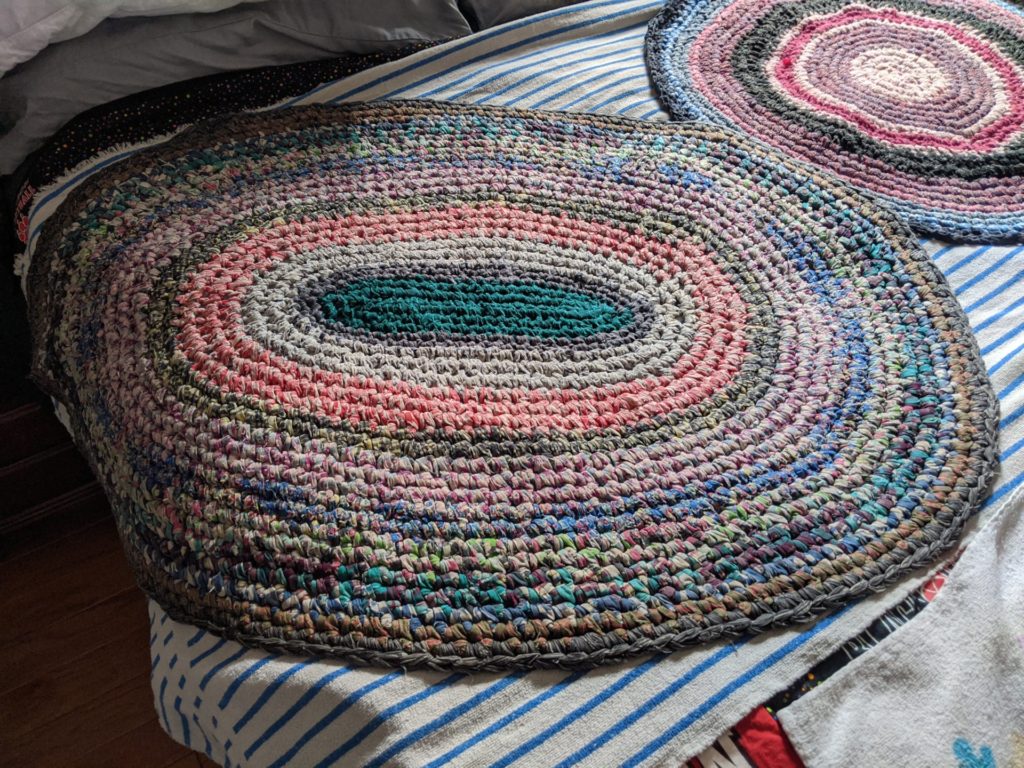
Normally I’m all about the yarn, but the most recent repair I’ve been working on is a set of three crochet rag rugs. Restoring these pieces took some real inguenuity and creativity, as I worked with the client to come to a solution. Let’s take a look at these three lovely rag rugs, and how we approached repairing them for further use!
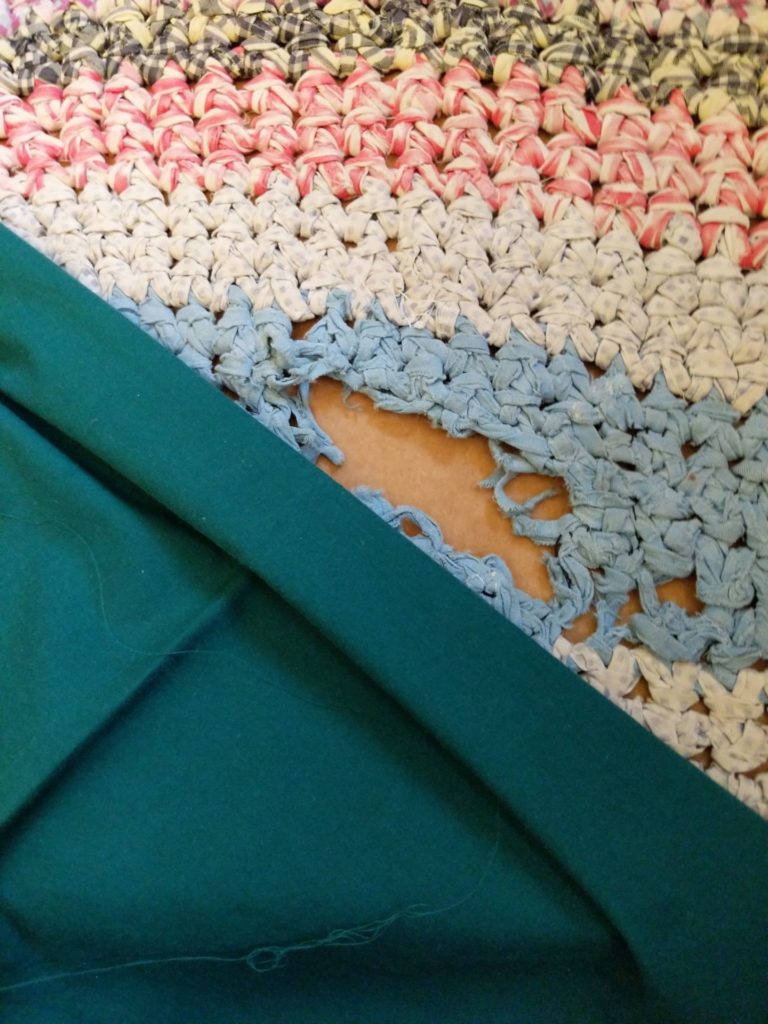
These rugs started out with some pretty significant damage. Because they were made out of rags, some of the more delicate fabrics had worn out quickly, while much of the rug was still in really good shape. I thought when the client first sent picture that the rugs were made out of quilting cotton, but it became apparent once I had a them in my hands that the quilts were made from garments – most notably, men’s button up shirts.
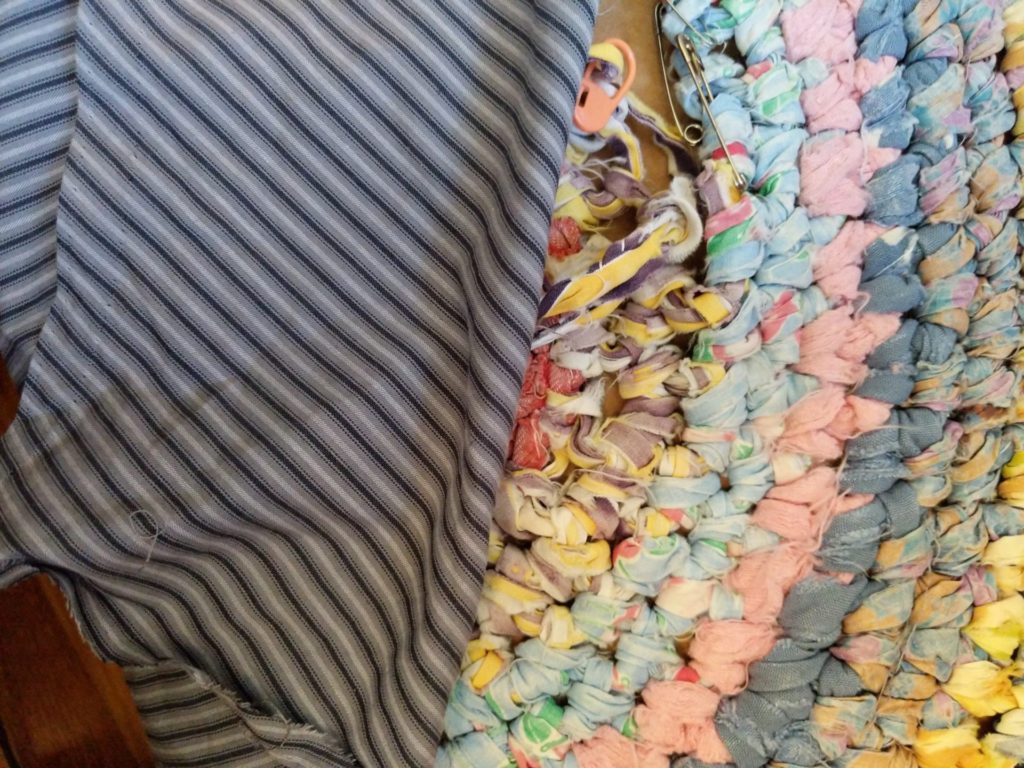
I had nothing in my stash that would remotely work, so it was off to the thrift store, where we worked on finding some men’s shirts that could coordinate with the existing fabrics. I found a few really solid men’s fabrics, and a few thinner sets of sheets that could be made into strips to create the rag rugs. The key was balencing the origonal fabric that was used for the rag rugs with the orgional colors, and making sure that the changes I made fit in with the rest of the piece. Lucily, these rag rugs were pretty scrappy, which helped things quite a bit.
Most of the rags were ripped into 3/4″ strips, and that worked pretty well with the weight of the fabrics I was using. For the thinner fabrics, I made it a generous 3/4″, and for the thicker fabrics, I cut a sparser 3/4.” It worked pretty well.
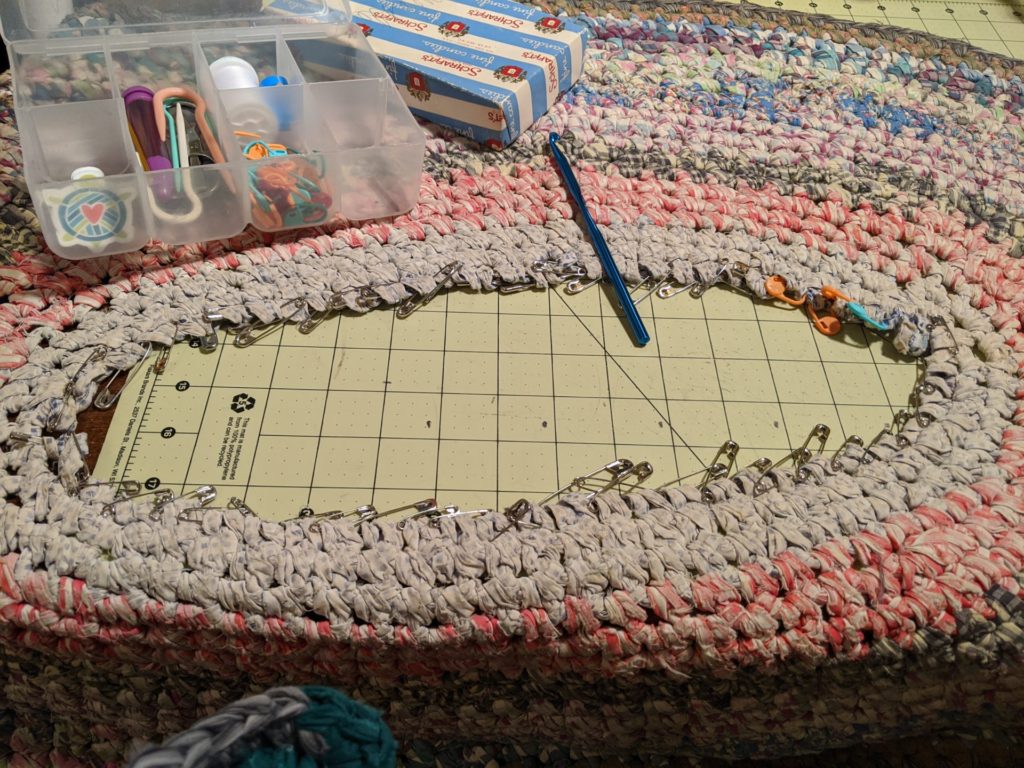
When restoring single crochet projects like this one where there’s a lot of live stitches, I like to take a locking stitch marker to hold the ends of the crochet stitch together. In this paticular case, locking stitch markers weren’t cutting it, so I used heavy duty safety pins.
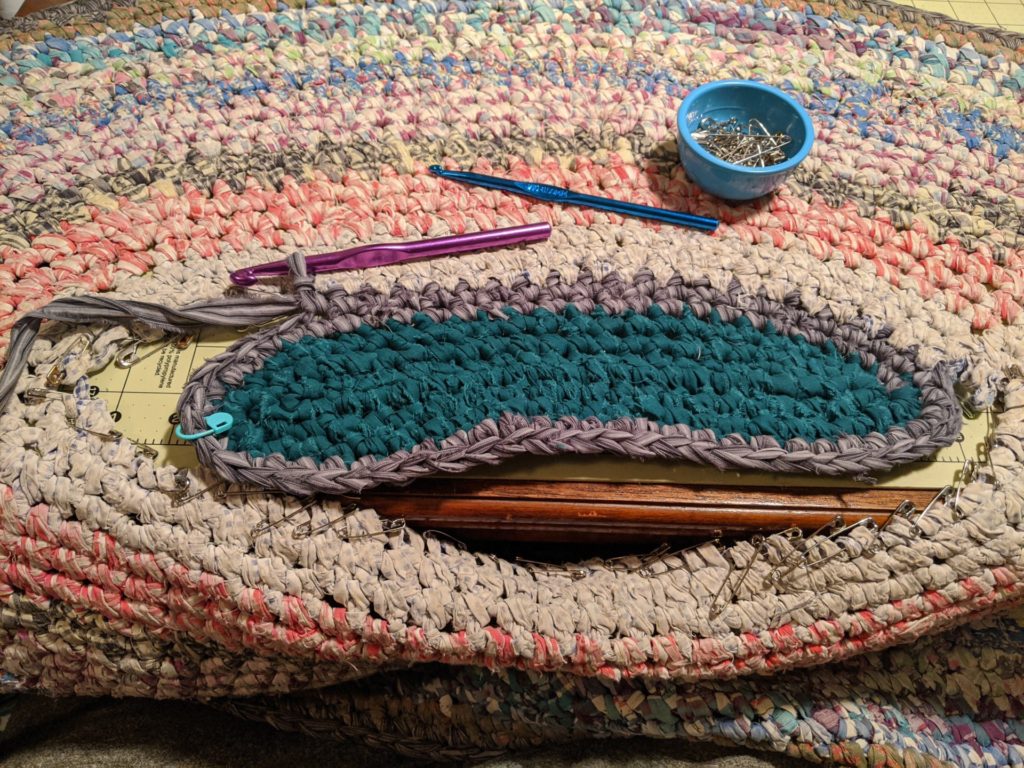
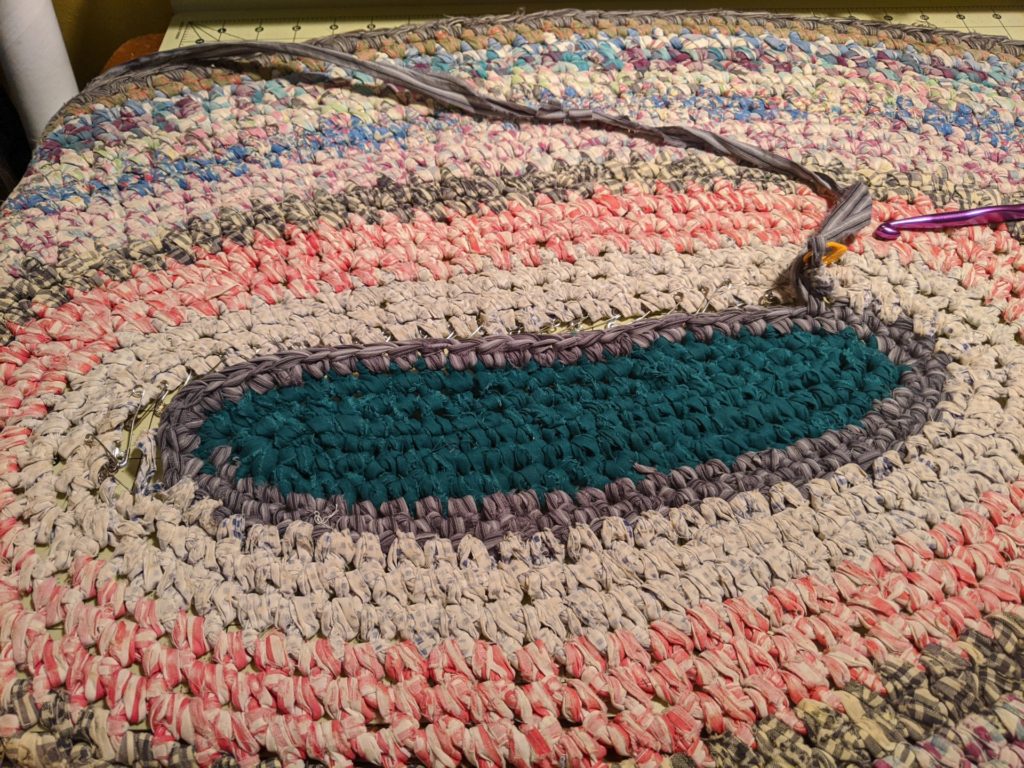
In this paticular case, the center of the rug had gotten the most wear, so that’s what needed pulling out. I worked a new center, and I used two different sized crochet hooks to re-attach the center to the rest of the rug stitch by stitch, like a very slow zipper. Each time a safety pin plinked into the bowl, I knew I was one stitch closer to the end.
It can be slow going with this work, and you have to be extra careful as you come to the end that you don’t damage any other part of the rug as you’re fixing the center.
Here’s the rug freshly blocked and restored. I felt it was a good idea to give these rugs a through bath, to make sure there wasn’t any other places that needed attention. It also evens out the new areas, and gets everything to lie flat.
They came out quite well, and the client was happy to be able to use and display them for years to come.

