MENU

6 Ways to Increase your Knitting Speed

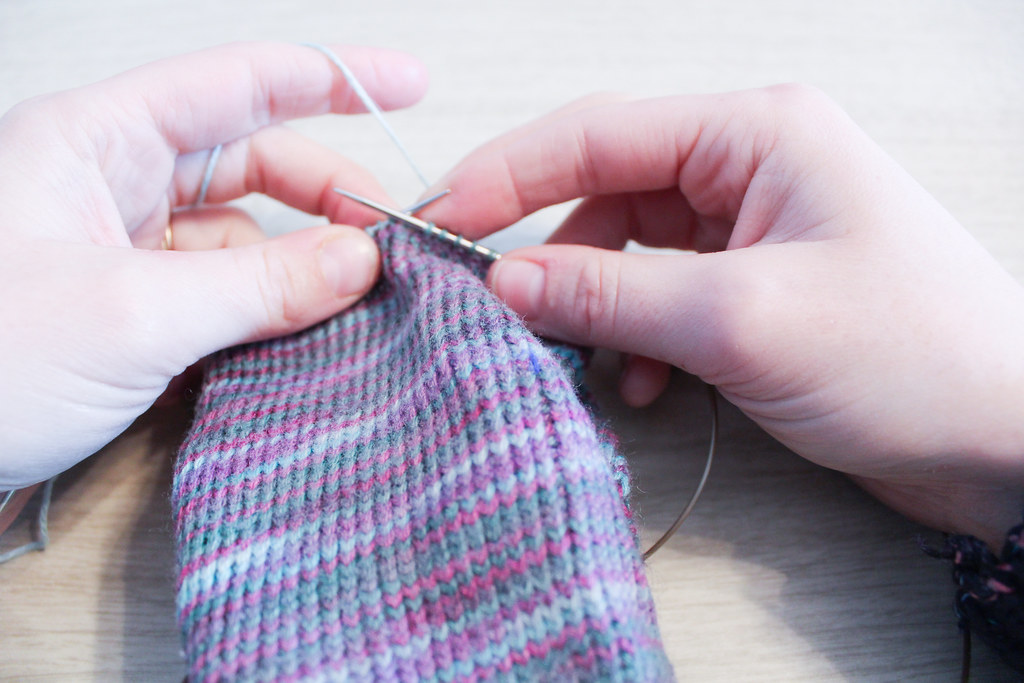
Nearly everyone I’ve met has, at one point or another, expressed a desire to speed up their knitting. Here’s a few tricks (some fast, some not) to speed up your knitting.

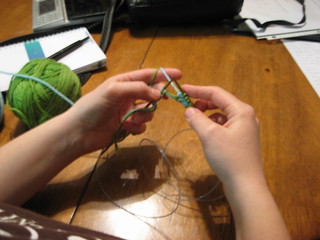
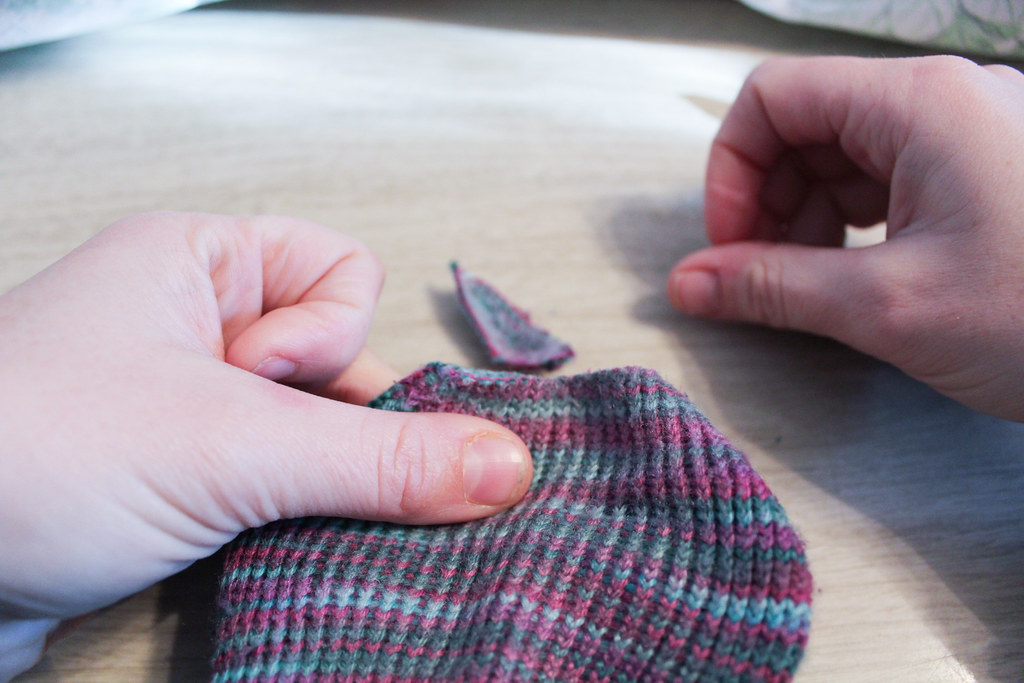
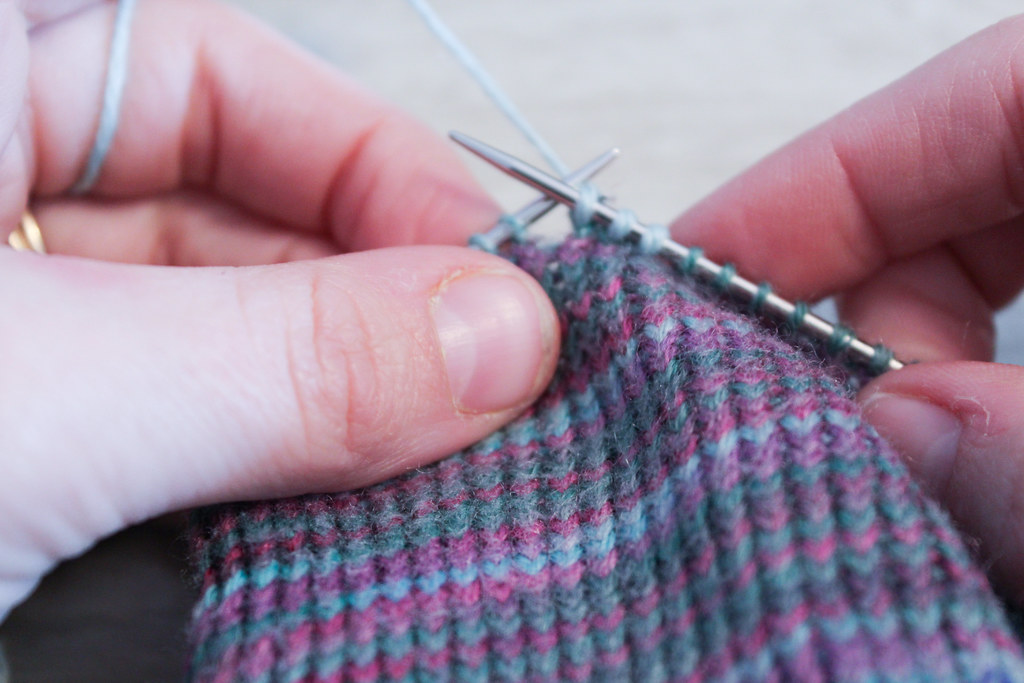
  1. Knit off the Tips: that is, move your stitches to the tips of your needles.  When we first learned to write when we were children, I know many of us held our pencils in the middle of the pencil, only to have our teachers slide our fingers closer to the point of the pencil.  The closer your fingers are to the action, the less movement you have to do, and the less time each stitch takes.  Beginners often hold their stitches far away from the tips of the needles, afraid the stitches will fall off.  It can quickly become a habit.  Move your stitches and fingers closer to the tips of the needle, and things will gradually speed up.
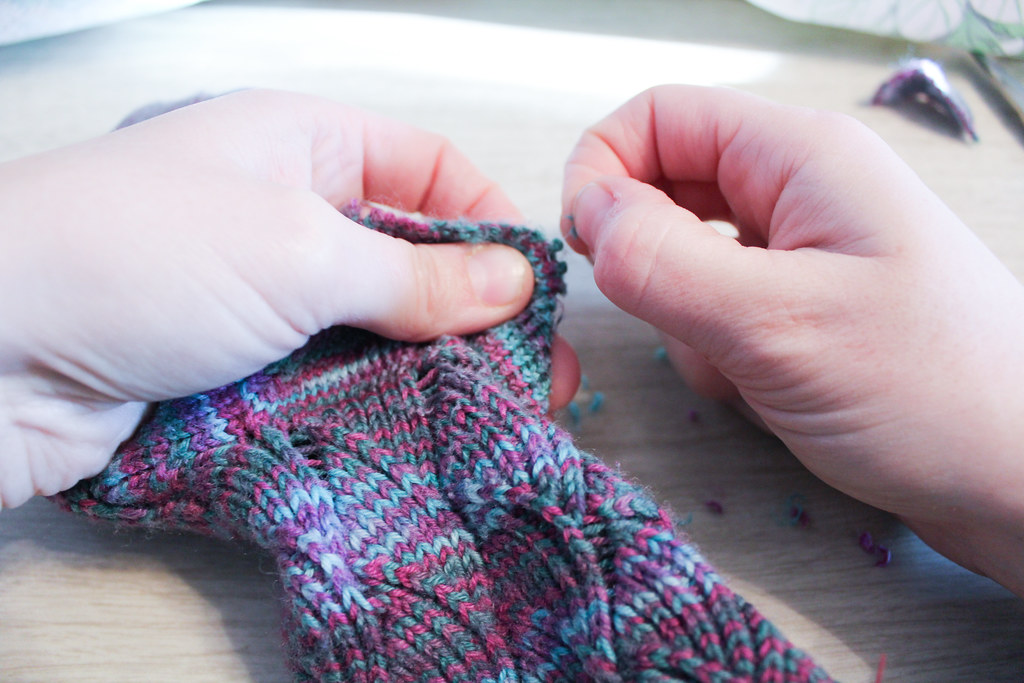
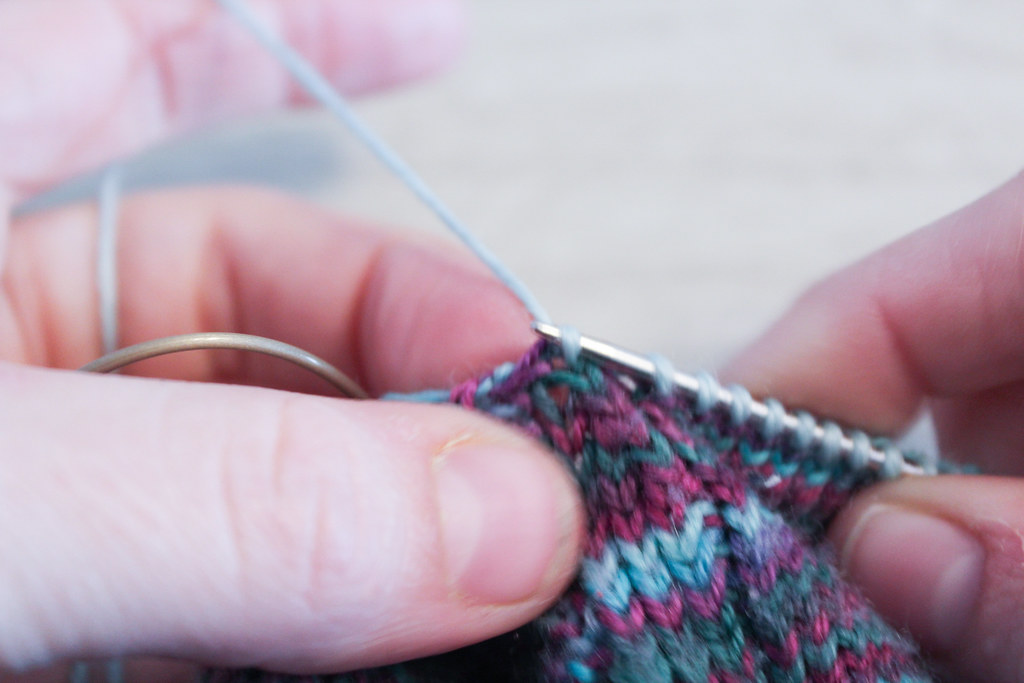
  2. Watch for unnecessary movements. Sometimes when we first learn to knit we acquire extra movements that aren’t necessary for knitting.  Watch your hands while knitting (and especially purling) to make sure everything you do is necessary to creating a stitch.
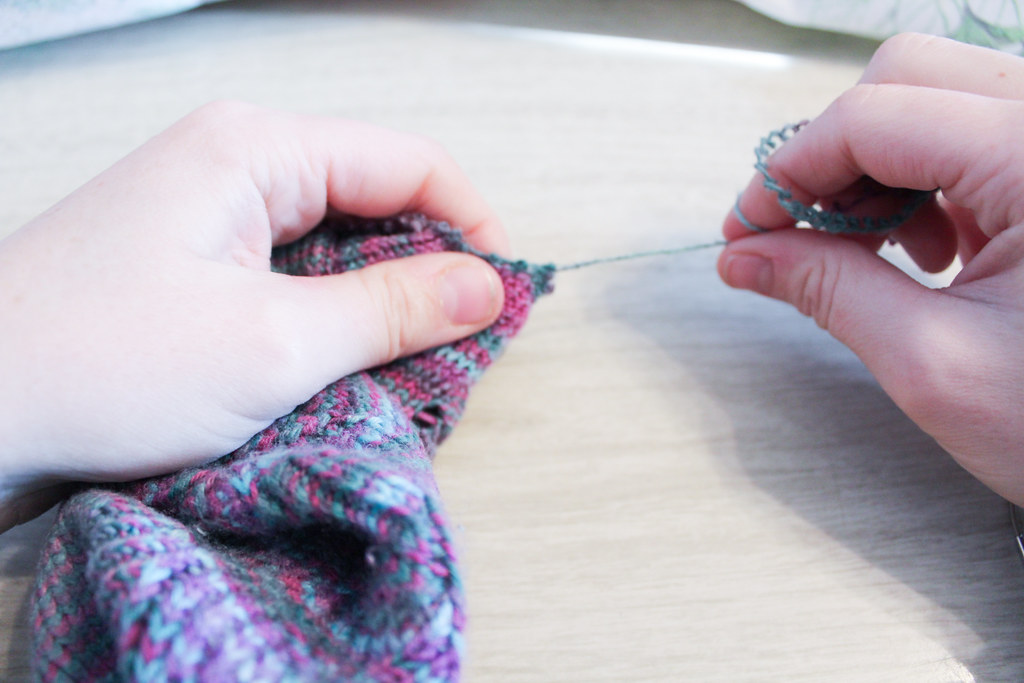
  3. Stay relaxed. The more your muscles tense up, the more you are fighting against yourself.  When you are practicing speeding up your knitting, try to keep your wrists, shoulders and arms relaxed.
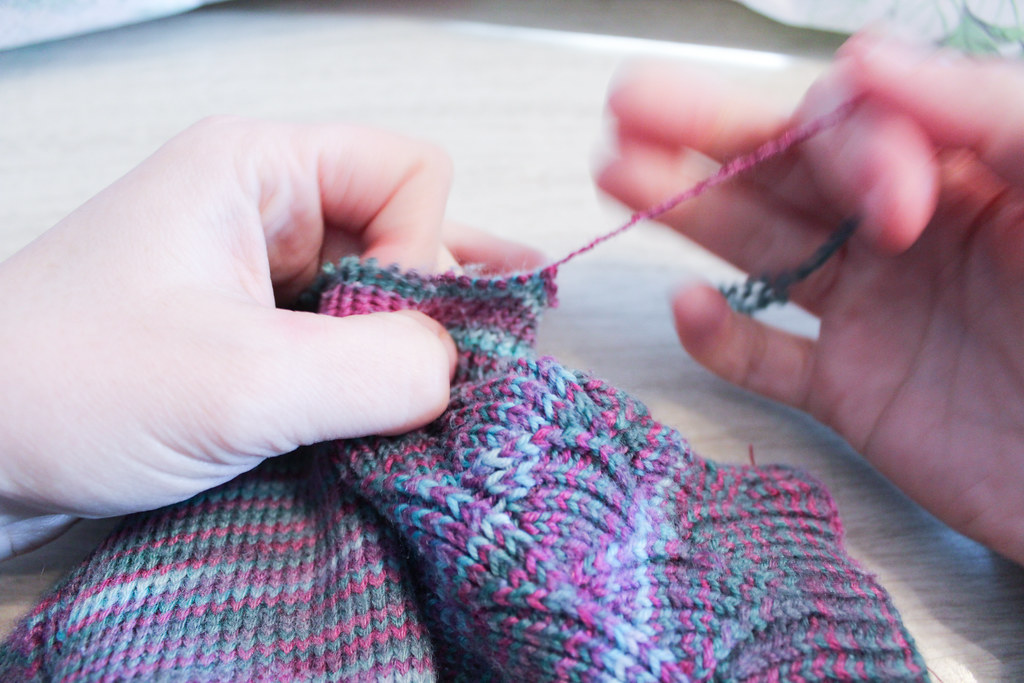
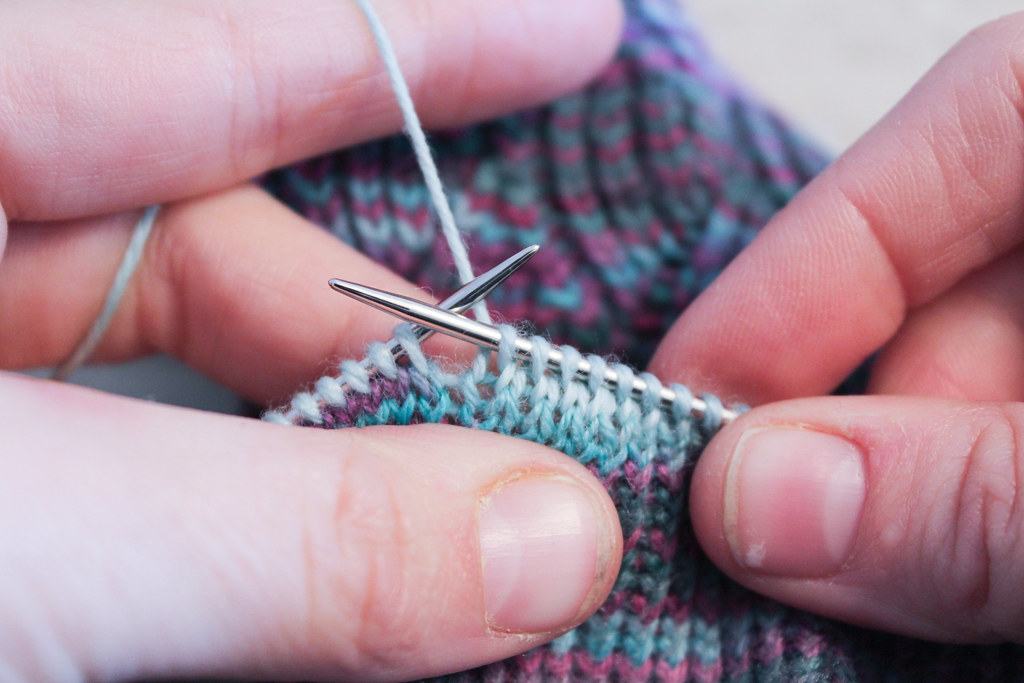
  4. Keep a finger on the next and following stitches.  You can see here how the pointer fingers of both hands are holding the stitches on the needles.
  5. Learn a different method of knitting.  While most people knit English Style, it is far from the fastest way of knitting.  Try learning continental, Portuguese style, or something similar to the Yarn Harlot’s Cottage Knitting style.
  6. Watch your posture.  The more you hunch over your knitting, the slower you’re going to get.  Practice good posture and keeping your hands low in your lap instead of holding them midair.

What You Need to Know to Repair Handknit Socks: Adding a New Afterthought Heel

One of the reasons I love my mother is because she gives me back the hand-knit socks I made her to repair.  Today I’m going to show you why I love afterthought heels, and how easy it is to replace the heel in an afterthought heel sock.

These socks are Pomatomus, an older pattern on Knitty.  You might notice here that my stitches on the sole are twisted… I had a theory a few years back that socks with twisted stitches might wear better.  While I don’t think that’s the case anymore, please just ignore the twisted stitches if you notice such things.

holes in my hand knitted sock
Holes in the Sock

As you can see above, a hole has developed between the heel and the body of the sock.  This is due to a few different things – first, I didn’t really know how to weave in my ends as well as I do now, so things are not staying together as well.  Second, my mother has a rather wide heel-to-ankle ratio (like me) and I’ve learned since I made this pair that it’s better to add a bit of extra room at the heel.  Finally, these socks are over five years old, and one of my mother’s favorite pairs I’ve made her – so they are just wearing out.

holes in my hand knitted sock thin yarn
Thin Stitches

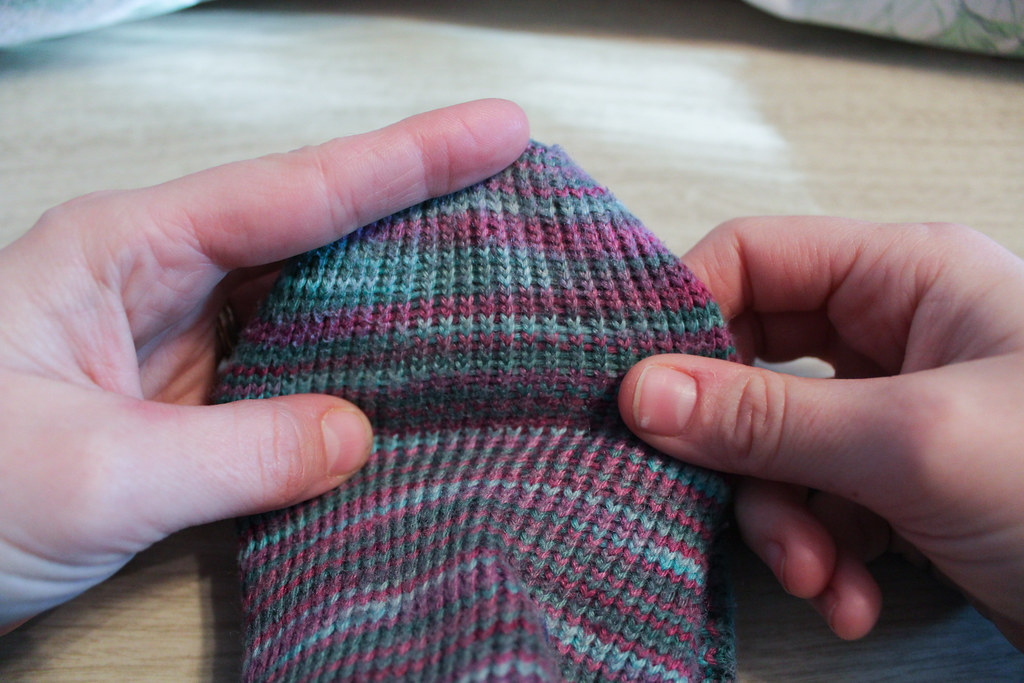
You can see how thin the stitches are wearing.

So I’m going to make my mother a new pair of heels, and in the process save the yarn to do some other repairs to the sock (mostly reinforcing).  The first step is to remove the old heel.

cutting away knitting heel
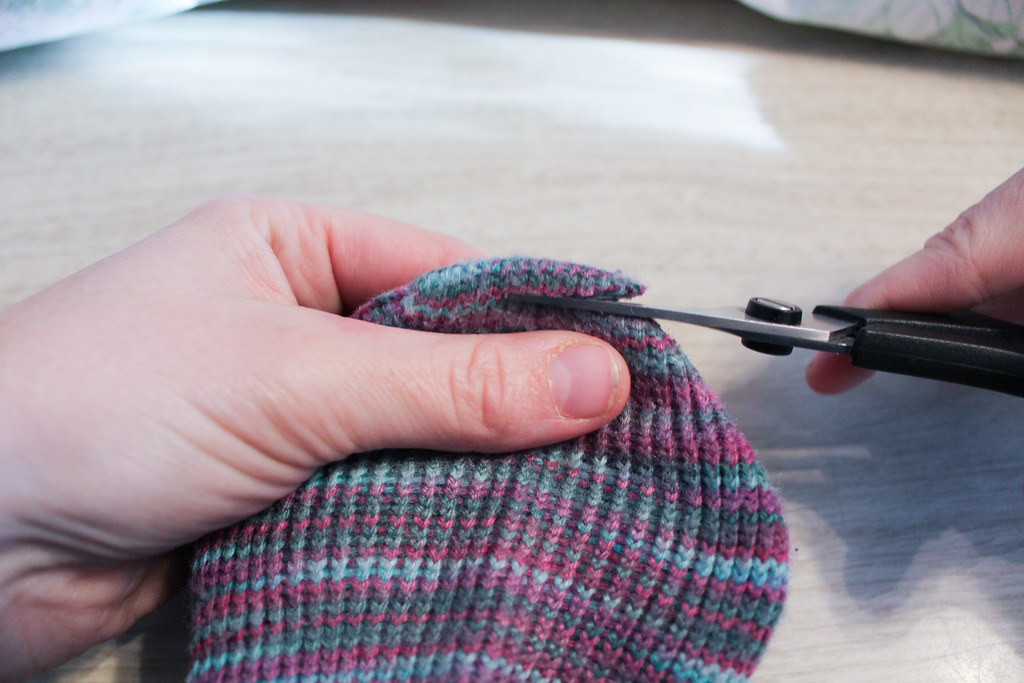
Make small cuts!

I used scissors to just cut the first few rows because the yarn was so felted together there, and I’d done a better job weaving in the end at the heel, so I could find the end to unravel.

Snip!

holes in my hand knitted sock
All Gone!

Heel tip is gone.

I then began pulling the little bits of cut stitches away from the yarn that didn’t get snipped, until the fuzzies were all out.

unraveling afterthought heel
Removing little fuzzies

It took a while, and I ended up with a lot of lint to throw away.

Then I found an end to start pulling.  It worked for about half a row, and then ended, because I had snipped it in the process of snipping out the other end.

pulling out old afterthought heel
pulling yarn

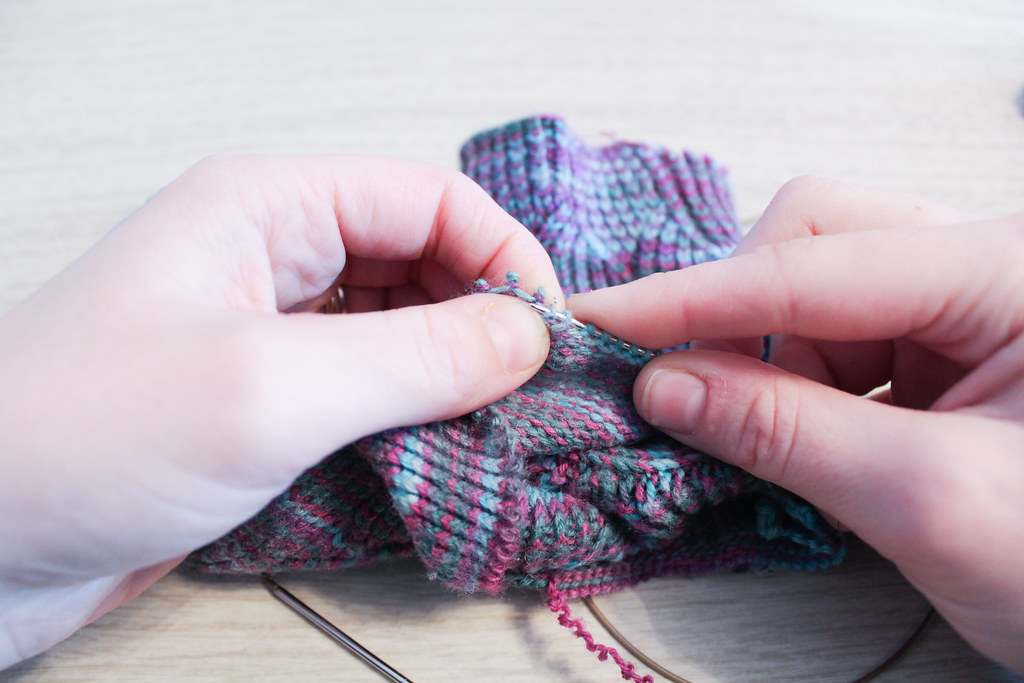
The second end I started pulling was good. I kept pulling that until I was on the last row of the afterthought heel.  I then started picking up stitches as I pulled out each stitch.  I was slow and careful – I didn’t want to drop any stitches!

picking up stitches
Picking up stitches

The thing that worked to my advantage was that this sock has been washed and dried many times – the yarn wanted to stay in the place where it had been – in the stitch.  So I’d have to actively tug at stitches in order to make then drop, because the yarn is so matted together with wear.

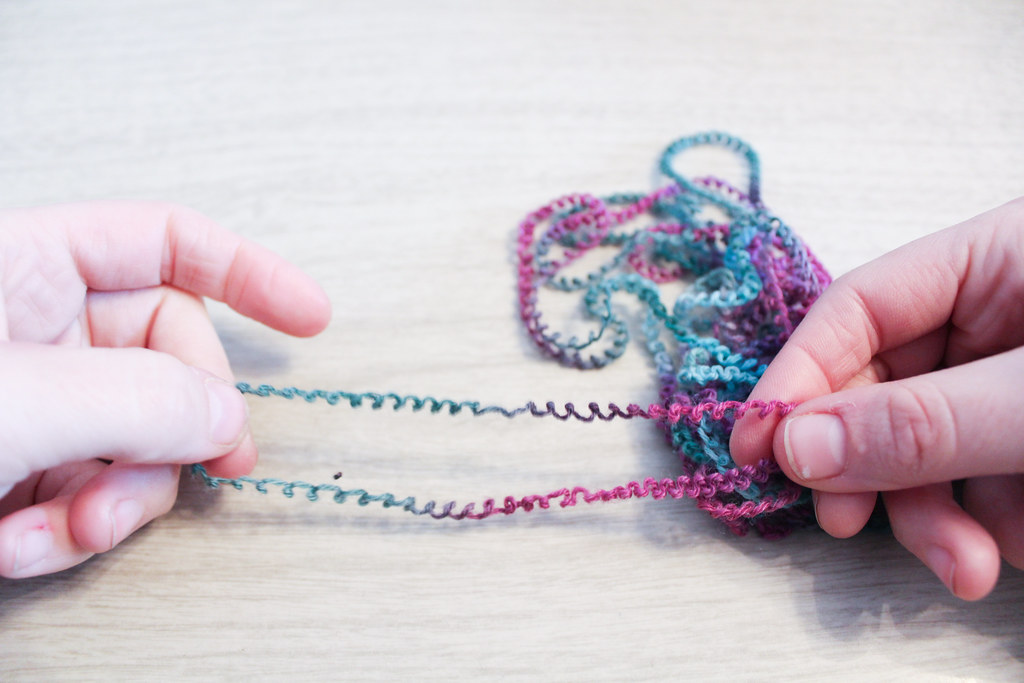
kinky yarn

As you can see, the yarn wanted to stay crinkly even after I’d pulled it all out.  It reminded me of a spring.

kinky old yarn
boing!

This yarn I gathered up and made into a mini-skein.  I wet it down, hung it from a hook in the Farm’s basement, and hung a wrench from it until it was dry, to straighten the yarn out again so I could use it for other repairs.

But back to the sock heel.

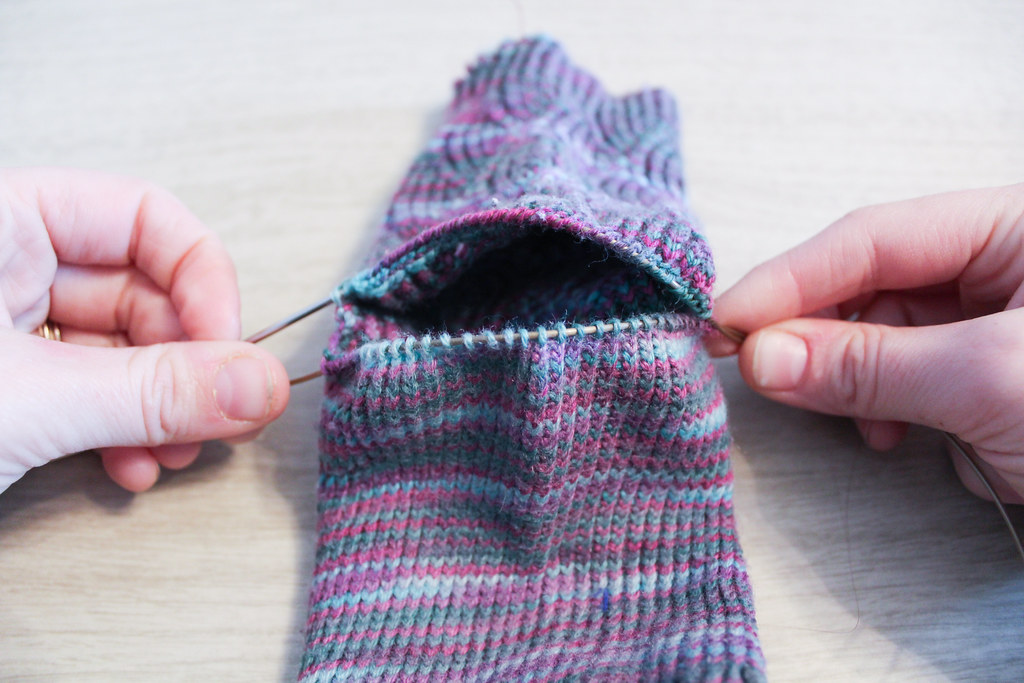
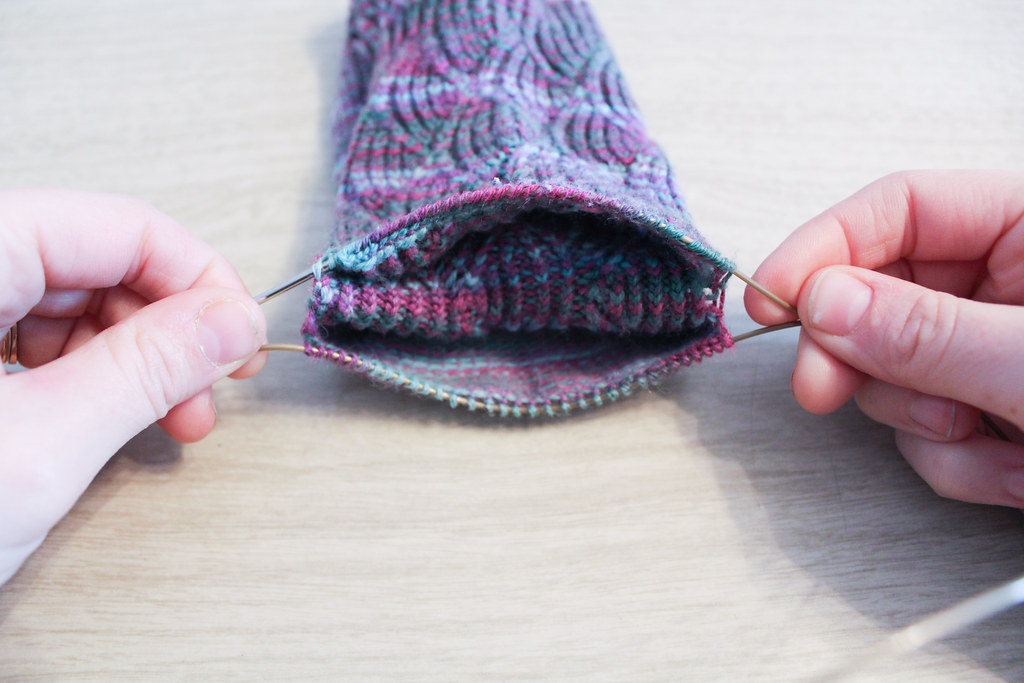
When you’ve picked up all the stitches on both sides, it should look like the sock has sprouted a mouth.

stitches picked up for heel
open heel

Om-nom-nom-nom.

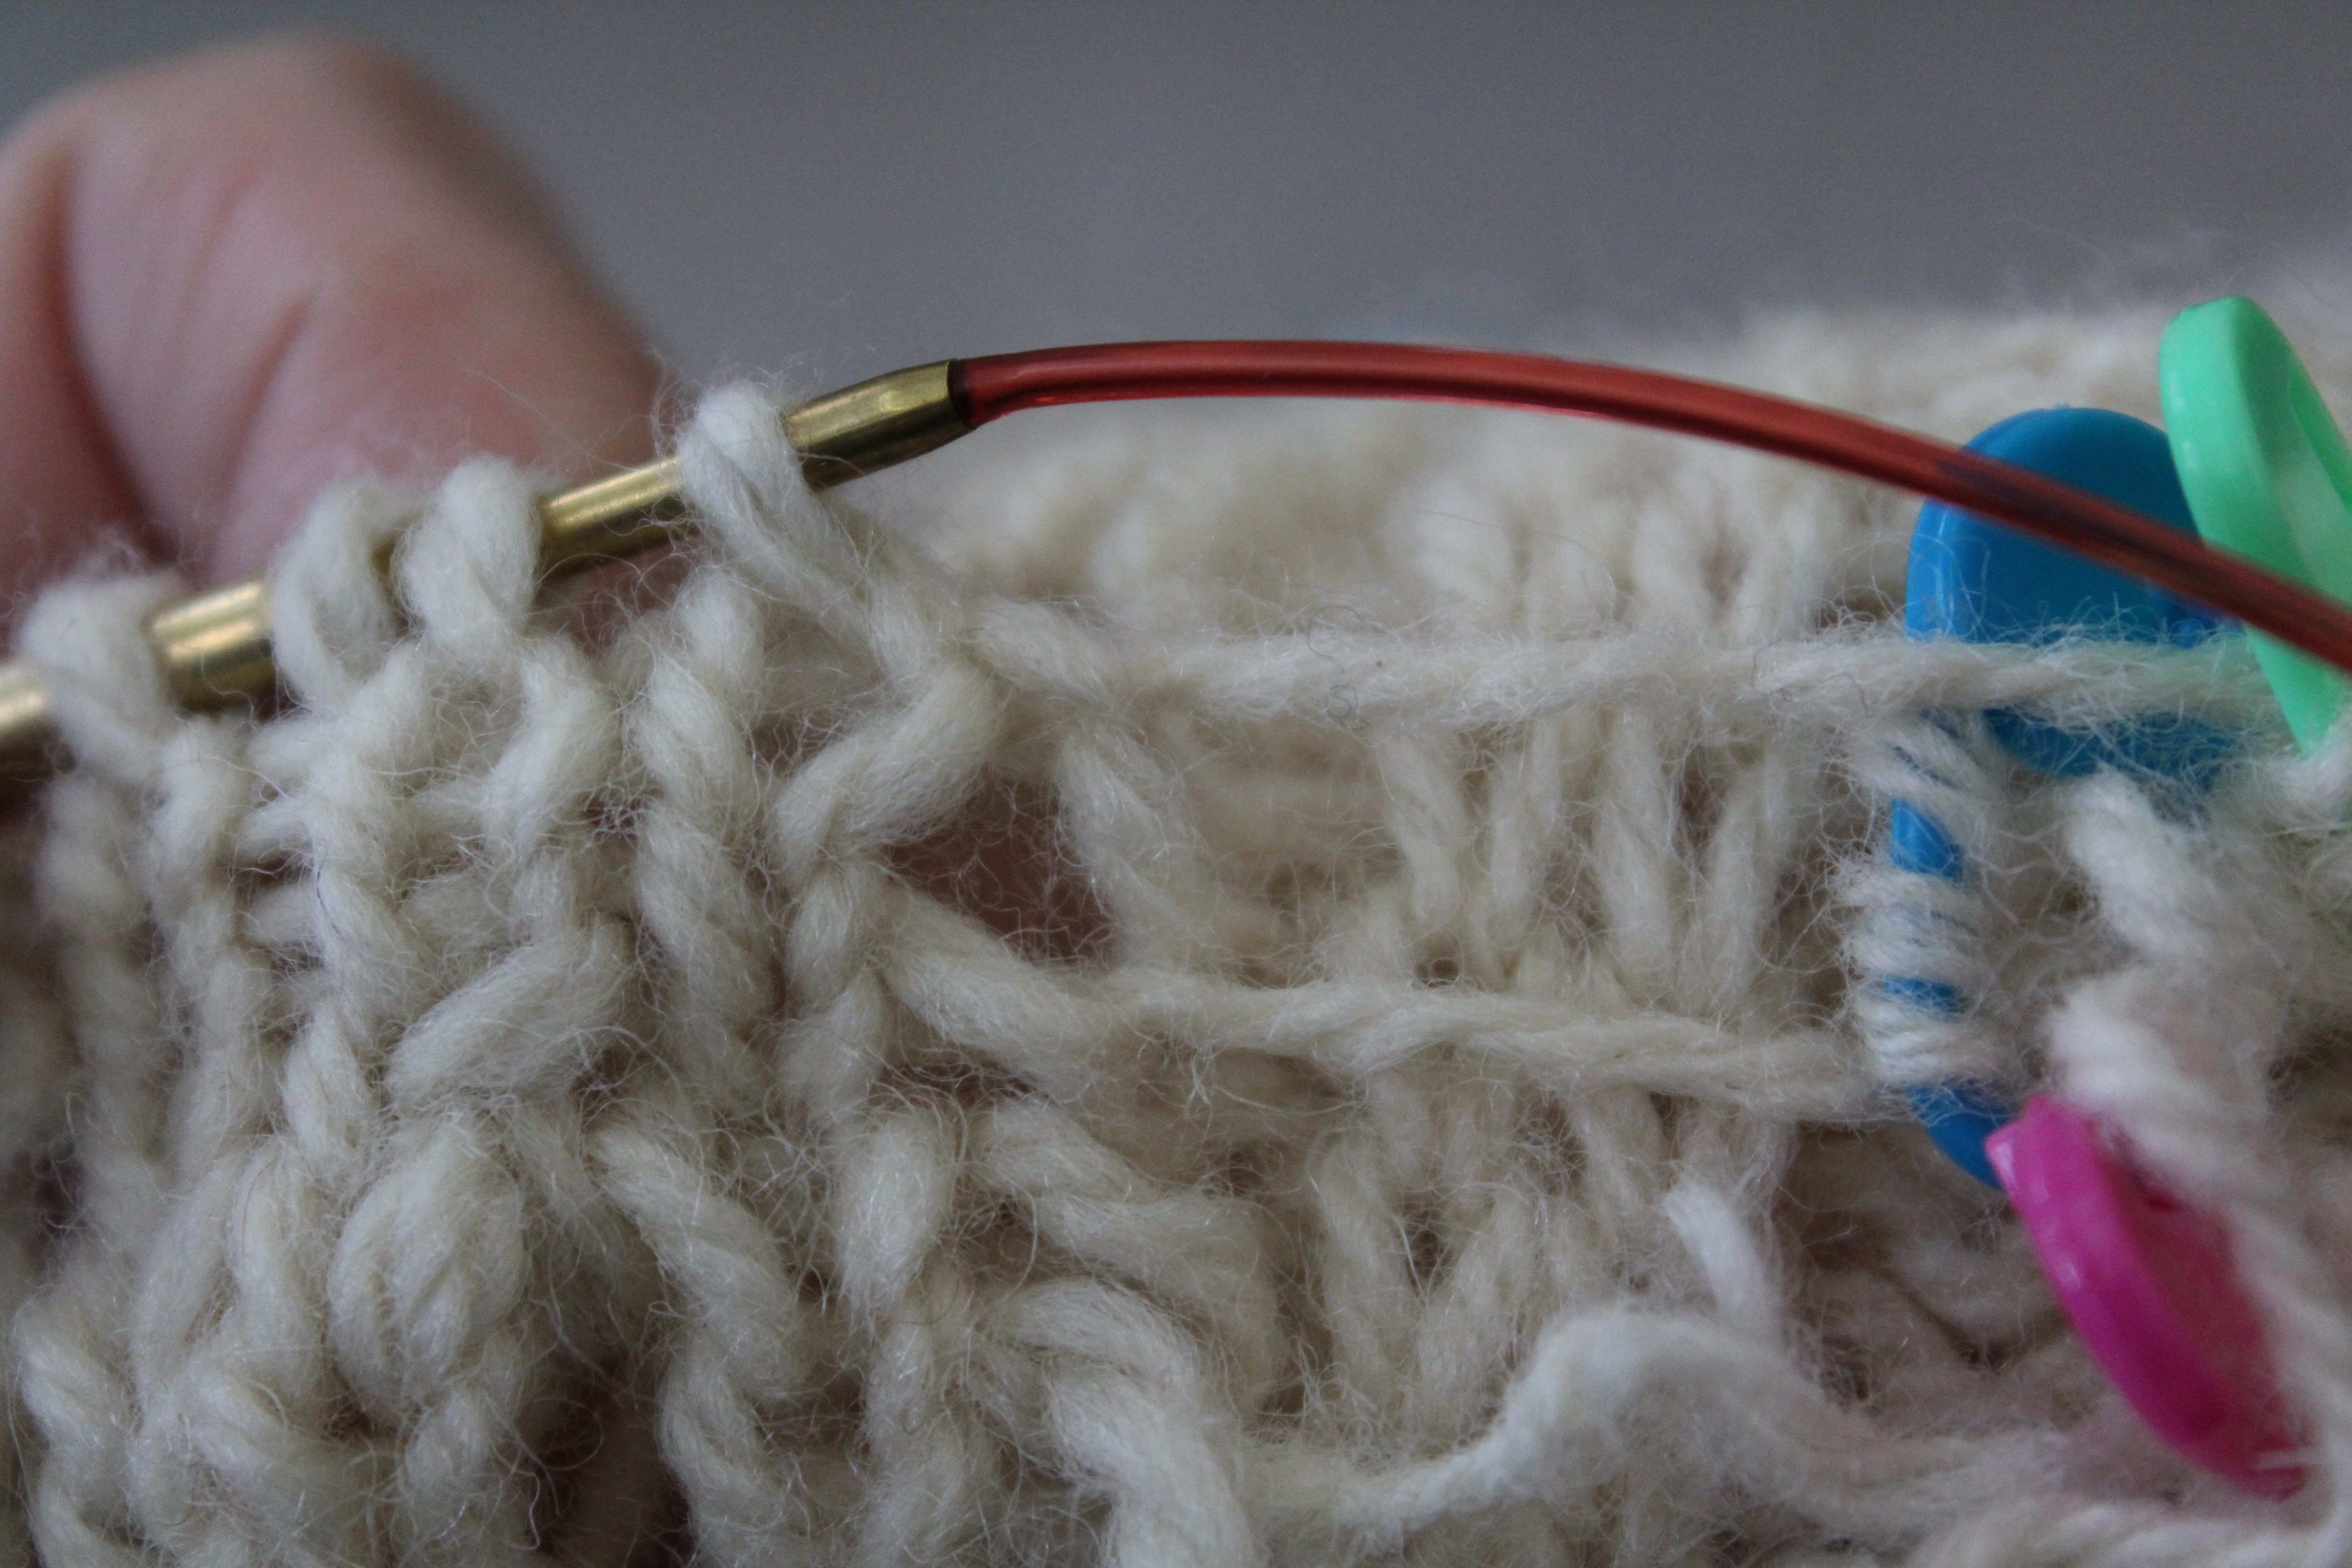
You’ll notice how, at each side of the live stitches on the cable to the needle, there’s a little gap, where there’s no stitches.  In a bit, when we’re working with the new yarn, we’ll pick up stitches along those gaps so there aren’t any holes.

knitting new heel

I like to slip to the middle of the sock to join my new yarn.  This makes the join less obvious, and also because I think it’s easier to weave in ends in plain stockinette rather than where the gaps are. (Another trick I learned since making these socks!)

knitting new heel

I joined the yarn by just beginning to knit with the new yarn, along the old stitches.  I left the tail hanging, as I’d weave that in later.

picking up heel stitches to close hole

When I got to the gaps I was talking about earlier, I picked up 2 stitches, along the edge, trying to keep the yarn nice and tight here, so the stitches didn’t become sloppy.

Then I kept knitting all around, doing the same for the 2nd gap as I did for the 1st gap.  After I knitted all around, then I began my preferred method of decreases, whichever you prefer for an after-thought heel.

knitting new afterthought heel

I worked, continuing to decrease, until I only had a few stitches left.  Rather than doing the Kitchener, I just mattress stitched the live stitches together, pulling tight as I went.  I think it creates a nicer ending, rather than trying to get my Kitchener stitches to match my gauge.

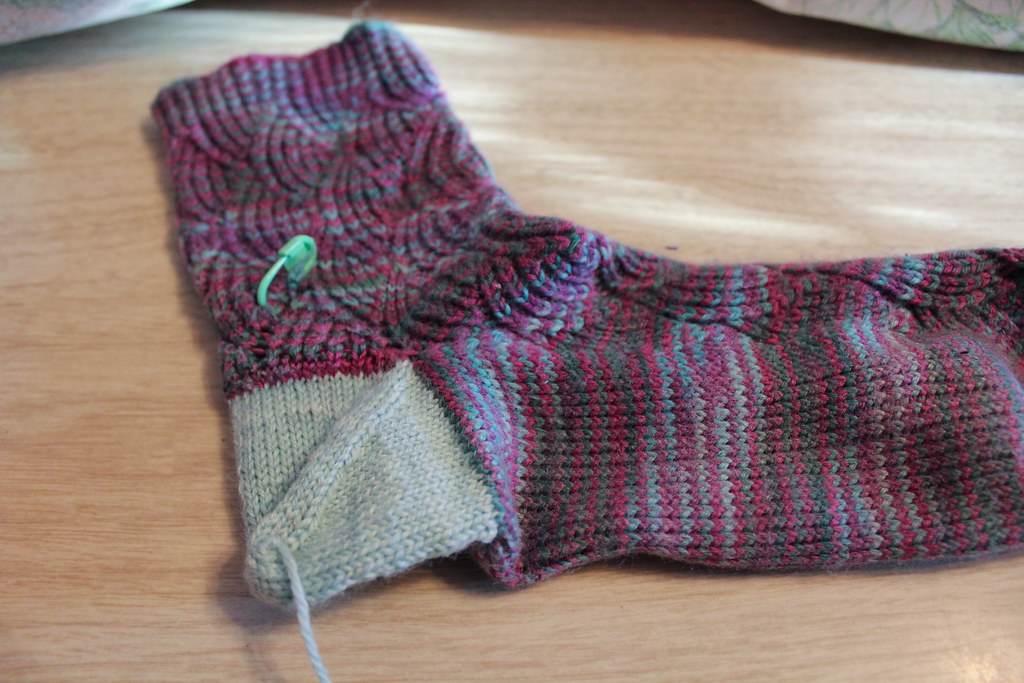
You’ll note, below, that I happened to work the heel in a slightly tighter gauge than the rest of the sock.  This happened for three reasons.  First, my gauge has changed in the last five years. Second, the yarn I used for the heel is slightly lighter weight than the yarn for the sock.  This is because I wanted to match for color rather than for the exact right yarn.  Third, I used a smaller needle size to accommodate the smaller yarn.  I think, after wearing them  a few times, the difference in gauge will even out, or at least become less noticeable.

new afterthought heel in sock
fixed sock – the stitch marker is to mark a place I need to fix

Got questions?  Shout them out!  I’d love to help troubleshoot your own sock repairs!

Other Stitchings – Embroidery

As I mentioned before, Michael and I spent New Year’s up at the Farm.  We invited a few friends, including the friend I’ve had the longest, my best-friend Becca.  She was one of the bridesmaids at out wedding, and I’ve known her since I was 9 years old.

Becca and I riding in the back of the Jeep

Becca is amazing.  She’s smart, articulate, and willing to challenge people and make the them think.  So when I was trying to think of a bridesmaid gift for her, I wanted something was representative of our history, and something that was hand-crafted.  Something that showed thought and intention as well as love.  (As I’ve said before, there are few people who are knit/crochet-worthy for me, and fewer still who I’m willing to do other crafts for.)

I decided I was going to do some embroidery for her, of our old camp logo.  Chimney Corners Camp and Becket Camp are a sister and brother camp in the Berkshires, and the camp where both Becca and I grew up.  The camps both have lovely logos now, but the past logo was of a lake-scene, three paper-white-birches, a sailboat and pine trees.  In a very simple sense, it was actually a scene you might see in part of camp, while hiking around the lake.

There are many older staff members who are very attached to the old logo (some even have tattoos of it!), so I knew it would be the perfect thing to embroider.

Originally I only planned to do the outlines of all the different elements, and then color the rest in with crayon and iron it.  This method is how I normally do embroidery, as I have strong negative feelings toward working fill stitches.  So I did that on the pillow, even ironed on the color so it looked nice, and then decided that the pillow really called for everything to be filled in with stitches… everything except the paper birches, which would remain the white of the pillow.

Well, I was working up to the Nth hour, and had to wrap the gift just before we left for the wedding.  I told myself I’d get a picture of the pillow once Becca opened it… and promptly forgot.

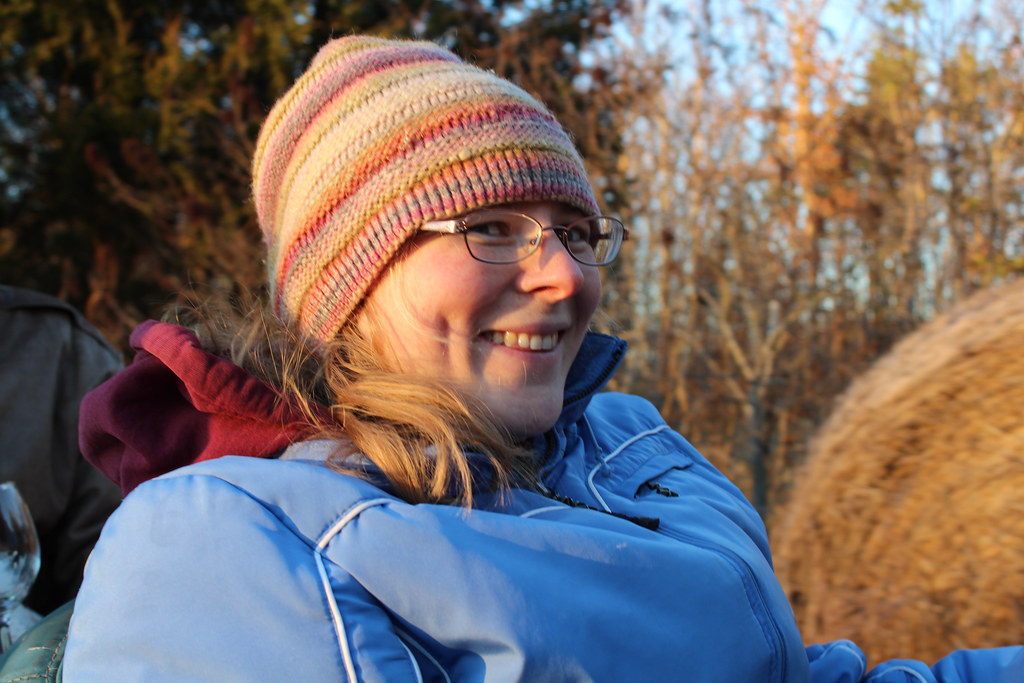
But Becca is amazing, so she brought it to the farm for me to take a picture.

And in the joy of seeing friends, I forgot all about taking a picture of the pillow until she was leaving.  She was patient enough to remind me as she packed herself out of the farm just as the daylight was making its way over the field.

Embroidery, Chimney Corners Camp, Old Logo, BCCYMCA
Chimney Corners Camp Old Logo

Isn’t it pretty?

How to pack Hand-Knits and Hand-Crochet projects for a Trip

This Christmas and New Years was spent at Michael’s family property, called “The Farm.”  It’s a property about 45 minutes out of Charlottesville, VA, in the middle of practically nowhere.  We were going to be there for ten days, so I knew I needed to pack strategically.  You see, when at the Farm, there is no internet access, and no cell service.  Reading material is limited to whatever someone else has left there.  It’s a lovely place to spend holidays, because while there, it’s necessary to unplug and relax.  The drawback?  There isn’t really much to do, besides split wood and eat fruitcake.  I knew I needed to strategize.

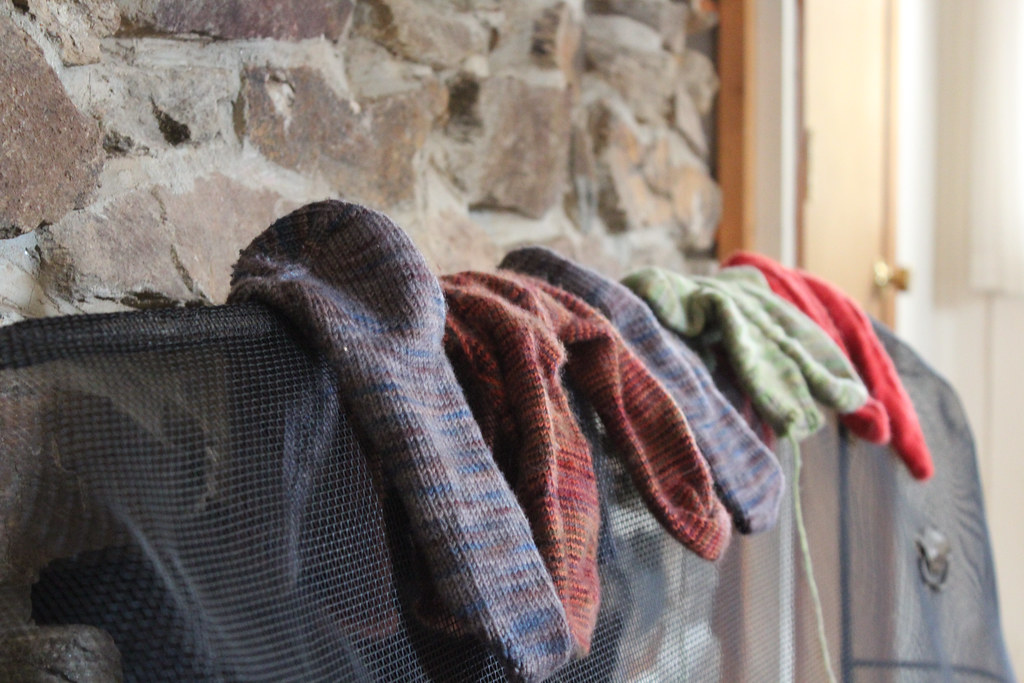
I needed to pack in a serious way – foresight and planning was needed.  The last thing I wanted to do was finish working on a project and have nothing to start.  The farm’s also rather drafty, so in addition to works in progress, I also needed some serious socks, hats and blankets.  I packed nearly all of my hand-knitted socks, two of my favorite hats, a lap afghan (which also needed repairing) and a suitcase full of yarn.  I also packed about a half-dozen knitting and crochet books and a couple of magazines, in case my hands got tired.  Then, as a precaution, I also went on Webs and ordered some yarn I’d been meaning to pick up, to arrive at the farm.  Just in case, by some mysterious event, I managed to finish everything else I had to work on.

This was a great plan.  Over the next few days, I’m planning to share how my packing played out.  So for the first story, the importance of staying warm while jeep cruising:

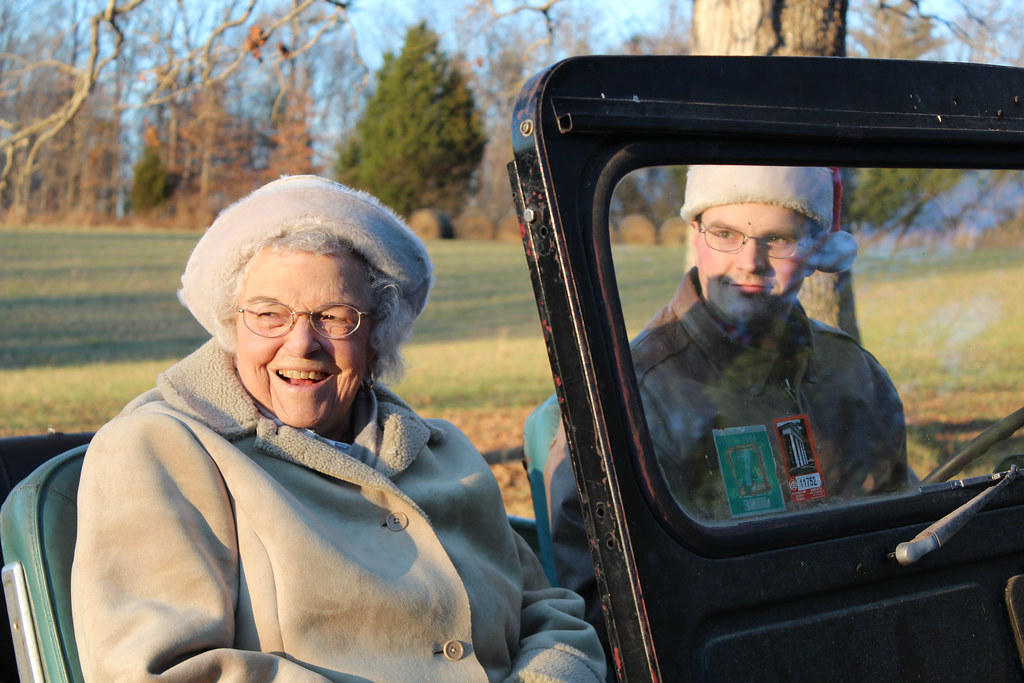
There are certain rituals that are observed at the farm.  In the evening, one must pile into the antique jeep and take a tour of the property, surveying the field, stream and woods that make up the acreage. Even Michael’s 94 year old grandmother (with 2 hip replacements) manages to partake of the jeep ride.

Mr. Turtle and his grandmother, known as Oma.
Michael and his grandmother, known as Oma.
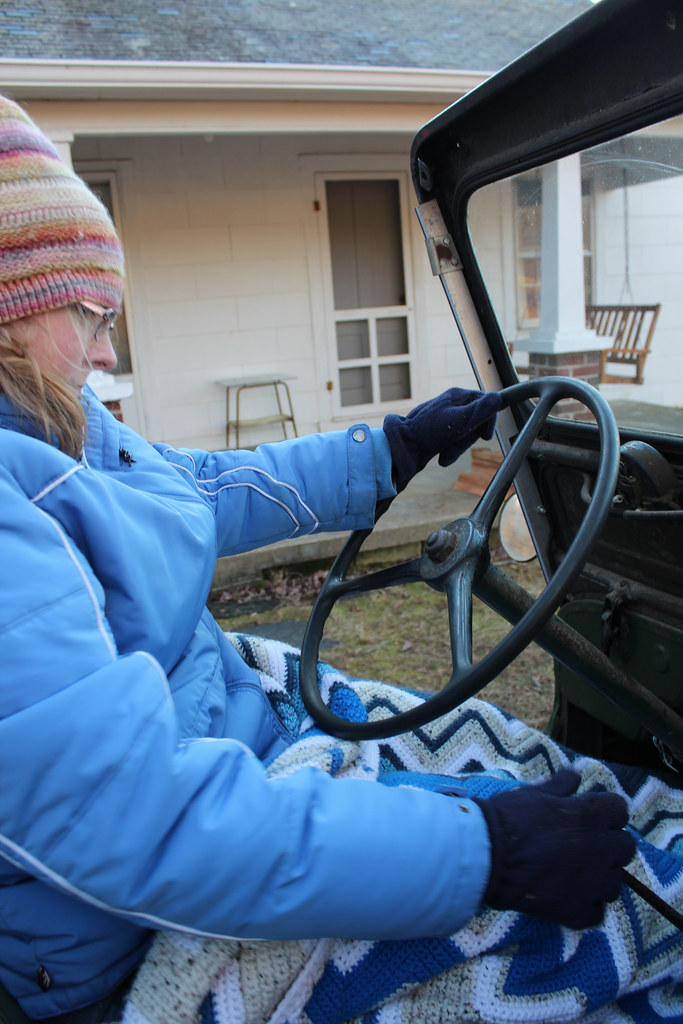
I learned how to drive a manual on the jeep, a couple of years ago.  While I normally sit back and enjoy the ride from the back, on one of the days when Michael wasn’t feeling well, I decided it was my turn to drive.
The jeep needs force and concentration, when you are getting her started.
Since it was more than a little brisk (though nothing like this week), I decided to augment my long underwear and 2 pairs of socks and hand-knitted hat with my lap blanket (which, incidentally, being more square than a traditional blanket, was the perfect length to keep me warm while still being able to drive).
Thus, the importance of hand-knits when packing.

Stitching Travelogue: The Poconos

Michael and I headed up to PA two weekends ago to visit with my parents before Christmas.  Among other things, I decided to drag my family to the nearest Local Yarn Store, mostly out of curiosity.  Mountain Knits & Pearls has one of the best knitting store names I’ve ever come across (and a practically perfect sign to go with it).  They’re located in East Stroudsburg, PA.

I had a hard time getting a good picture of the store without walking into the street, because I brought the wrong camera lens with me.  But the store was easy to find and parking was plentiful (though that might have been for the impending snowstorm).

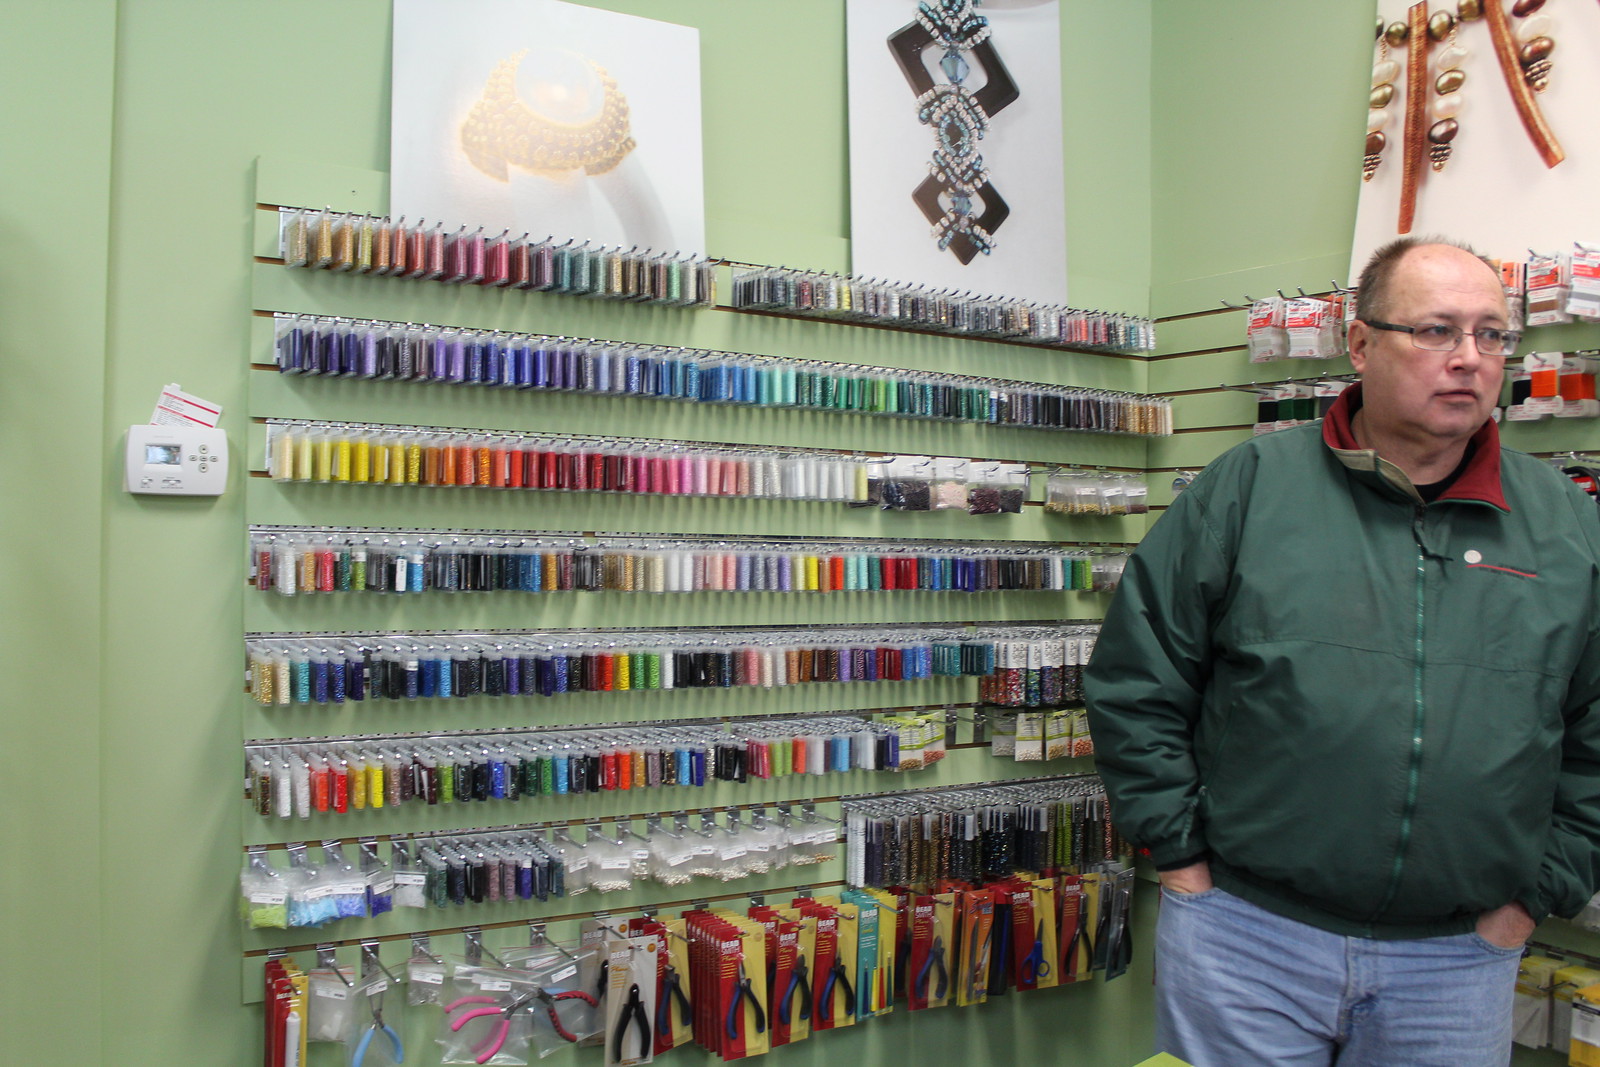
Inside the store was a welcoming sight of lots of yarn in beautiful wooden shelves.  The walls, a light green color, went well with the overall look.  Light was plentiful and a good bit of it was natural (a priority for me, so I can see if colors are true).

Perhaps the most delightful thing, for Michael at least, was the front window display, which had a toy train running around the tree.

One of the best parts of the store, at least for me, was their bead selection.  You see, Knits and Pearls isn’t just a play on words.  The store carries beads.  Beautiful, beautiful beads.  I had to practically hold myself back – as it’s always so hard for me to find beads in the same place where I’m selecting my yarns.  I do love to put beads on my knitting.

My father, being more than patient.

Now, in the interest of full disclosure, I must say I might have been a little biased in my evaluation of the store.  You see, they were carrying the most recent issue of Interweave Crochet Accessories, which has my Plaited Hat pattern.  It made me really happy to be able to show a copy to my father, who hadn’t seen the pattern yet.

Still, I’d say that Knits and Pearls had a great selection of magazines.  If you are in the area, you should definitely check them out.

What to do if your Family Heirloom is Falling Apart

working on repairs

As you are putting away your holiday decorations, you notice it: a hole, a tear, a rip or an unraveled bit of yarn.  Somewhere along the way this holiday season your childhood Christmas stocking, or that bit of lace your grandmother made, or other family heirloom has gotten a little beat up.

What do you do?

I’ve written before about checking your knit or crochet items to make sure they are staying well-cared-for, but what happens when the damage is already done?  What do you do?

First, make sure that the stressors on the item have been removed.  If the stocking was stuffed full of gifts, remove them.  If the lace tablecloth was hanging off the side of the table, move it to a more supported location.

A recent Christmas Stocking Repair, nearly finished. I was fortunate to be able to closely match the red and the cream.

Then, take a deep breath.  Old knitted and crochet objects have a wonderful thing going for them: the stitches and yarn have been sitting in the same way for a very long time.  They’ve settled and, perhaps in the case of wool, even felted a little bit.  That means unless you are pulling and tugging on the object, the stitches should stay in place and unravel no further.  If the yarn or fibers aren’t too delicate, fold the object up and put it in a bag that protects it from sun and dust.  If it’s plastic, don’t seal the bag: it can trap moisture in with the fibers, which isn’t ideal.

Next, get on the phone or the internet and see if you can find a Local Yarn Store.  If not, see if you can find a local museum or historical society that might deal with textiles.  Often someone will know of someone who might have the skills to repair your object.

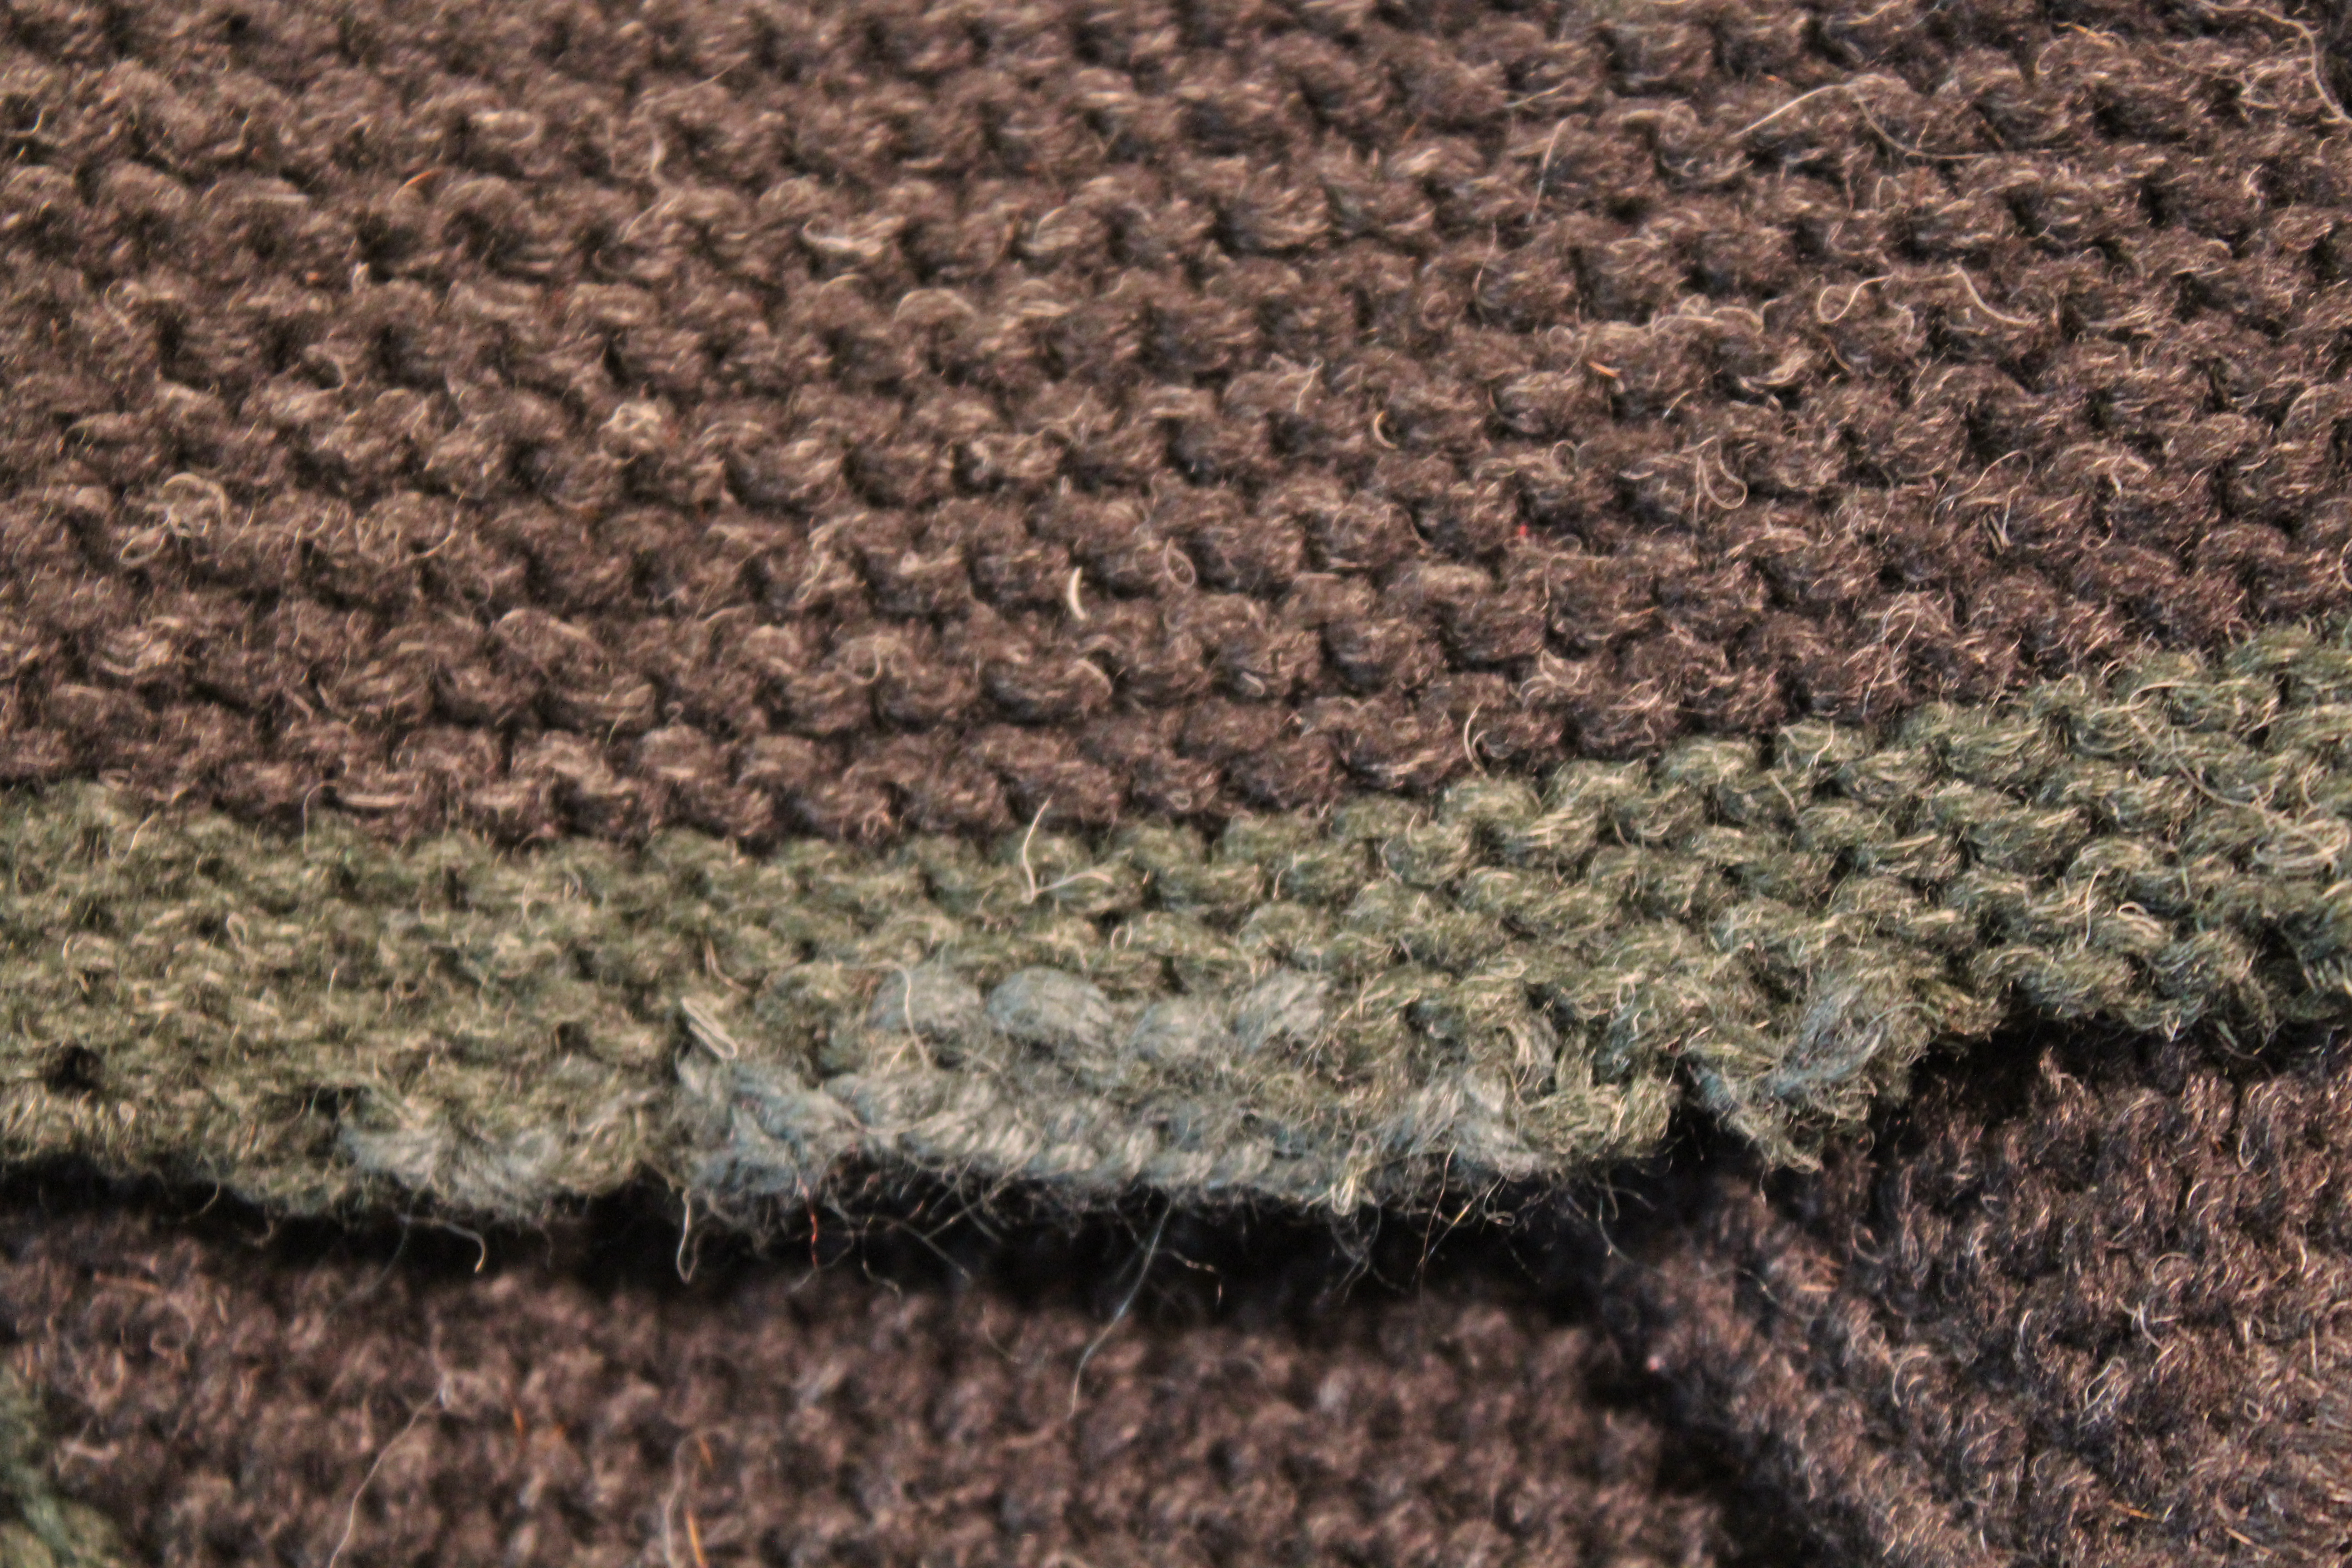
Repairs to the edge of a sweater.

Then, think.  Before you talk to someone about repairing your heirloom
determine your goals.  Are you looking to restore it to it’s former glory?  Do you want to just have it fixed so you can continue using it?  What is feasible for caring for your heirloom in the future?

A local knitter, crocheter or stitcher of some great experience might be skilled enough to repair holes and return your heirloom to former use, but they might not have the resources to do a perfect restoration.  On the other hand, they might be more affordable.  Meanwhile, someone affiliated with a museum might have more resources to do a full restoration of your heirloom, but it will probably cost more.

Making a decision about your commitment to keeping the heirloom safe and preventing it from deteriorating further is also important.  If you plan to keep using the heirloom, it’s not feasible to have it under glass.  Sometimes the best ways of preserving textiles is to not use them, which can be problematic if the reason you love a heirloom is because of it’s tradition of use.

Repairs to the arm of a person on a stocking – not all color matches can be perfect.

Personally, I fall on the side of loving and using family heirlooms.  I’m careful about how I handle and store them, but it doesn’t prevent me from using the object.  As someone who creates, I think that useful objects (like furniture, clothing, blankets and many textiles) lose some of their meaning when they are no longer able to be used.  And if the object takes some damage?  Well, I’m fortunate enough to be able to make repairs myself.

November and December Roundup

I feel like it has been a sprint to the finish from the first week in November until now, but I can say with pleasure, as of the wee hours of today, I have all my deadlines finished until after the New Year.  The finishing is done, the patterns are mailed off, presents are wrapped, Holiday cards are distributed, and I am officially very tired.

A collection of November and December Pictures

In case you missed it the first time, the most popular posts from the last 2 months:
Tutorial: Mattress Stitch or Ladder Stitch
The Importance of Customer Relationship Management
Crochet Reinforcing for Steeking
Warning Signs Your Family Heirloom is Falling Apart
A Helpful Tool to Set in Sleeves

Over at Jordana Paige’s Blog:
The Low Down of Plies: What to Know when Choosing Yarn
What you need to know to set a Zipper in a Sweater
Tutorial: Re-sizing a Finished Sweater 
Changing the Sleeve Silhouette on a Set in Sweater
Magic Sleeve Recipie

Things I pinned.

May you have a Happy Holiday!