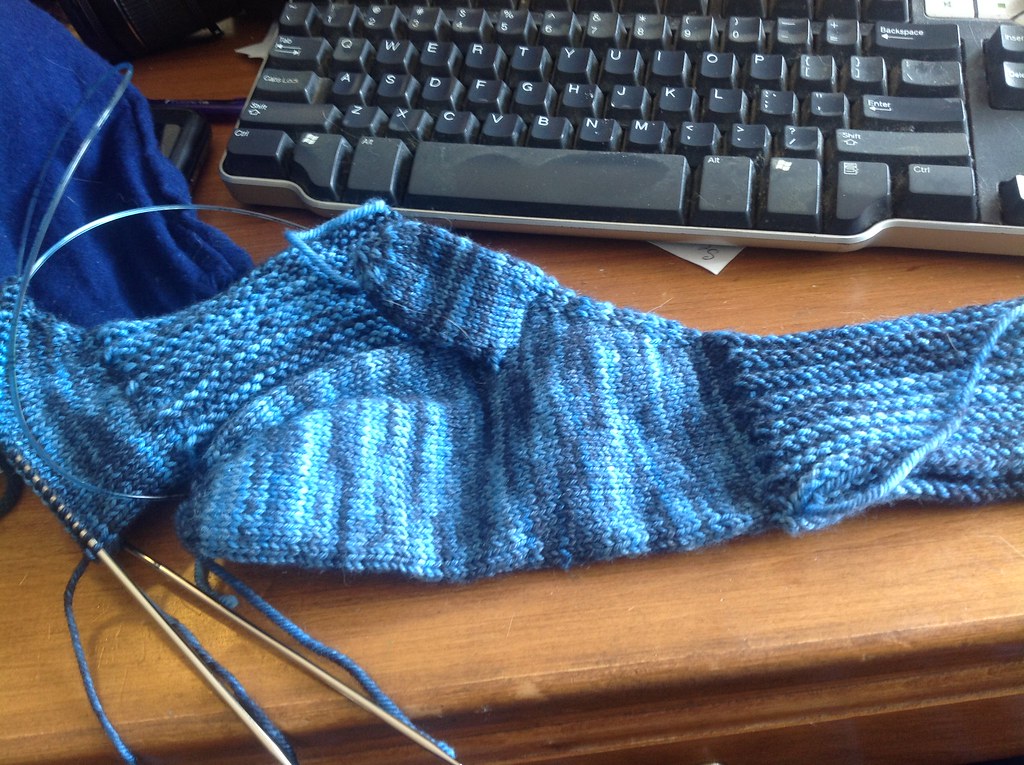
working on a pair of color-work socks (I can now reveal: these were a stitch on the bottom of my Octopodes Socks!). I realized that I’d managed to knit the
wrong color in a part of the pattern. I
practically cried. I was nearly done
with the sock, and I certainly didn’t want to pull back to nearly the middle to
fix the mistake. But the mistake was
also terribly noticeable–in fact, I was surprised I hadn’t noticed it before
then.
deep breaths, and saying a few choice words, I gave some different solutions thought. I settled on duplicate stitch. What I ended up doing was covering the
original stitches with stitches in the right color, so it looked like I’d worked the correct color the whole time.
The area was marginally thicker, but not very noticeable. I was pleased with the result.
most often used to add color to knitting when you don’t want to do complicated
color work, like intarsia or stranded knitting (though duplicate stitch can
also be used in conjunction with them, so you aren’t holding too many
colors). It can be used to fix mistakes,
as I did, or it can be used to embellish or embroider a knit fabric–perhaps a
sweater that you want to mod. I’ve been
thinking about doing something to do with scrollwork, vines or some sort of
black and white illustration on an old sweater I have to liven it up.
is basically done by tracing the knit stitches.
Today we’ll just be focusing on stockinette, though it can be done, with
mixed results, on garter or reverse stockinette. You’ll need a contrasting color yarn and a
blunt-tip needle.
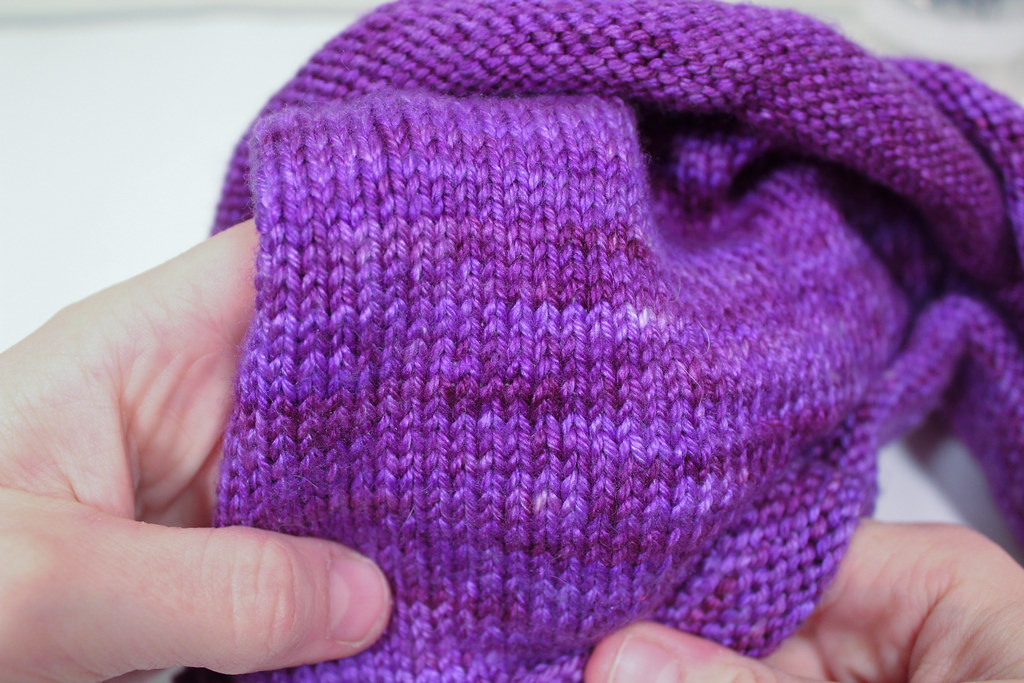
careful look at the knit stitches in stockinette. See how they look like zigzags stacked on top
of each other? I like to think of them
as an army of “V”s standing shoulder to shoulder. Each “V” is an individual knit stitch.
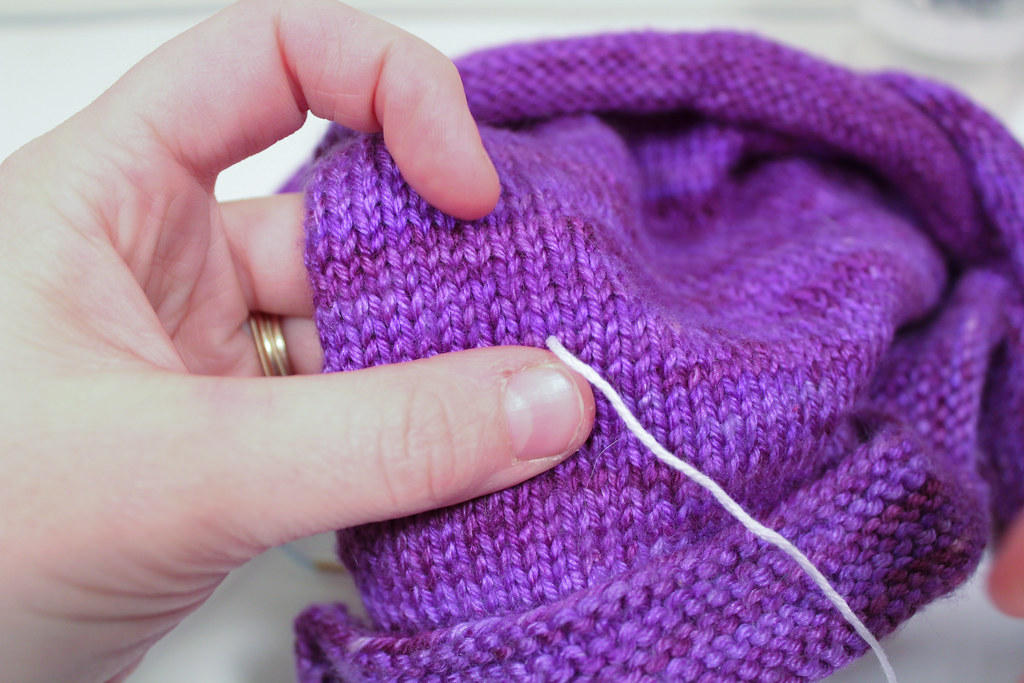
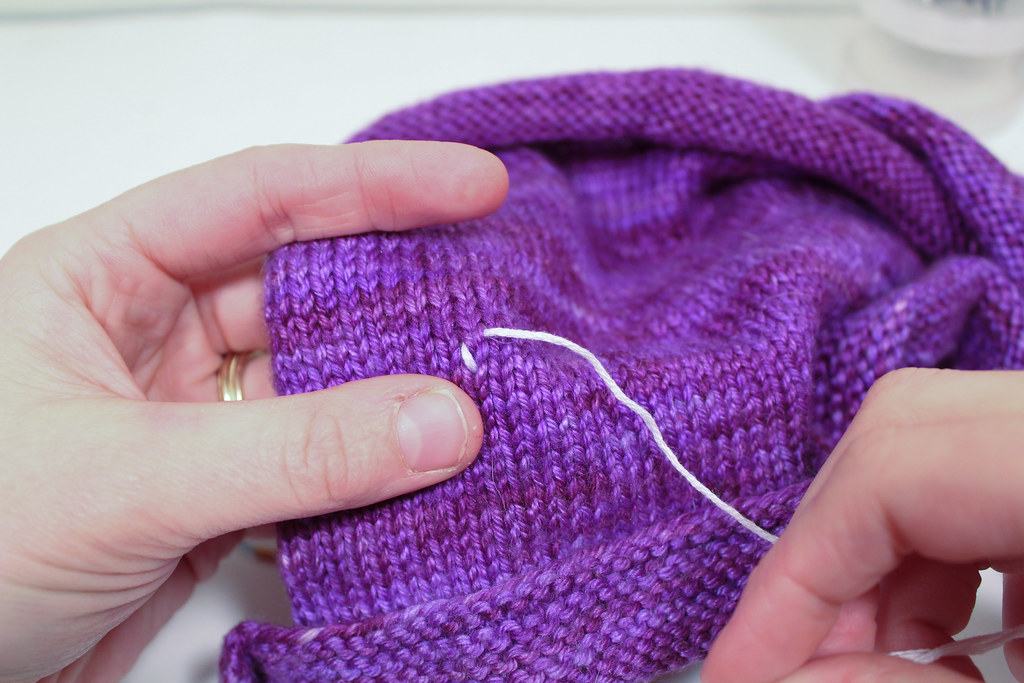
you want to start your design. I find it
easiest to work from the bottom left and work up and to the right, though your
mileage may vary.
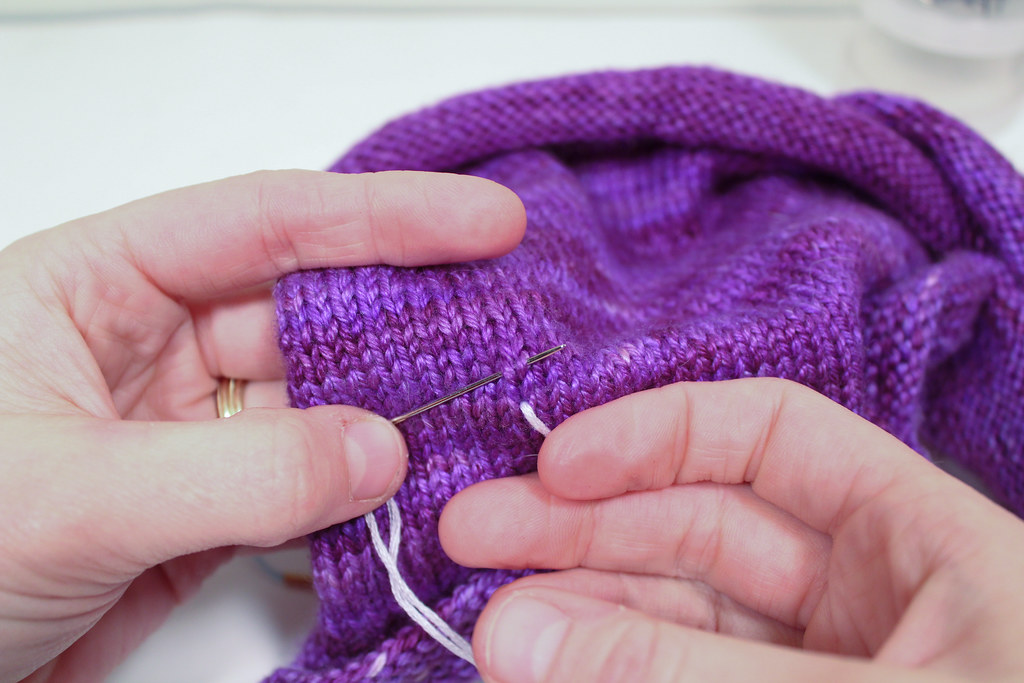
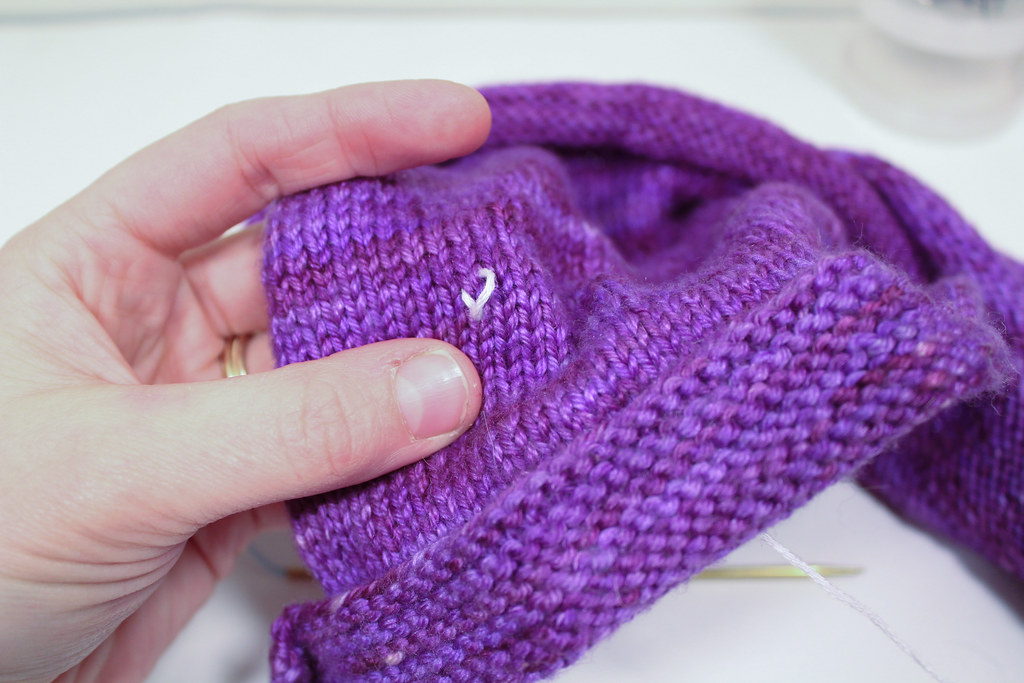
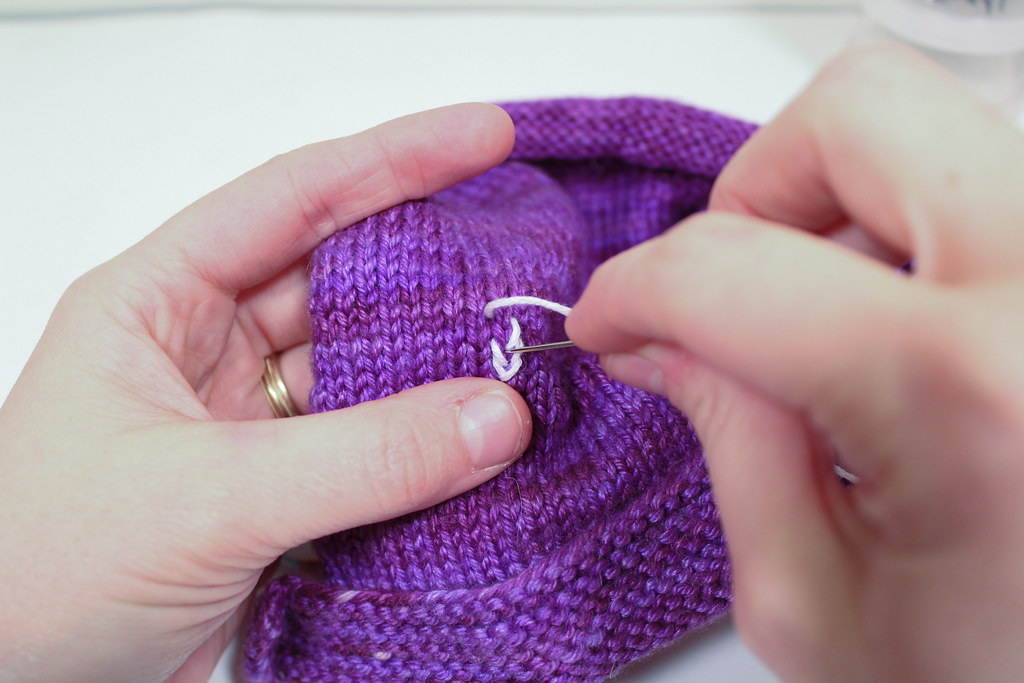
the “V” and up through the other side, like so.
where you first came up through the fabric. If you need to, adjust the tension
of the yarn so it matches the tightness, or gauge, of the rest of the fabric.
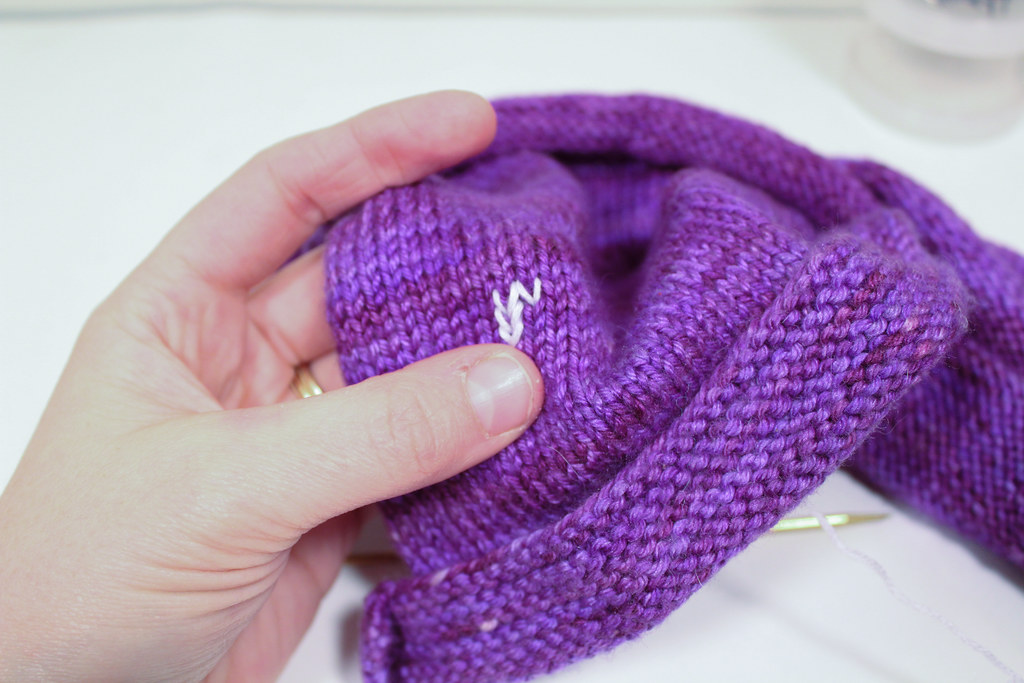
directly above the first. Repeat as many
times as needed.
next column of stitches. Simply do the same steps for the “V” Directly next to,
or diagonal to, the one you last worked.
get to the next place you want to embroider.
Just remember to leave enough extra yarn so the knit fabric can
stretch. I recommend that you try to
avoid skipping columns if possible.
nice as the front, but it still should be tidy.

.jpg)
.jpg)
.jpg)
.jpg)
.jpg)
