MENU

Crochet Reinforcing for Steeking

Have you ever tried to steek?

When I was first learning to steek, I felt I couldn’t cut into my own knitting.  So I went to the thrift store and got a slightly-felted really ugly sweater and went to town.  I practiced sewn-reinforcement steeking, hand-sewn reinforcement steeking, crochet reinforcement steeking, and a variety of other ways.  By the time I was done, not only was I really good at cutting between stitches, but I’d gotten comfortable enough cutting knitting without even reinforcing – just going for it!

When people ask me what my favorite type of steeking is, I normally say crochet.  This is not because I think it is the best way to steek (sometimes some crochet reinforcements can be a bit tight), but mostly because I’m lazy.  I nearly always have a crochet hook and thin yarn/thread on hand.  A sewing needle I sometimes have to go searching for.

There’s two ways of working a crochet reinforcement to steek.  The first is to work a row of single crochet around the column of stitches to either side of where you are going to cut.  While easy to do, it is sometimes hard to make sure you catch all the “floats” on the back of the work when you do this method.

The second way is my preferred way of working a crochet steek, though it is sometimes a bit of an inflexible reinforcement.  This involves working a row of slip stitches on either side of the planned cut.  Below is the process of how I normally proceed.

But before I speak to that, a note about yarn.  Below, I have a sweater that I’m cutting.  The yarn is made of cotton, which has very little ability to “grip” itself to prevent it from unraveling, which I why I felt it necessary to add reinforcing.  Still, if I wanted to go with a reinforcement that was more stable than crochet, I would have hand sewn.  I made the decision to use a crochet reinforcement because the sweater had been washed multiple times, and the yarn was essentially “blocked” into place.  When I removed the seams, there was very little fraying unless I actively tugged at the stitches.  It’s always best practice to block your piece before steeking.

First, take a look at your knitting.  Look at a column of stitches.  They often look like a bunch of V’s stacked on top of each other. If you pull the “V” apart, you’ll notice between each V is a bar running along the back.  Each time you work a slip stitch, you want to be sure you are catching the bar, and any floats that are behind the bar.

My crochet hook here is pointing to the bar I’m going to go around.

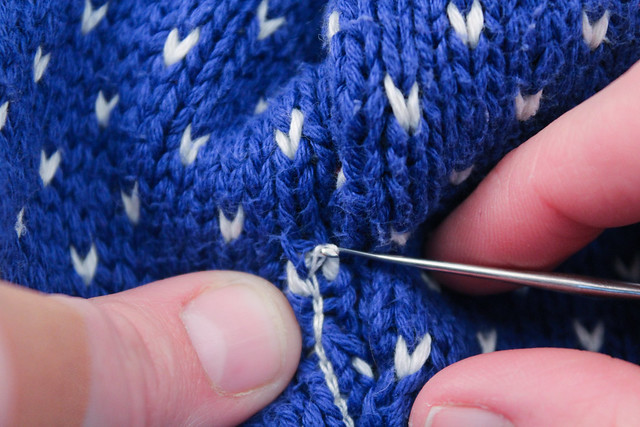
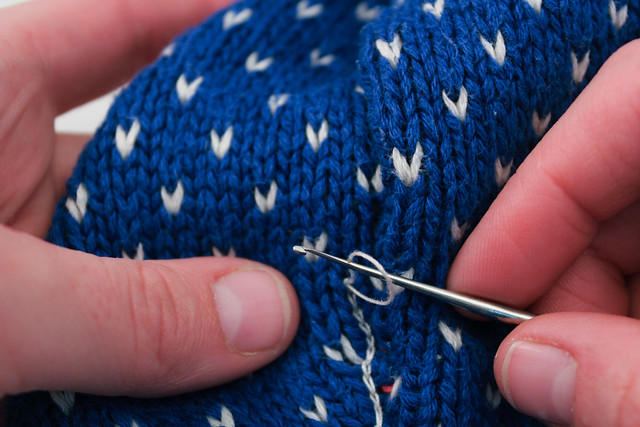
You want to join your yarn so that your hook and 1st loop is on the front of your work, and the yarn is on the undersides, as shown below.

Crochet Steeking, knit, crochet hook, yarn, hands
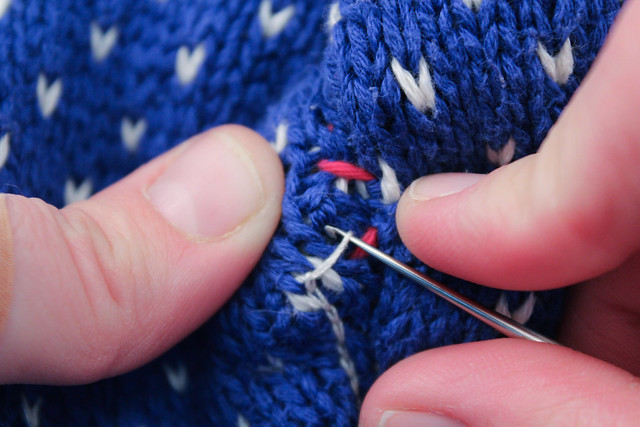
Adjust your loop so that it’s the right size to go over the bar between the knit stitches above.  Put your hook in, grab the thread from behind the work (this takes some practice, especially if you’ve never used a crochet hook before), and draw a 2nd loop up to the front of the work.
Crochet, Reinforcing, Steeking, knit, crochet hook, yarn, hands
You’ll see that the first loop is below the bar between the knit stitches, the second loop is above the bar between the knit stitches.  Pull the second loop through the 1st loop, so there is only 1 loop on the needle.
Crochet, Reinforcing, Steeking, knit, crochet hook, yarn, hands
You’ll continue this process all the way up the fabric.
Sometimes you’ll have to shift over a column or a row, or both.  Below, I’m going over and up 1 st (to the right)for my next crochet slip stitch.
Crochet, Reinforcing, Steeking, knit, crochet hook, yarn, hands
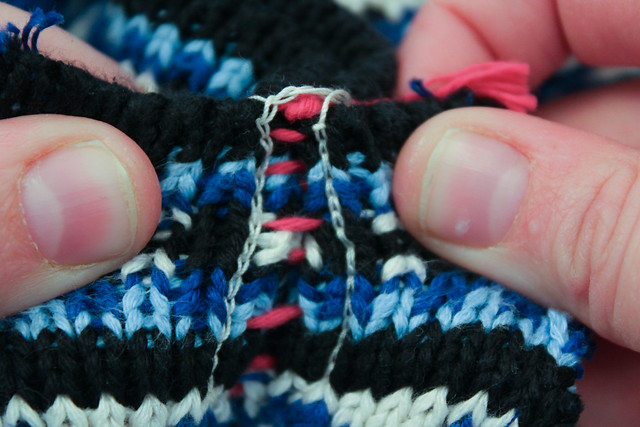
After you are done, you should have a row of crochet stitches running up each side of where you plan to steek.  For my purposes, I was cutting away fabric to tailor a sweater, and had stitches running to either side of my basting stitches. 
Crochet, Reinforcing, Steeking, knit, crochet hook, yarn, hands, basting stitches
My thumbs, below, are on the 2 sides that are to be cut away.
Crochet, Reinforcing, Steeking, knit, crochet hook, yarn, hands
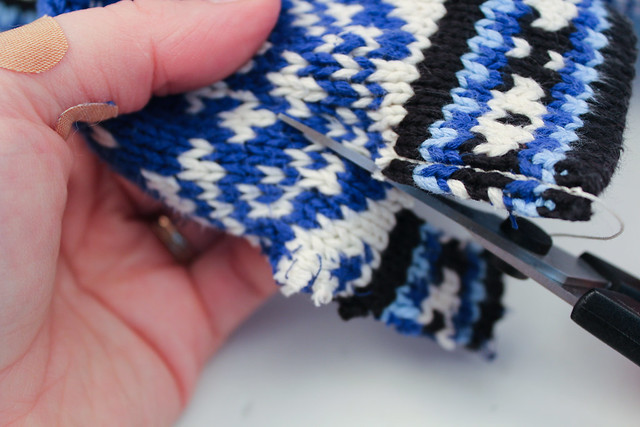
And then Finally, I cut!
Crochet Reinforcing, Cutting Knitting, Steeking, Colorwork, Stranded Knitting

A helpful tool to Set in Sleeves

I’ve talked before about my love of locking stitch markers.  Today’s tip comes to you courtesy of my rainbow stitch markers, which still fill me with much glee.

When I’m setting in a sleeve, I use locking stitch markers to act as guidelines.  This way, if I have to do some “easing” I know that I’m not going to come to the end of the seam and have extra fabric on one side.

What I do is this:

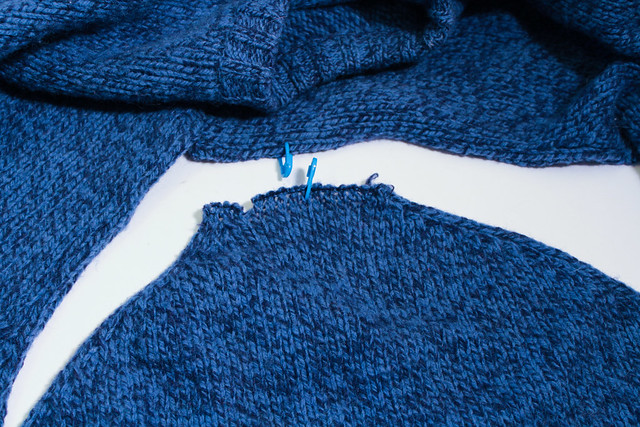
First, I mark the middle of each sleeve with a locking stitch marker.

Uses for Stitch Markers, pinning set in sleeves together

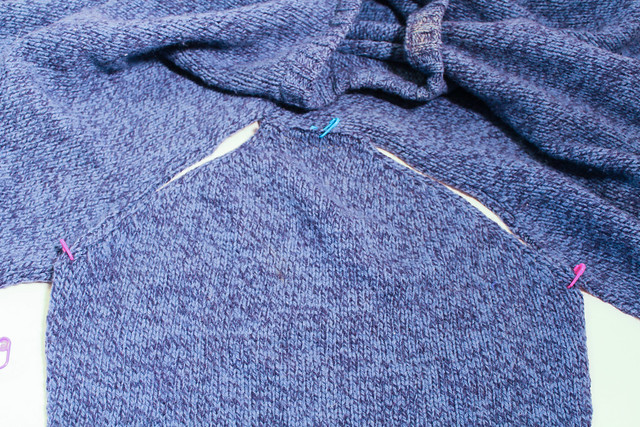
Then, I pin the ends of the sleeve (where it meets at the armpit on both sides) with a different color.  I pin the two middle markers together also.

Uses for Stitch Markers, pinning set in sleeves together

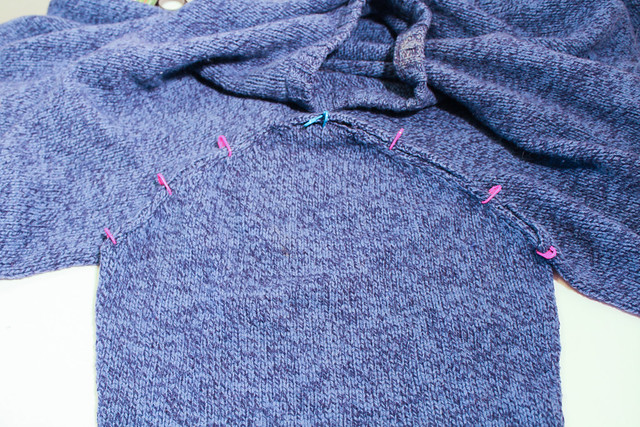
Then, distributing the stitch markers evenly, I pin every few inches the two sides together.

Uses for Stitch Markers, pinning set in sleeves together

The best part?  Unlike pinning with pins, locking stitch markers don’t poke me.  This makes me happy, and a little less likely to bleed on my knitting.

Grandpa Les, and The Joy Of Making Something Yourself

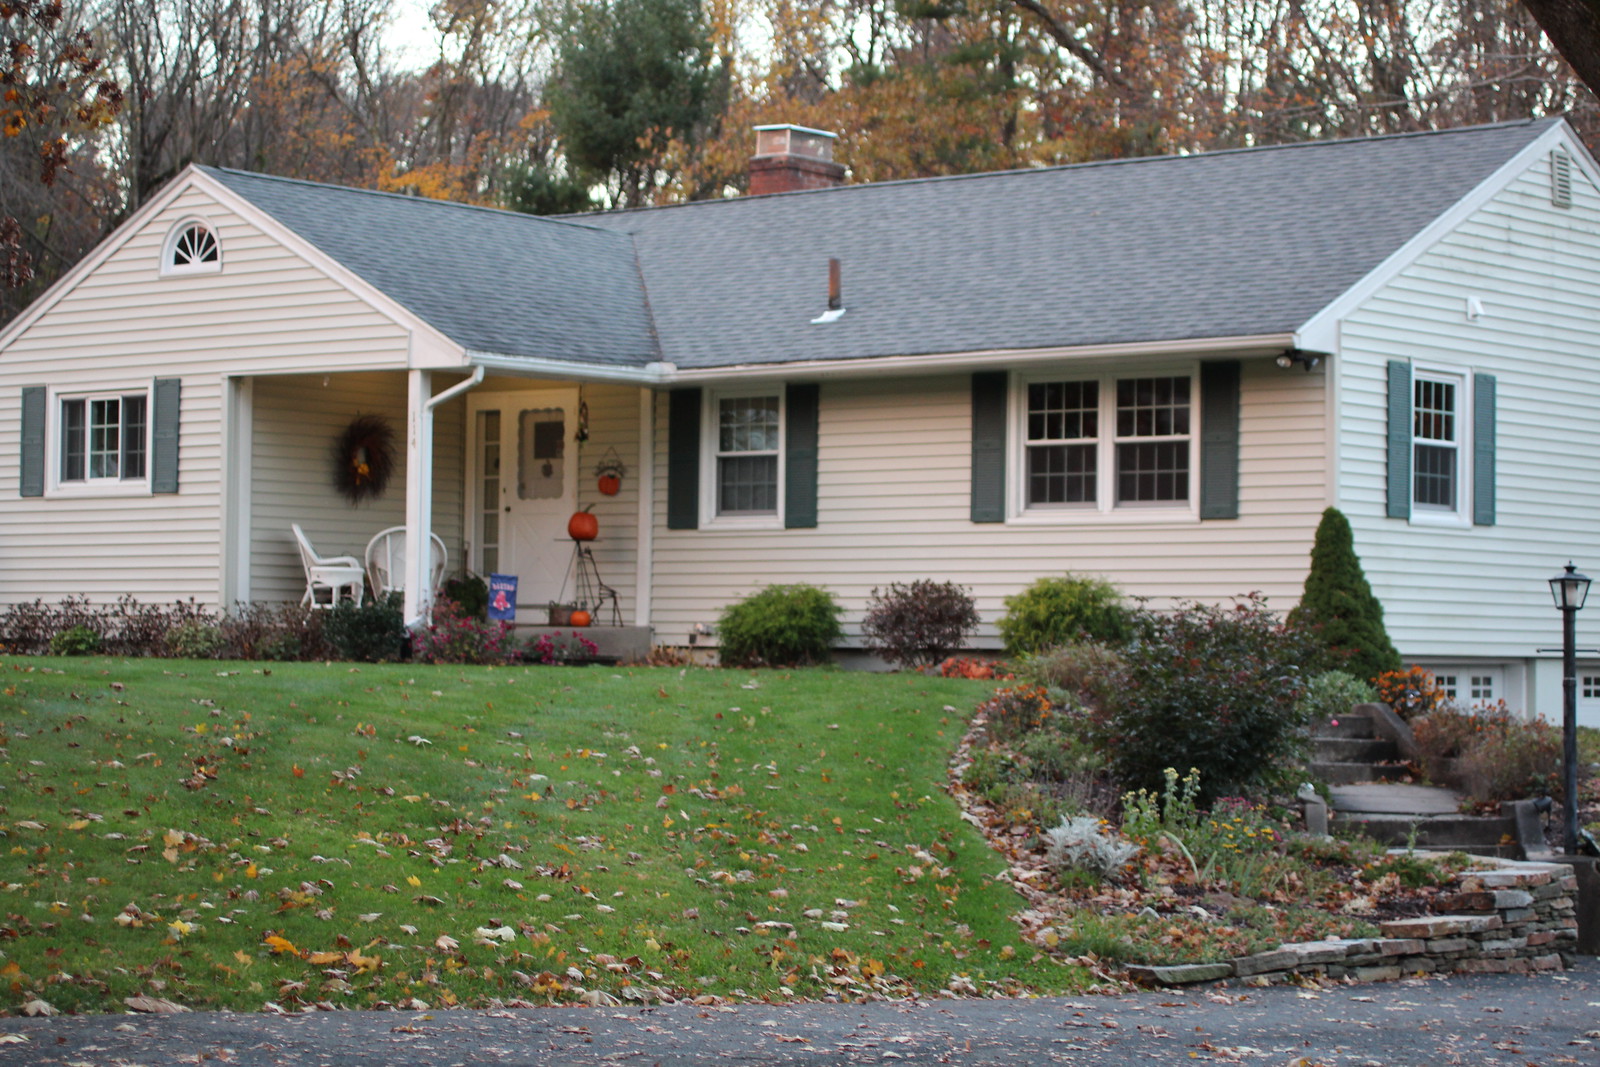
My grandparents’ house, still well taken care of.

The evening before NEFF, my mother picked me up at the train station in Springfield.  “I want to show you the house where I grew up,” she said, “The one your grandfather built.”

My mother had grown up in Springfield before moving, when she was in high school, to Deerfield.  My grandmother still lives in this house, but the last time I’d seen the house my Grandfather, Grandpa Les, had built I’d been much younger.  Since it was only a little bit out of our way, we swung by.

My grandfather, and his side of the family, has always been handy with tools.  For my grandfather that meant he loved to tinker – one of his hobbies was fixing clocks.  He had a fully tricked-out woodshop in the back of his yard that he fashioned himself.  For his sisters, one is a beautiful seamstress (though her eyesight is going now), and the other was handy with anything to do with yarn: knitting, crochet, tatting, rug making, etc.  Their mother, my great grandmother, used to dye her own wool to make rugs in intricate detail.  Going to my Grandfather’s childhood home (my great aunt, the seamstress, lives there still), the attic is a treasure trove of crafting supplies that are a joy to behold.

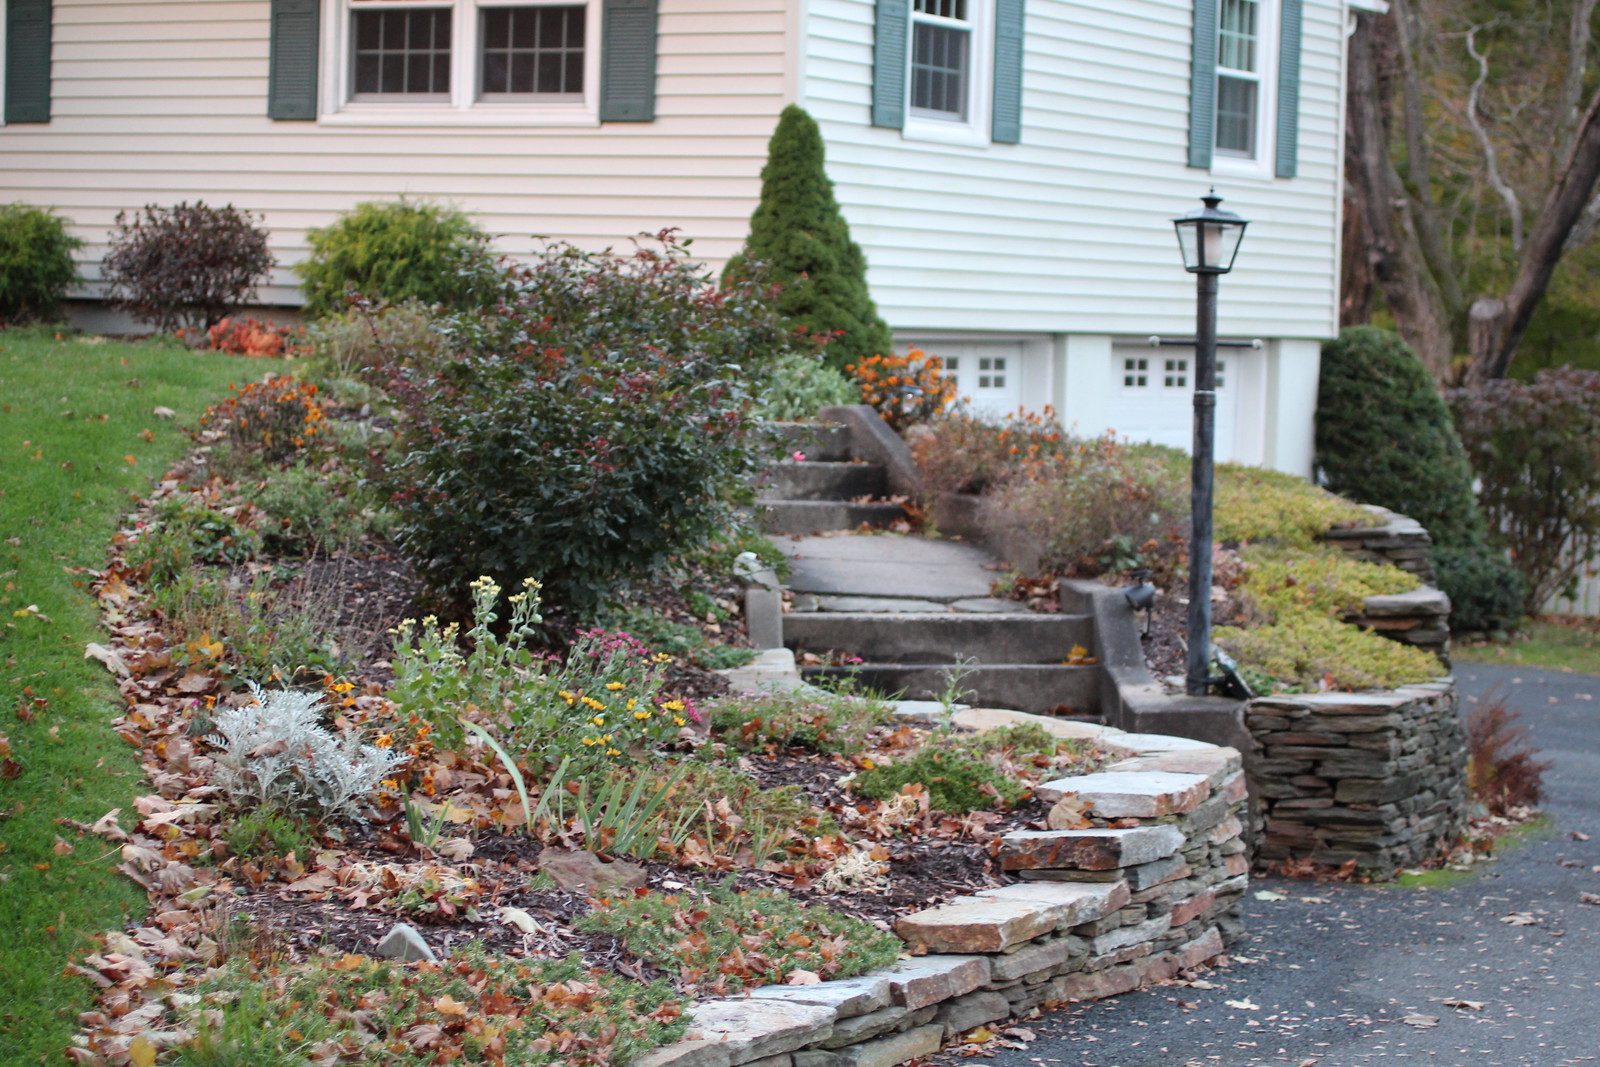
My grandfather built this rock wall for my
Grandmother’s Garden.  It’s still standing.

When my grandfather wanted to learn a new skill, he got a book.  Or more accurately, books.  When you go to his library in my grandmother’s house, you find books on electricity and wiring (he eventually got his electrician’s licence), plumbing, and carpentry.  My grandfather was an early adopter of the computer, and there’s books on coding and how the internet works (the internet ones make for funny reading, nearly 15 years later).

He loved to take things apart to see how they work.  I see that same quality in myself – I love to learn a new knitting technique, and then fiddle with it until it breaks down.  When I see a knitted sweater or a stitch pattern that I’ve never seen, I will shamelessly look at the inside seams or inspect the use of knits, purls, yarnovers and decreases.

Grandpa Les wouldn’t buy something if he could make it himself – and he could make nearly anything.  Need a rabbit hutch?  He’s got you covered.  His grandaughter wants a play kitchen? Give him two weeks.  I think he really understood the satisfaction of doing something yourself, to take the time to do it right.

I find that same joy in knitting and crochet.  And even though our crafts use different materials, every once and a while, while I’m meditatively working, I’ll think of him.  It makes me happy.

New England Fiber Festival Recap

This is going to be picture-heavy, but it’s worth it!

I spent this last weekend in Springfield, MA.  I was teaching at the Fiber Festival of New England

My grandmother and I, early in the morning before I head to NEFF.

(sometimes called New England Fiber Festival, or NEFF).  I grew up in Massachusetts.  My family lived outside of Boston when I was little, and we often visited family in other parts of the state.  Even when we moved to other states, I returned back to MA for summer camp at Chimney Corners YMCA Camp each summer.  Going to NEFF, in some ways, was a little bit like coming home… especially because I crashed with my grandmother, who lives nearby.  It meant that both my mother and grandmother could send me off on Saturday morning.

NEFF is an incredibly well-run event, and I can say that both as a teacher and the support I received, and as a participant, when I returned on Sunday to browse and network.

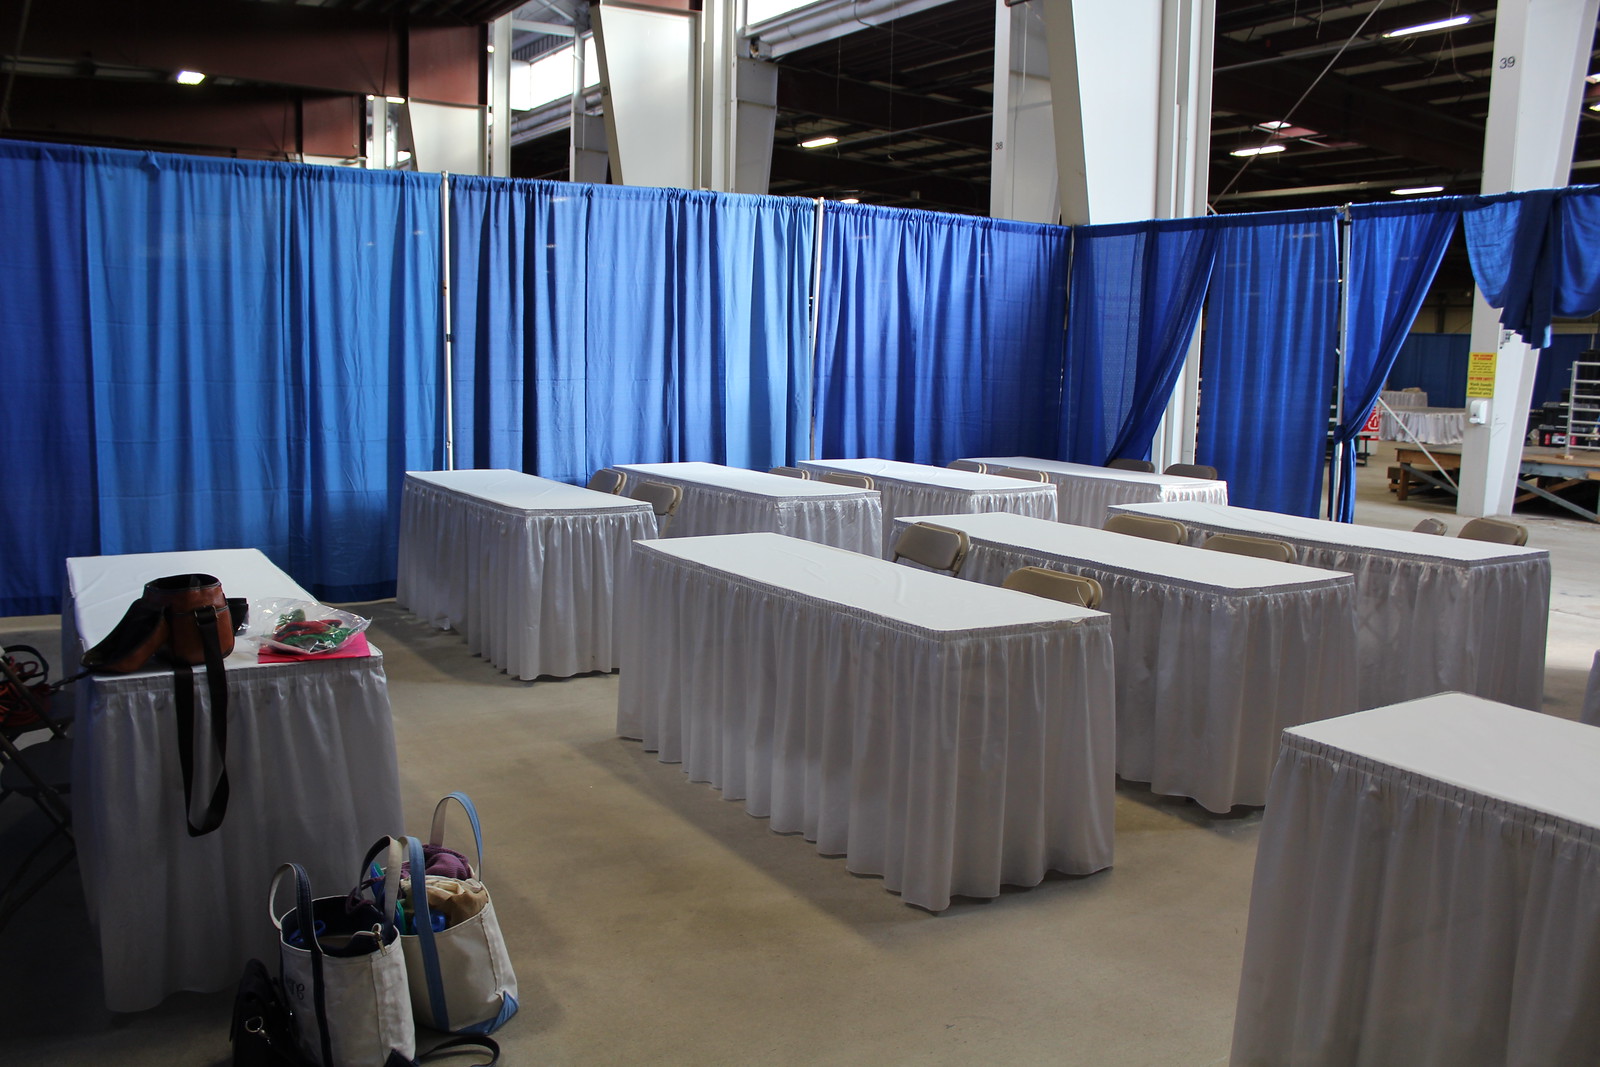
NEFF, Classroom Space
I got to NEFF early, so I could check out my classroom. Aren’t they nice?

One of the highlights of the trip was my second class, Hairpin Lace Scarf.  Our group had a bit of some adverse conditions – there was a fashion show and another class with a miked instructor just adjacent, but everyone kept a great attitude.

I had two great experiences happen during the class.  The first was when an old family camp friend walked in (Sue B!) and informed me she was one of my students.  I was so happy and excited to see her – I had not been expecting her to be there!  It took me a moment to recover myself I was so startled, but in a wonderful, wonderful way.

Then, nearly an hour into my class, as we’re making great progress I look up, and in the doorway is my Aunt Sue!  She had stopped in with her sisters to say hello.  It’s thanks to my Aunt Sue that I have the only picture of myself teaching from the weekend.

Tinking Turtle, Teaching, Hairpin Lace
Shot from my Aunt’s Camera-phone, I’m talking about Hairpin Crochet.

Having both camp friends and family stop by was SO incredible.  Living in Washington, DC, I have a wonderful network of people that support me in my endeavors.  Being able to have an opportunity to teach at a venue located so near my family and camp friends meant that my childhood support network could roll out the carpet to support me.

On Sunday I returned to the event with my mother and my best friend (again, from Camp, I’ve known her since we were both 8 years old!), Becca.  Both my mother and Becca coped well as I dragged them from one booth to the next telling them about what I loved.  It’s such a rare opportunity to share with people I love the things I love.

I’ll close out with some pictures of the event, with captions.

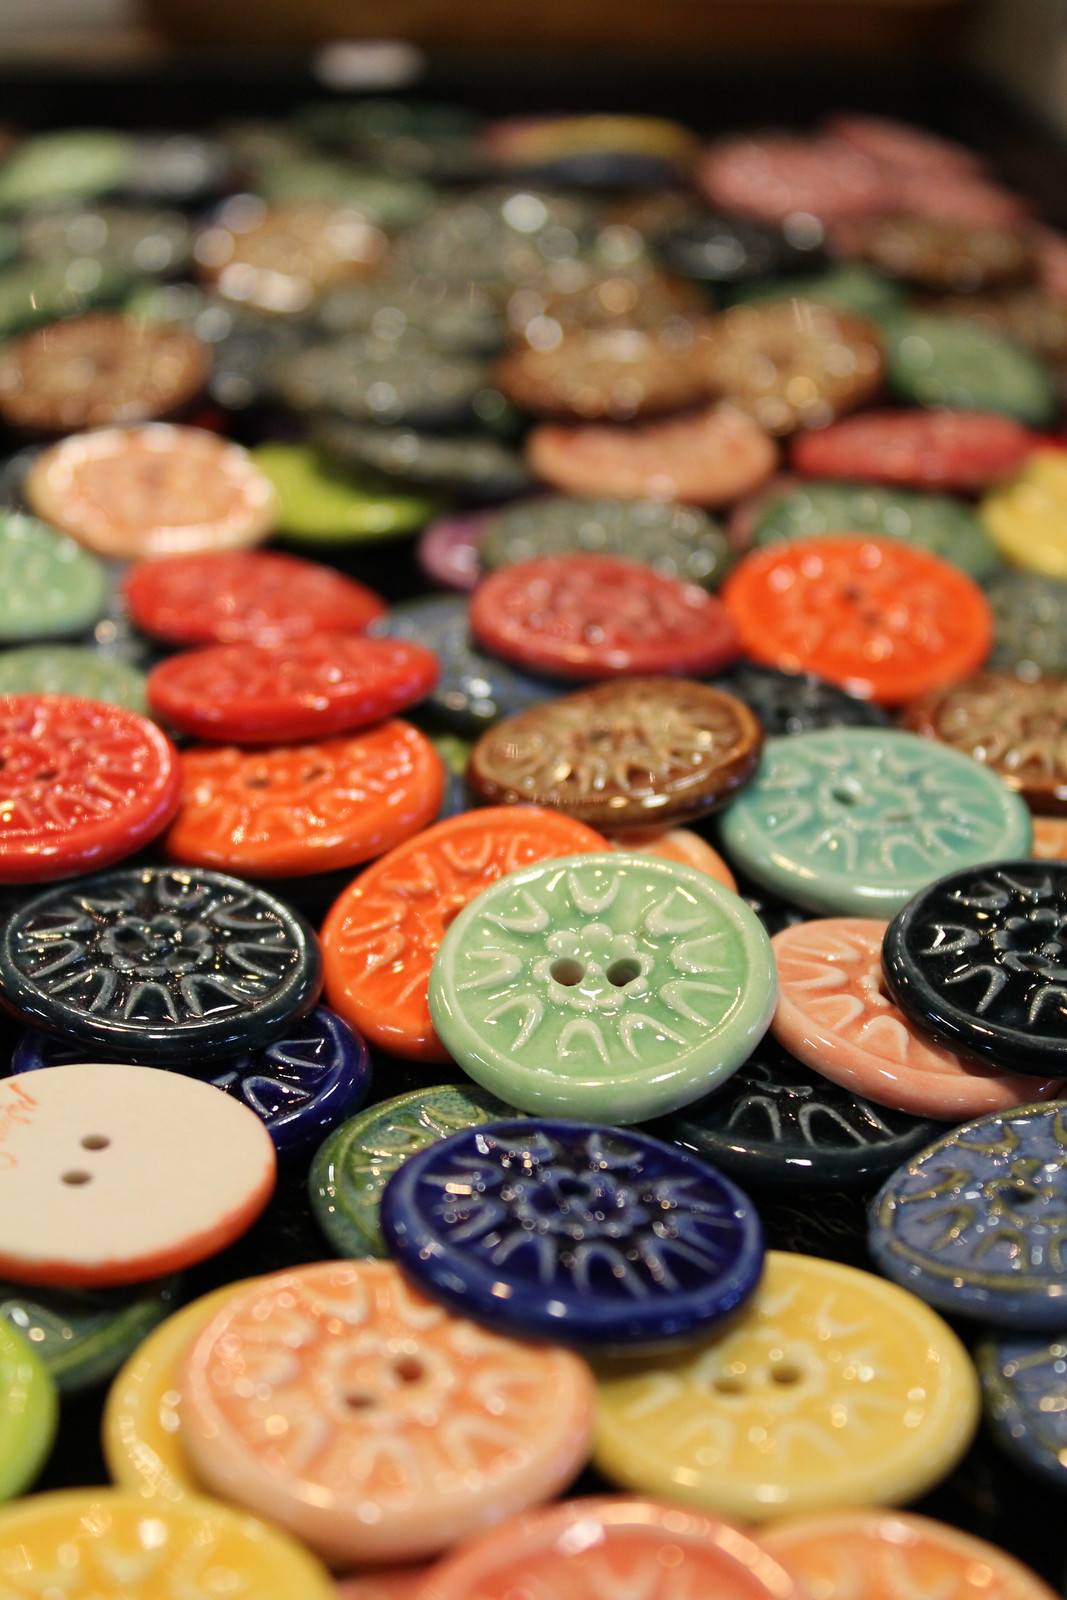
Melissa Jean, Buttons, Ceramic, Camera, NEFF
Melissa Jean‘s fabulous buttons, each one signed on the back and absolutely lovely.
Decadent Fibers, Sample, Cap Sleeve Top, Irina Poludenko
A fabulous stall by Decadent Fibers.
Pattern Is #15 Multidirectional Cap Sleeve Top by Irina Poludenko
Felt Pumpkins, Decadent Fibers, November, Fall
Also by Decadent Fibers, these cute pumpkins!

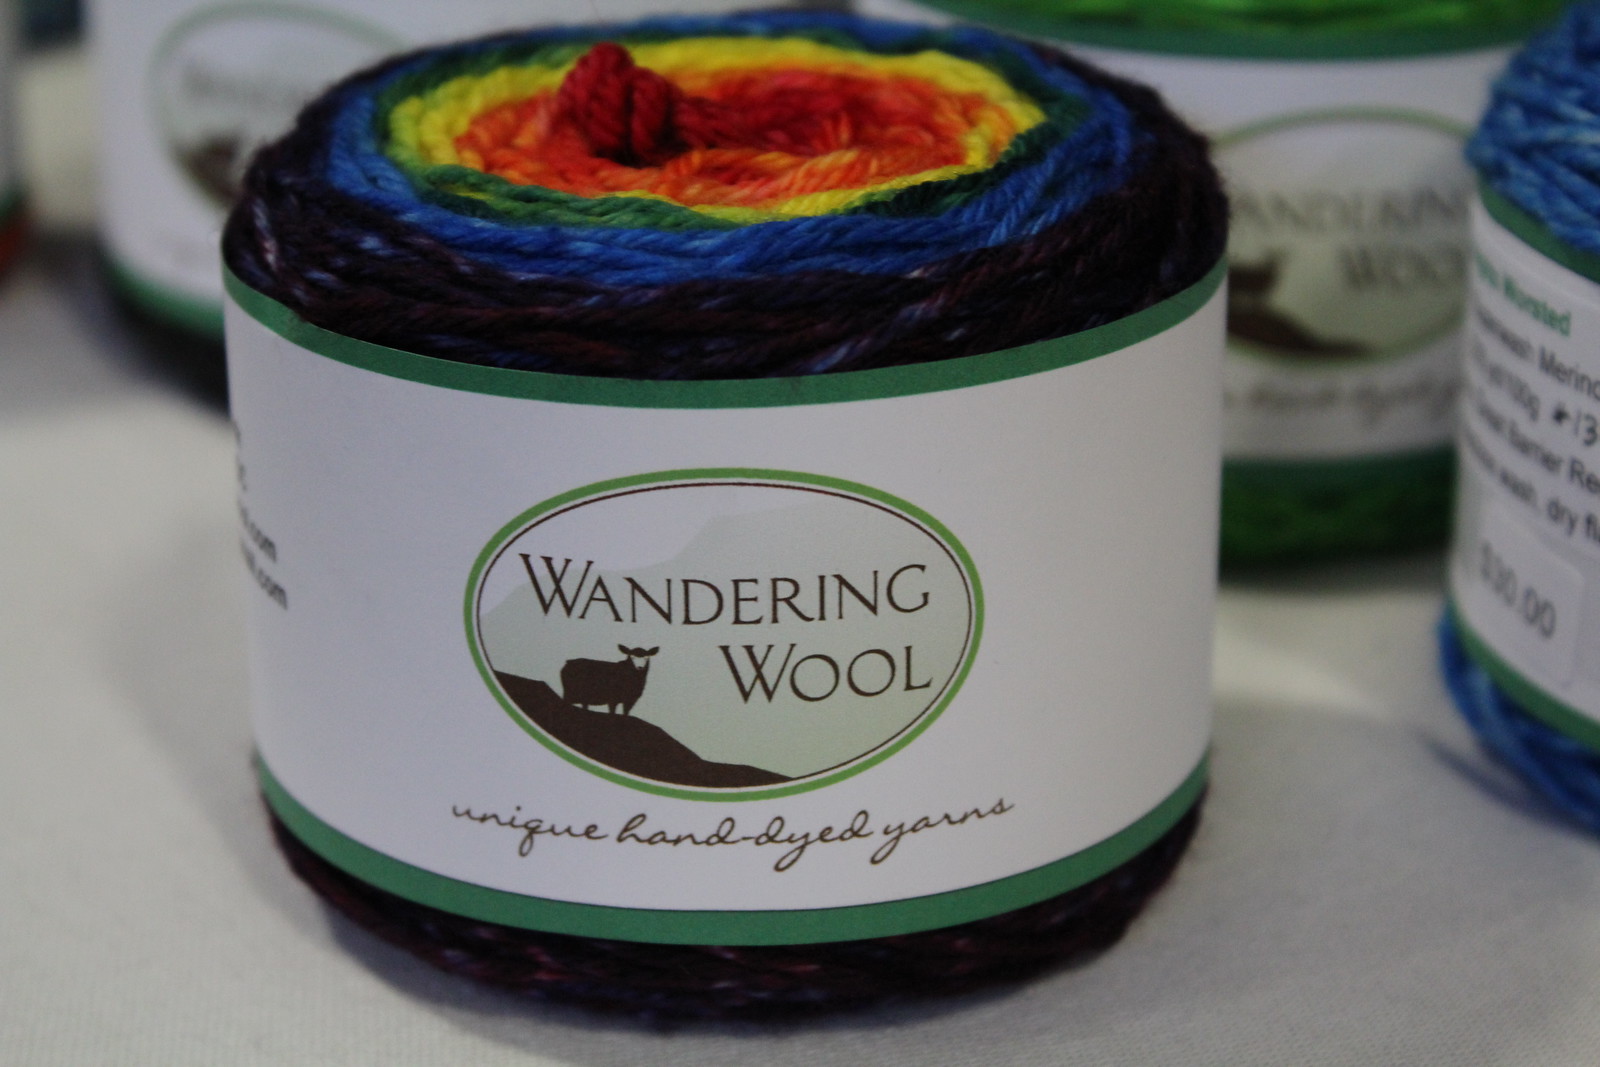
Wandering Wool, Rainbow Yarn, Gradient Skeins
Pretty Gradient Skeins by Wandering Wool.  I kept admiring her stall and samples –
turns out she’s from DC, pretty close to me!
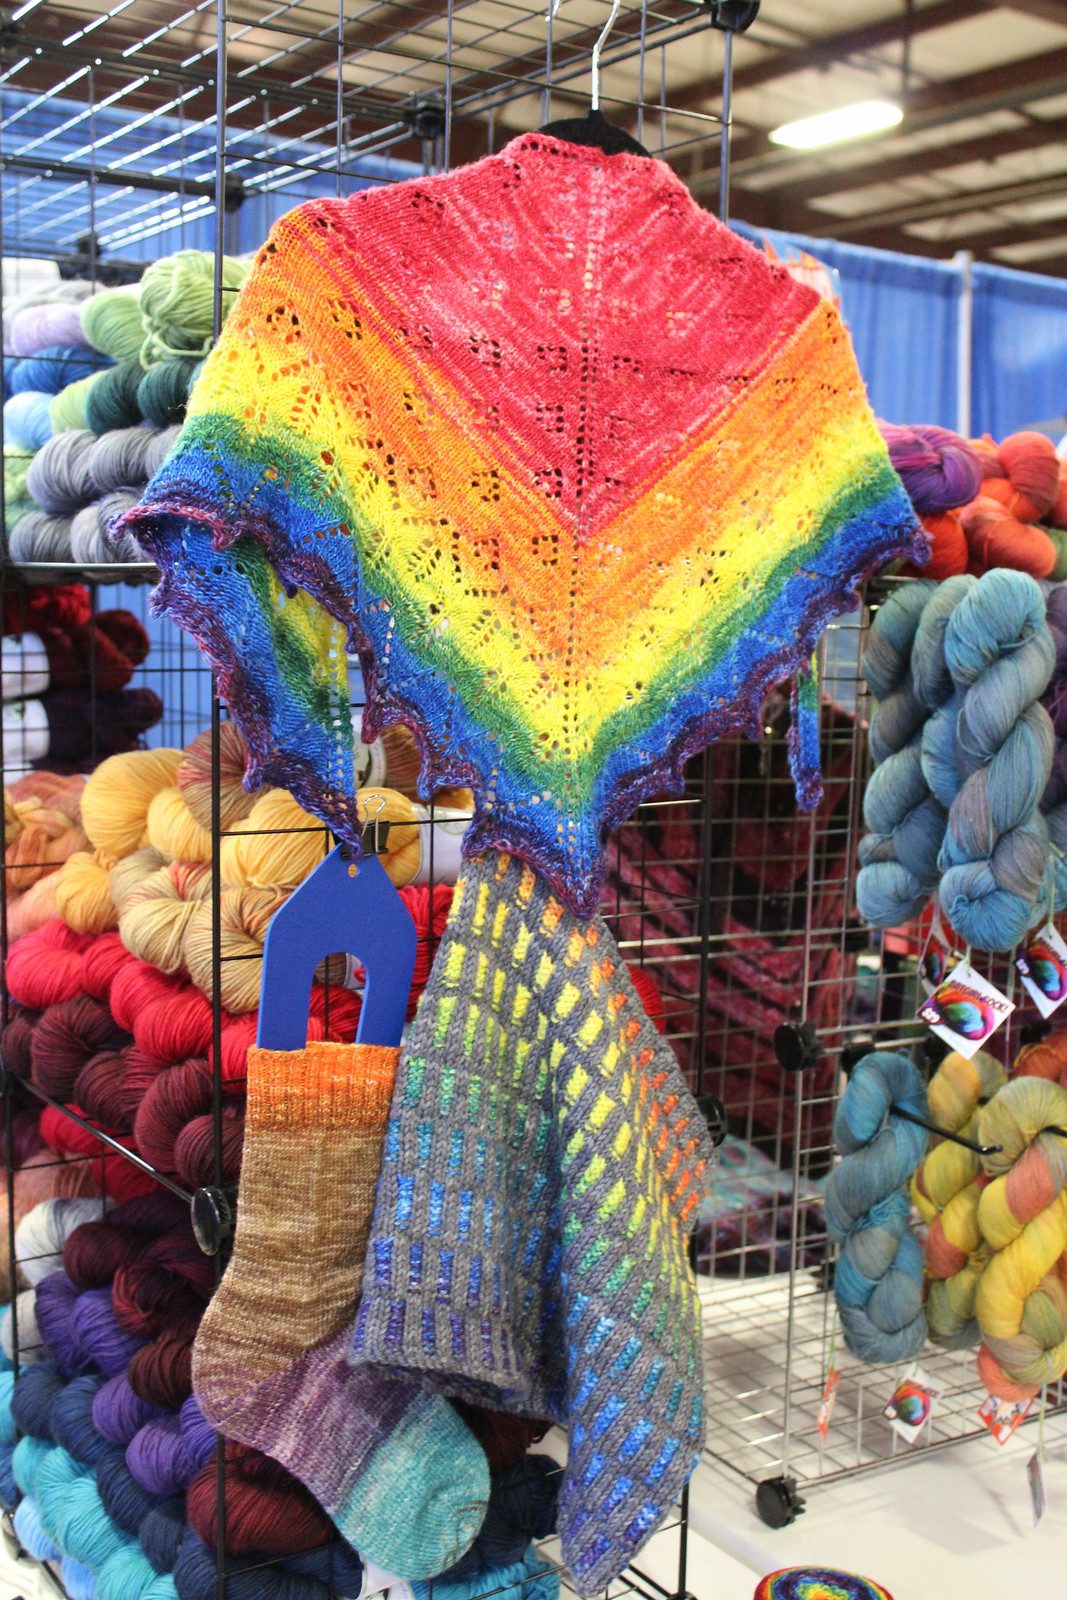
Wandering Wool, Rainbow Yarn, Shawl, Cowl, Samples, NEFF
A few different samples in Wandering Wool‘s Stall.
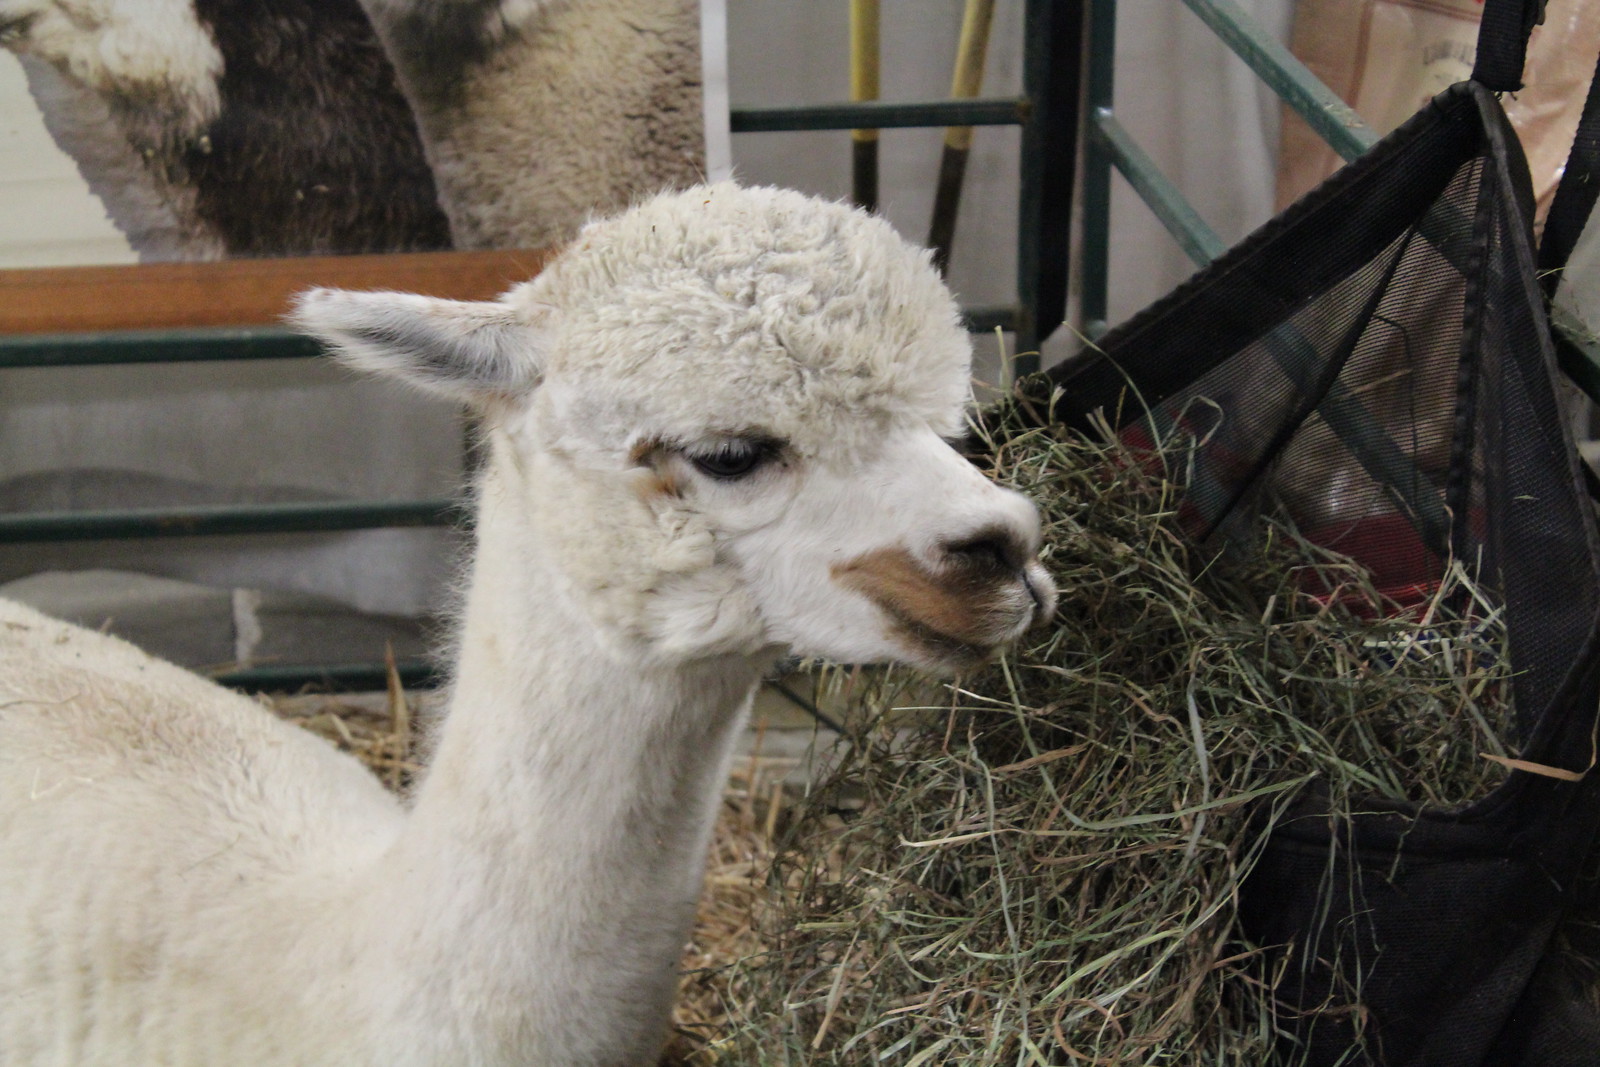
Alpaca, Mustache, NEFF
This (girl) alpaca looked like she was rocking the mustache for November.

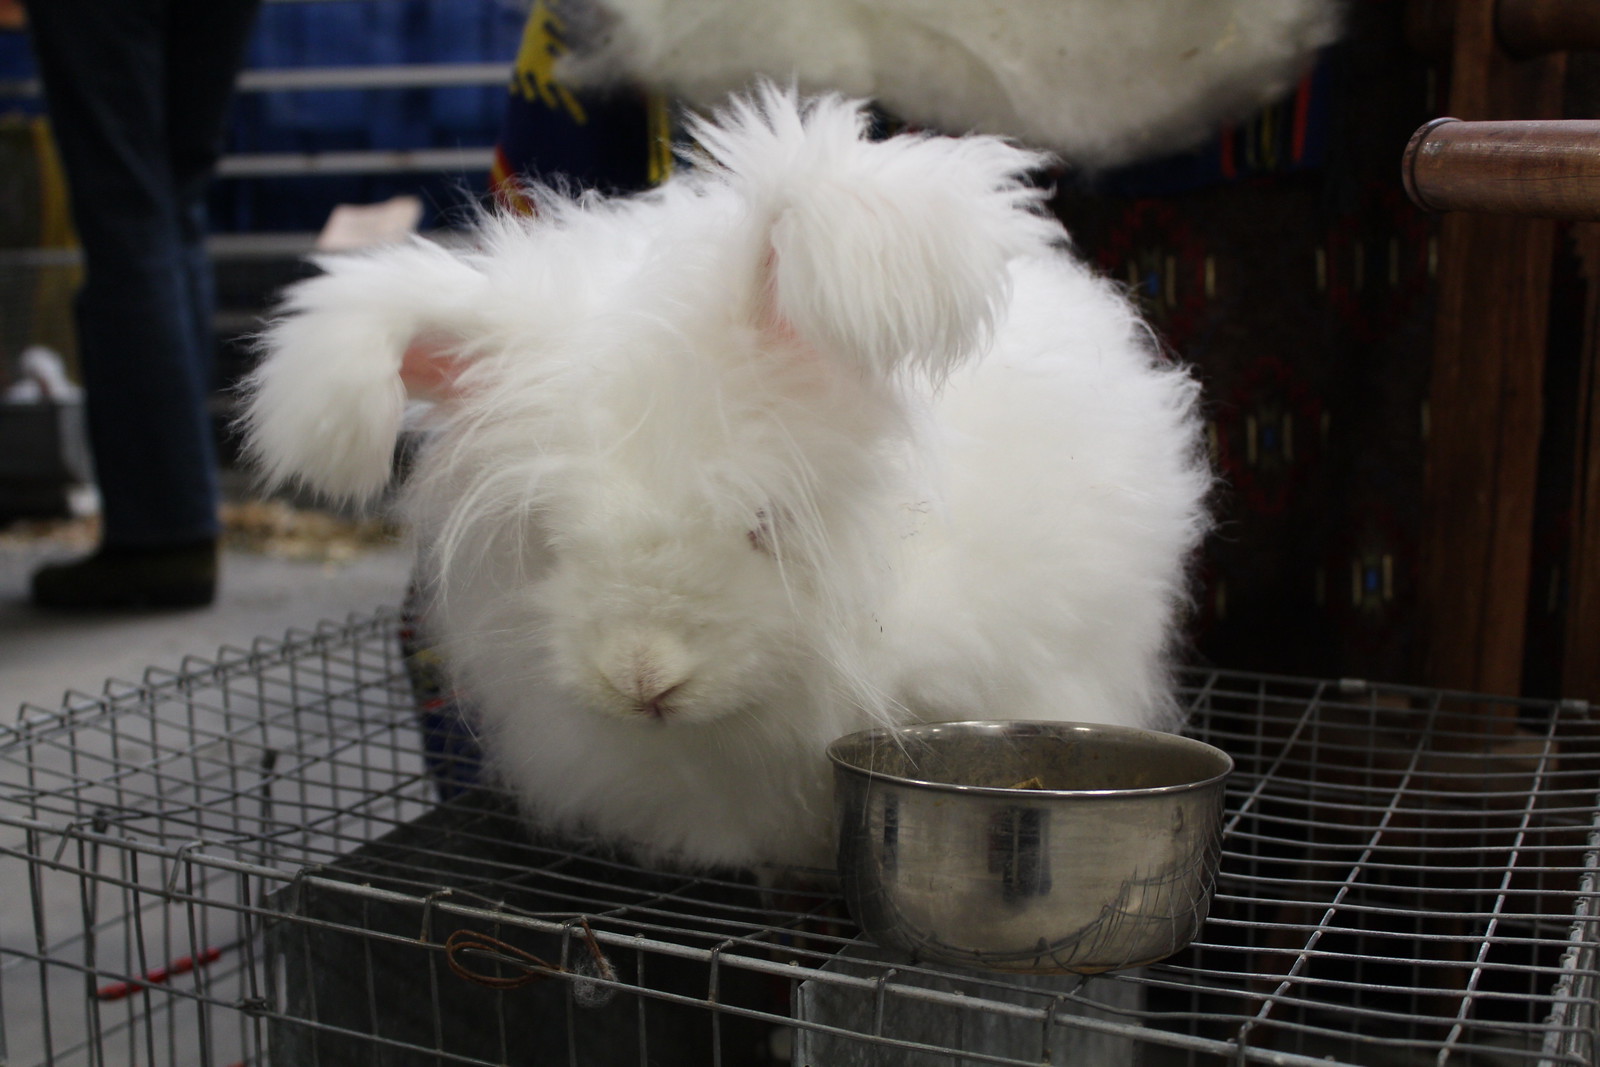
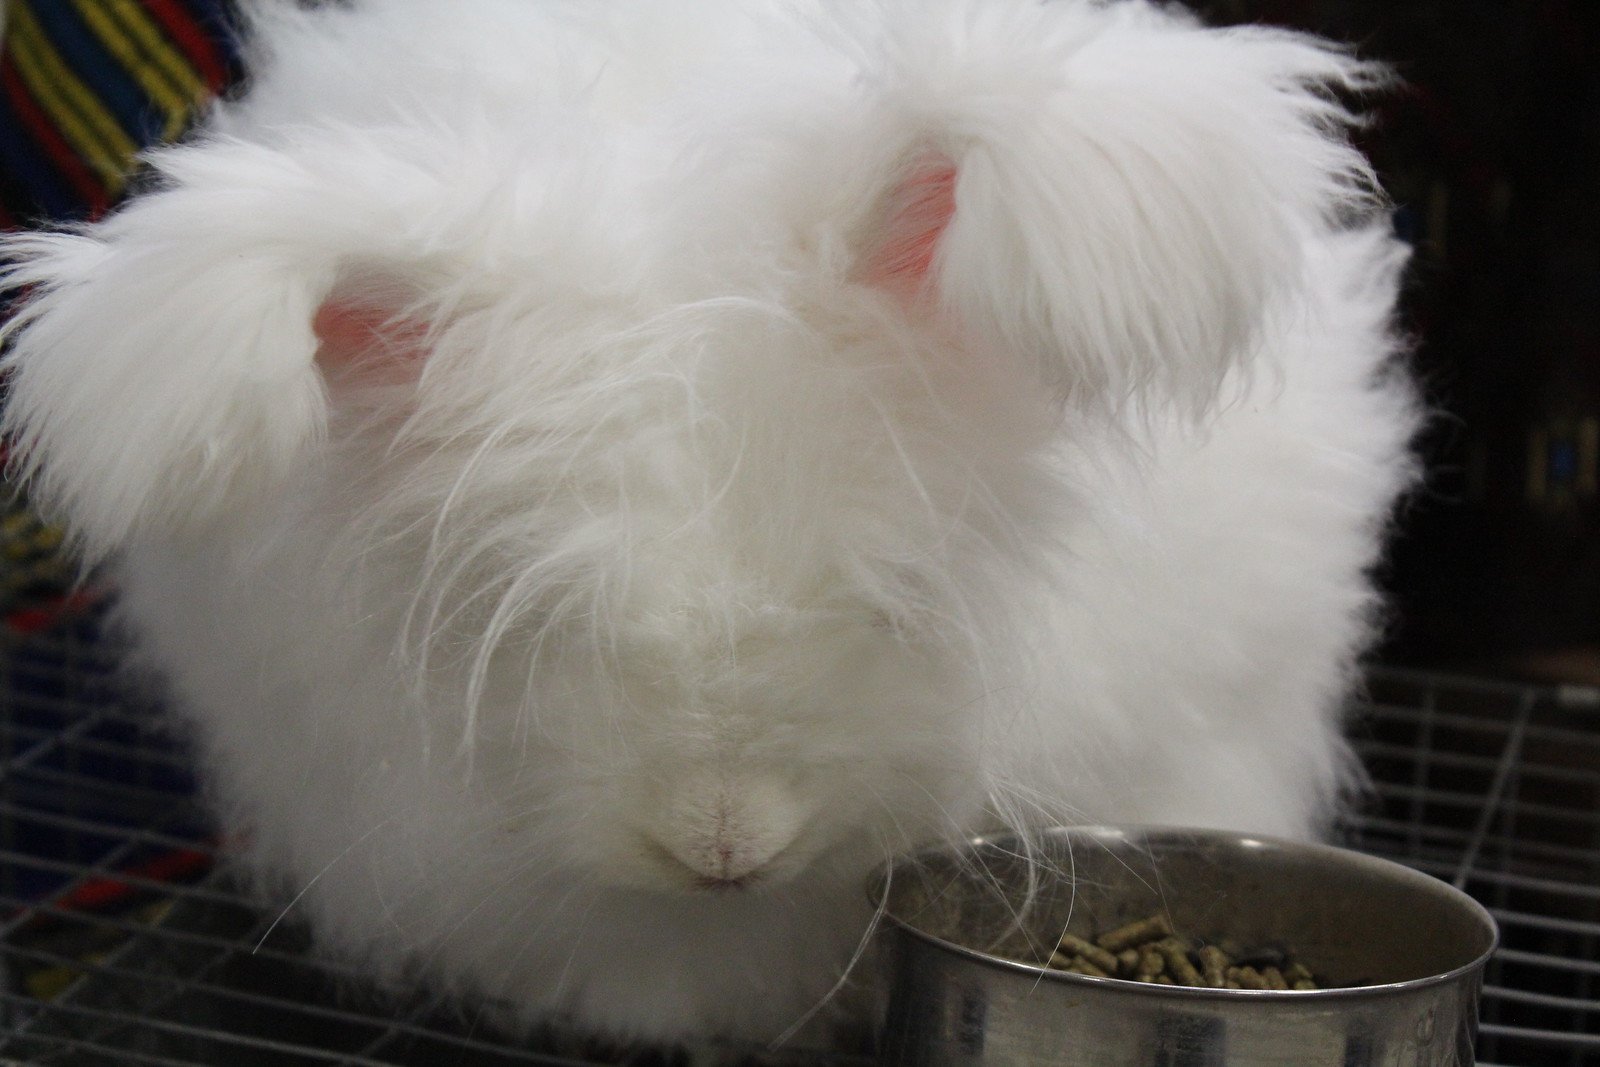
German Angora, Rabbit, Fiber, NEFF
German Angora Rabbit.  Nearly took it home.

Indie Designer Giftalong

I’ve been rather delinquent in posting about this, but I figure better late than never, eh?

This year I’m participating in the Indie Designer Giftalong.  What is a giftalong you ask?  Well, considering how the holidays are a stone’s throw away (I know, don’t remind me!), this means if you are planning on knitting or crocheting for the holidays, time is running out.

A bunch of designers (over 150!) have decided to help the holiday crafters out, creating a sale of 25% off that runs from November 1-15th.  This is partnered with a Knit-a-long (KAL) or Crochet-a-long (CAL) to help people stay motivated to finish holiday gifts.  All along the way, there are great prizes that participants can win.

So, information:

There’s a Ravelry Group for the Giftalong.
There’s a list of Prizes and Patterns that you can win along the way.
There’s a list of participating Designers.
There’s Rules.
In case you are visual (or not on Ravelry), here’s Pinterest boards with all the participating patterns:

Questions
Do I need to be on Ravelry to buy the patterns? NO! All you need is a credit card.  The cart will ring you up via paypal and you can have the pattern emailed to you.

What patterns are you offering? This includes: Swirl SocksSweet StrawberriesOutrageous OrangeTunisian Cat, and One Salt Sea.

Finished Project: Rug

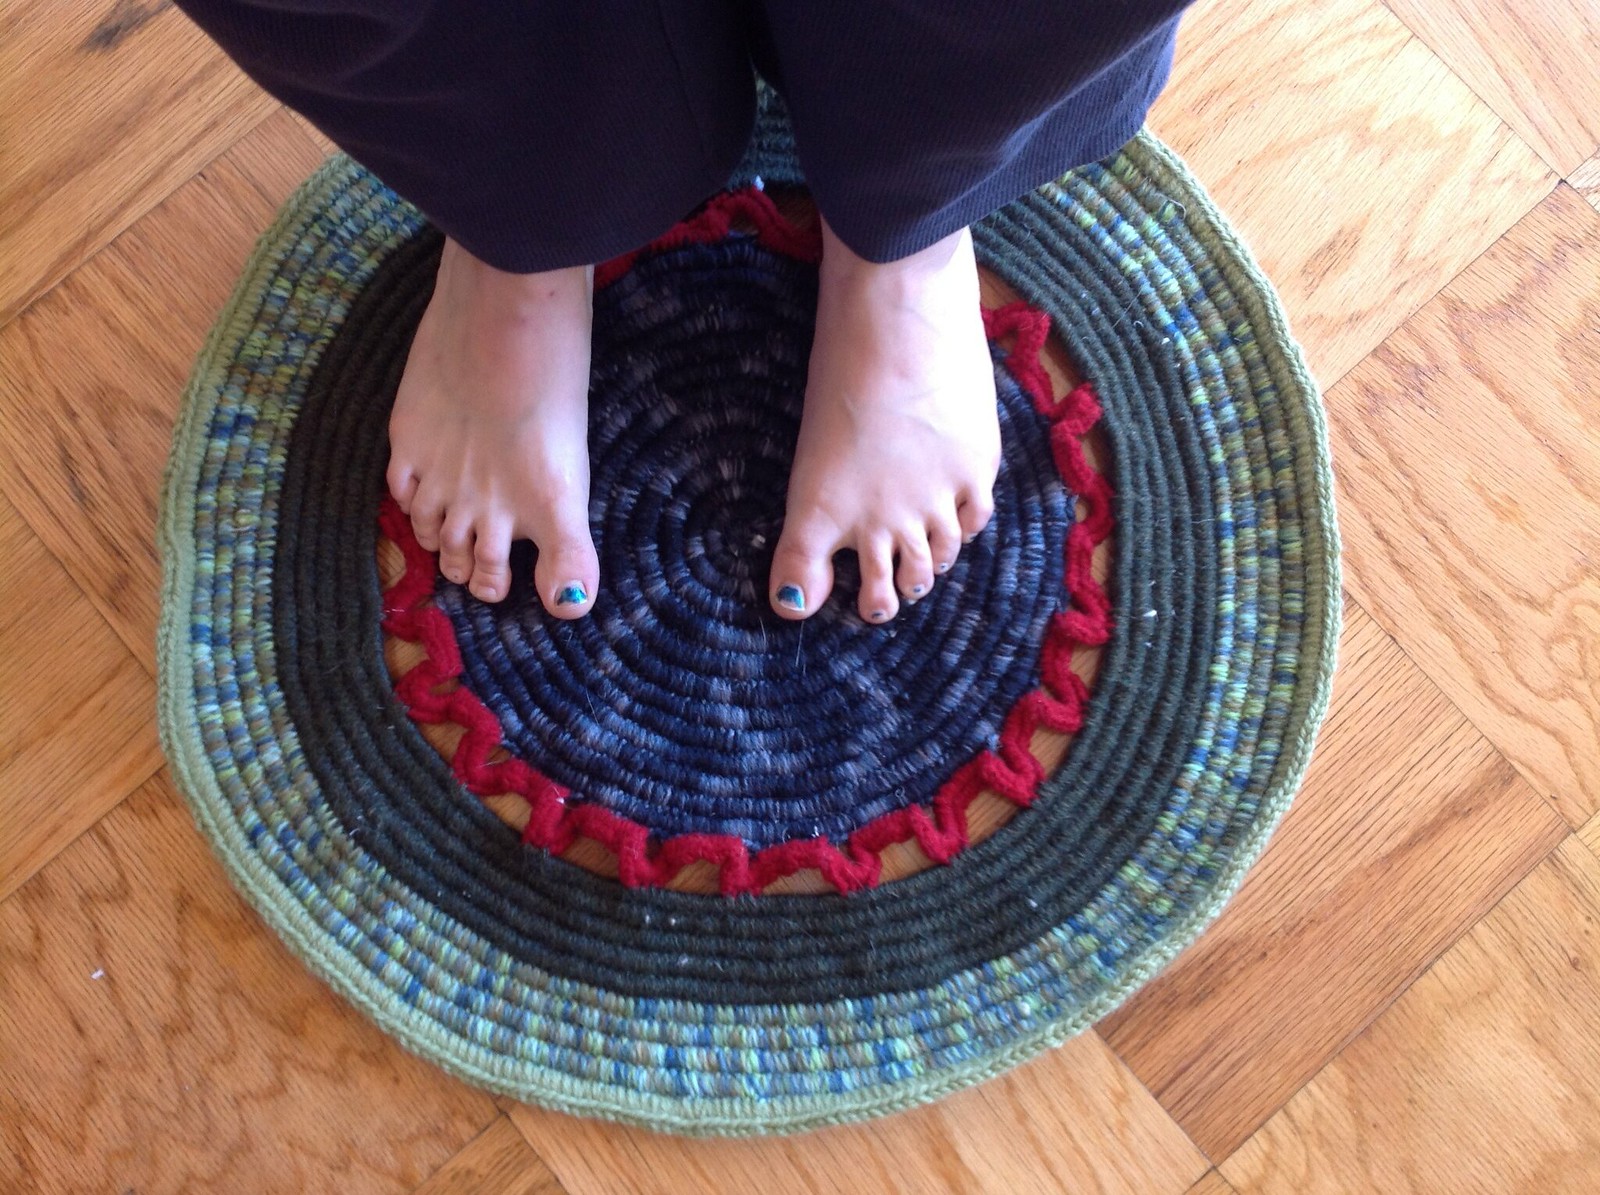
I’ve been playing around with crochet lately, and decided I needed to swatch.  This is perhaps the largest swatch I’ve ever made.

Look!  I made a rug.

I’ve been playing around with Irish Crochet, and I wondered why I couldn’t explode it, the same way Doris Chan does with lace.  The rug was my first attempt.  There’s a few kinks I want to work out before it becomes something I might write a pattern for, but the rug is deliciously cushy and used up a good chunk of my worsted and aran scraps.  This is a good thing.

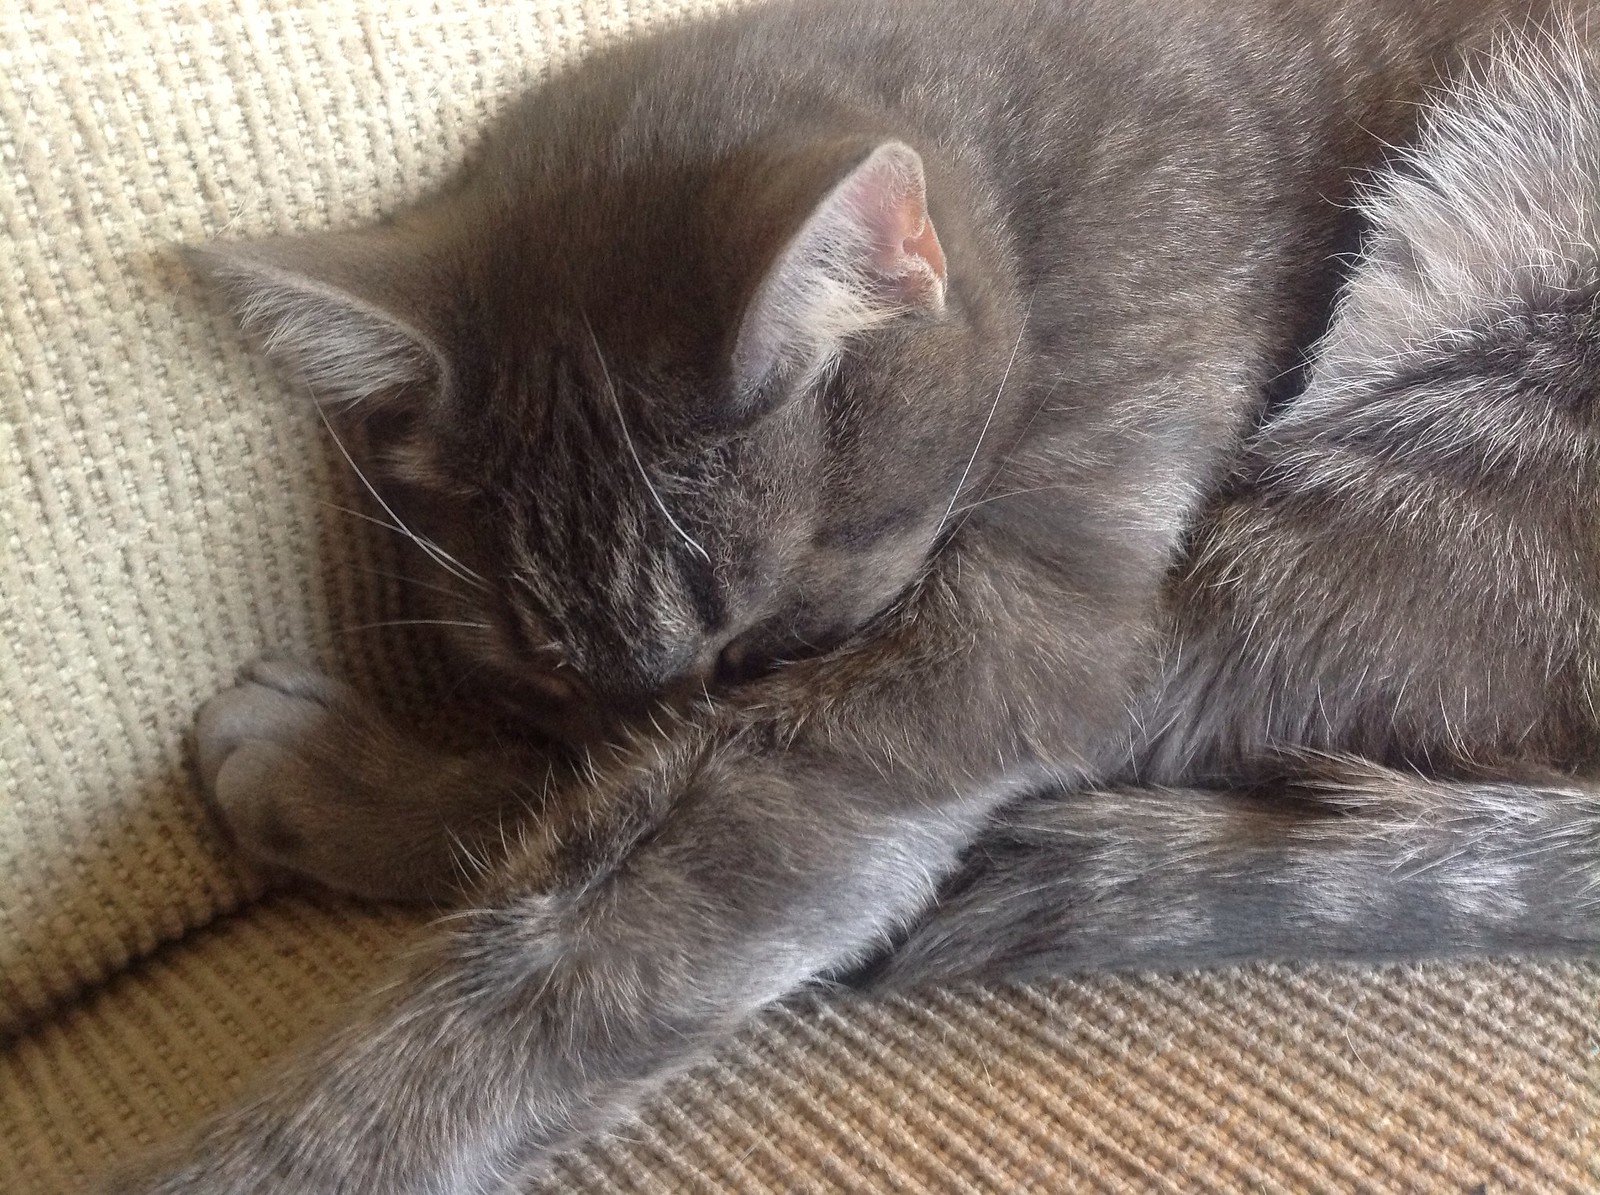
I’m busy packing for the Fiber Festival of New England (I’ll be teaching on Saturday – sign up for my classes!), so I’ll leave you with some great cat pictures:

Peake, sleeping.
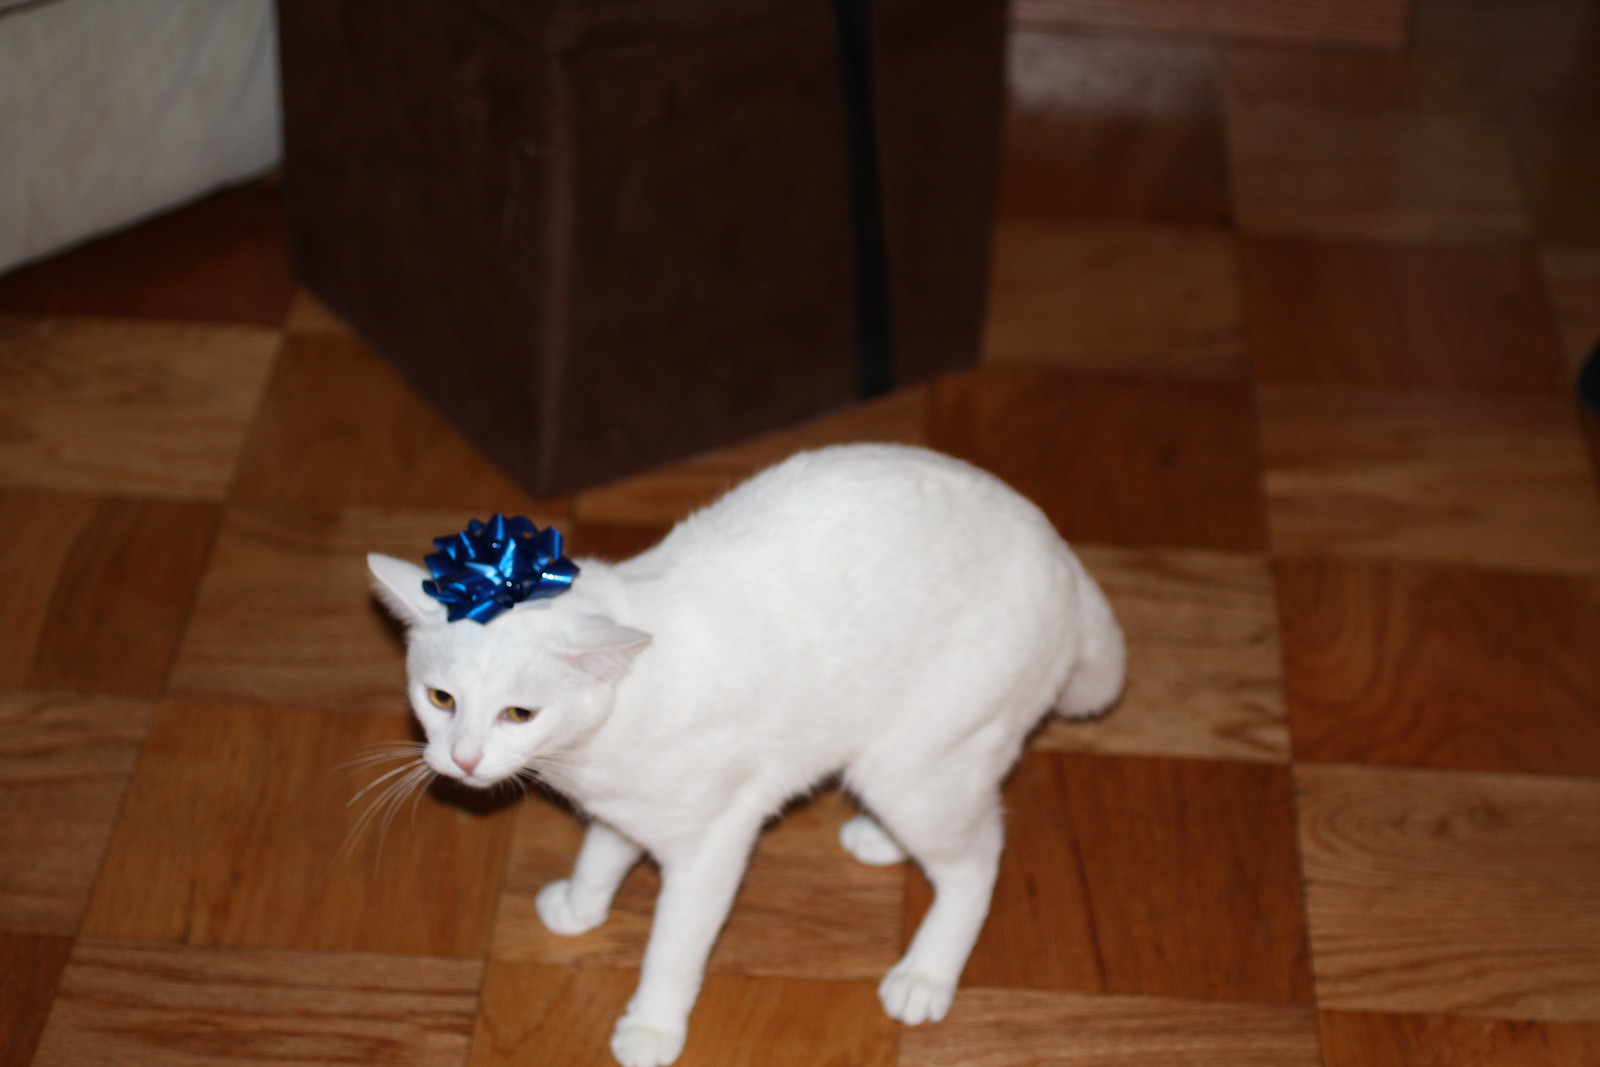
Watson, quite unhappy with our attempt to dress him up for Halloween.