PPST…. it’s almost time!
This weekend I was kept hopping with exciting stuff in the background, and a set of really
wonderful classes both Saturday and Sunday. So much fun!
This week some exciting things are happening (I want to share more, I really do, but you’ll have to wait with me – so hard!), and I’m nearly beside myself with anticipation.
So, for those of you who are up late, you’ll get a special treat: a little sneak peek.
Because I can never resist giving hints!
Post Mortem: Larkin
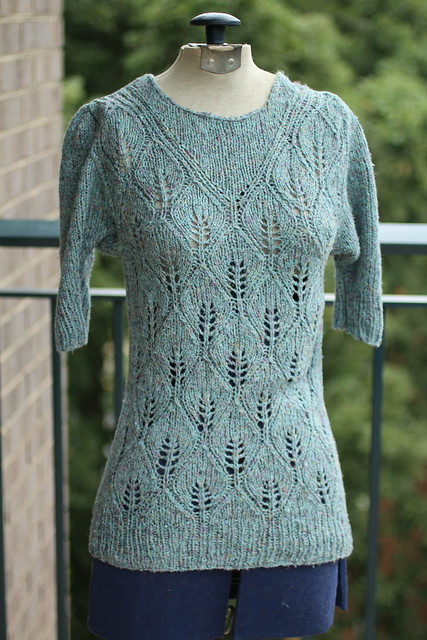
Larkin is the story of the design call that could. Just like the iconic train saying “I think I can,” Larkin was a design I believed in from the beginning, but one that just had to keep plugging along until it got accepted. Larkin started out as “50’s Flame” – a vintage inspired top for a design call for Three Irish Girls nearly 4 years ago. It looked like this:
New Pattern: Larkin
by Jennifer Raymond
Published in: Homestead by Classic Elite Yarns
Craft: Knitting
Category: Sweater → Pullover
Published: March 2014
Yarns suggested: Classic Elite Yarns Meadowlark
Yarn weight: Worsted / 10 ply (9 wpi) Information on yarn weights
Gauge: 17 stitches and 25 rows = 4 inches in Stockinette stitch
Needle size: US 8 – 5.0 mm
Yardage: 550 – 990 yards (503 – 905 m)
Sizes available: XS (S, M, L, XL)
This pattern is available for $6.00 USD
buy it now or visit pattern website
A pullover with lace patterning on the front, pleated sleeve caps, and a no-finish round neckline.
Skill Level: Experienced
Sizes: XS (S, M, L, XL). Shown in size XS.
Finished Measurements: Bust: 32 (36, 42½, 45, 48)”
Length: 23 (24, 25, 25¾, 26¾)”
Yarn: Meadowlark by Classic Elite Yarns (50% silk, 30% linen, 20% viscose; 50 g = 110 yards) 5 (6, 7, 8, 9) hanks 1554 Aquamarine
Other Materials
Stitch markers
Removable markers or safety pins
Sewing pins
Gauge
17 sts and 25 rows = 4” in St st and Flame patt from
charts. Take time to save time, check your gauge.
For more information, see: http://www.classiceliteyarns.com/pattern_detail.php?patternID=283
Snowday, again.
We got about 5 or 6 inches of snow today. Needless to say, everything was pretty much shut down. Mr. Turtle and I stayed holed up in our apartment. Mr. Turtle was recovering from a cold, and every time he coughed the cats got startled. For once in my life (shockingly!) I was the preferred human to cuddle, which was a little awkward as I was working on an upcoming pattern.
At one point both cats were poured into my lap, a rather startling feat.
Michael snapped a picture.
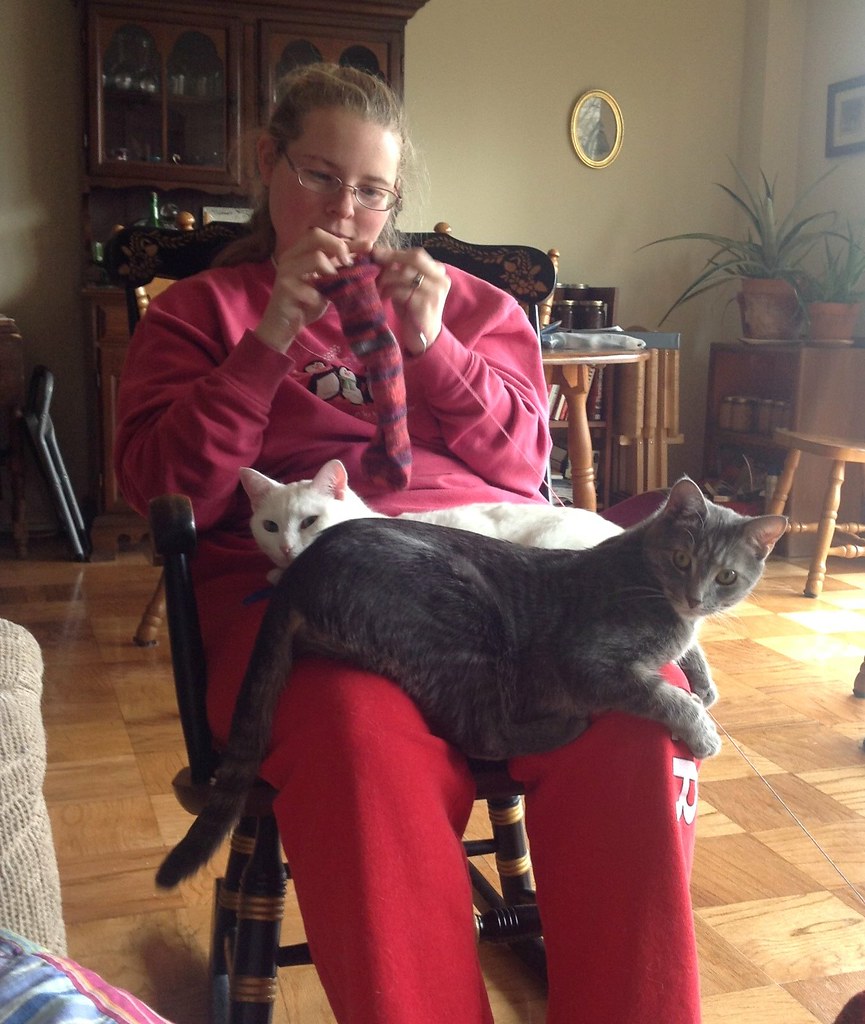 |
| Me, lovely in my “Knitter” Sweatpants and Penguin Sweatshirt; the cats, keeping my lap warm. |
The pattern was giving me fits today. It’s a new sock pattern, and the heel took three tries to get right. It’s a perfect fit now, but I had to try out everything that didn’t work before I settled on a shape that worked.
Breaking Down Blocking Knit and Crochet Items
I got some blocking mats, pins, and wires and have been
experimenting with blocking some smaller things that I made, like
scarves. I recently finished a crochet project that I’ve been working on
for a while (Daisy Wrap) and I don’t know where to start with blocking
it….well, after I soak it in water for a while anyway. The blocking
instructions say to pin each picot and there are a lot of them. What would
you recommend for blocking? Fold it in half? I have enough blocking
mats to block it full length. I don’t know where to start with this! Thanks,An Overwhelmed Student
I’d would fold
it in half, just because it’d reduce the amount of pinning I’d have to do by
half. There’s no two ways around it… if you want to have all those picots
standing out the way they look in the pattern, you need to pin them out. I’d probably
take a blocking wire and run it through the two or three picots that are at the
point of each of the arches, and pull those out on each side, just so I didn’t have to pin all of the picots. I’d pull those out, and then just pin out
the picots that didn’t get picked up by the wire.
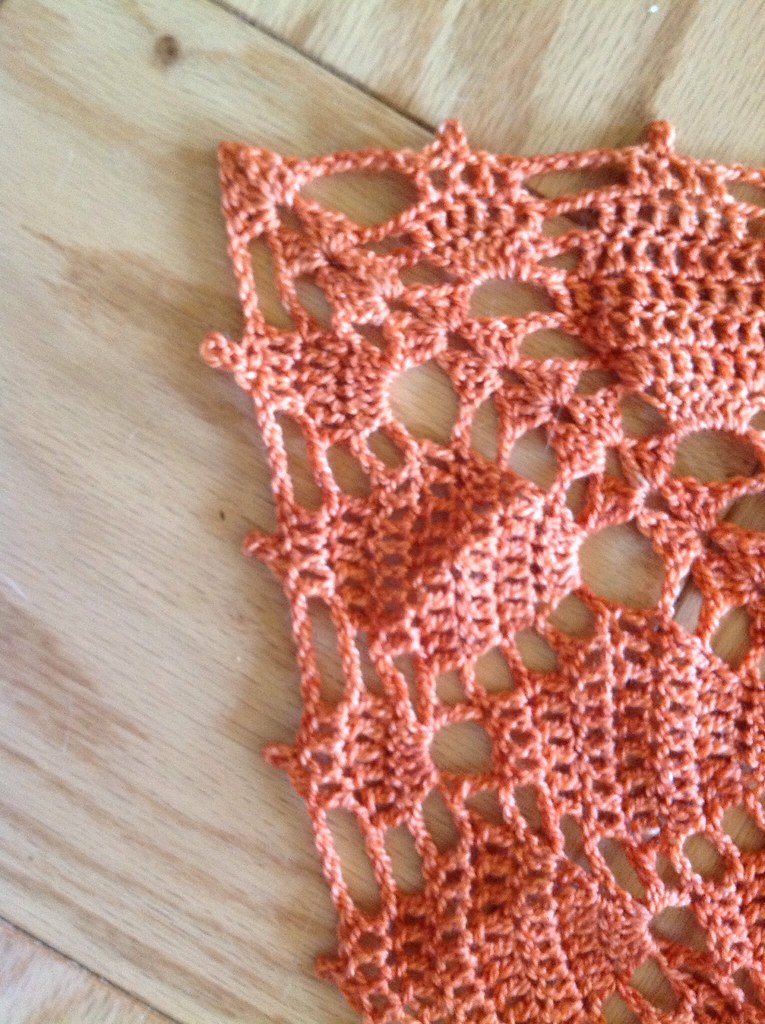 |
| My own Freshly Blocked Firefly Shawl |
Visiting Atlantic Beach
I wrote this post once already, hit save, went to do something else, then went back to edit it and it was gone. I did everything right and I’m still having to rewrite it. *Grumbles*
I’m catching up on things that happened while I was super busy and couldn’t keep up with everything. One of the things I wanted to share was a trip Michael and I took with his parents to Atlantic Beach. It’s become a tradition for them to visit the beach in the off season – when the rates are cheap, the beaches are empty, and you can have the ocean all to yourself. I have to admit I probably like the beach better this way. I don’t mind the cold, particularly. In fact, when you are bundled up there isn’t really a chance of getting sunburned, which is what I’ve done every time I’ve went to a beach in the summer.
Unfortunately for me it was a working vacation – I had a number of designs due at the end of January and beginning of February and I couldn’t just not work on them. But I only did the essentials – so no email or answering the phone.
The unit where we stayed had a GIANT easychair, which I took possession of early in the weekend, and worked on most of my crochet/knitting there. It was an amazing chair.
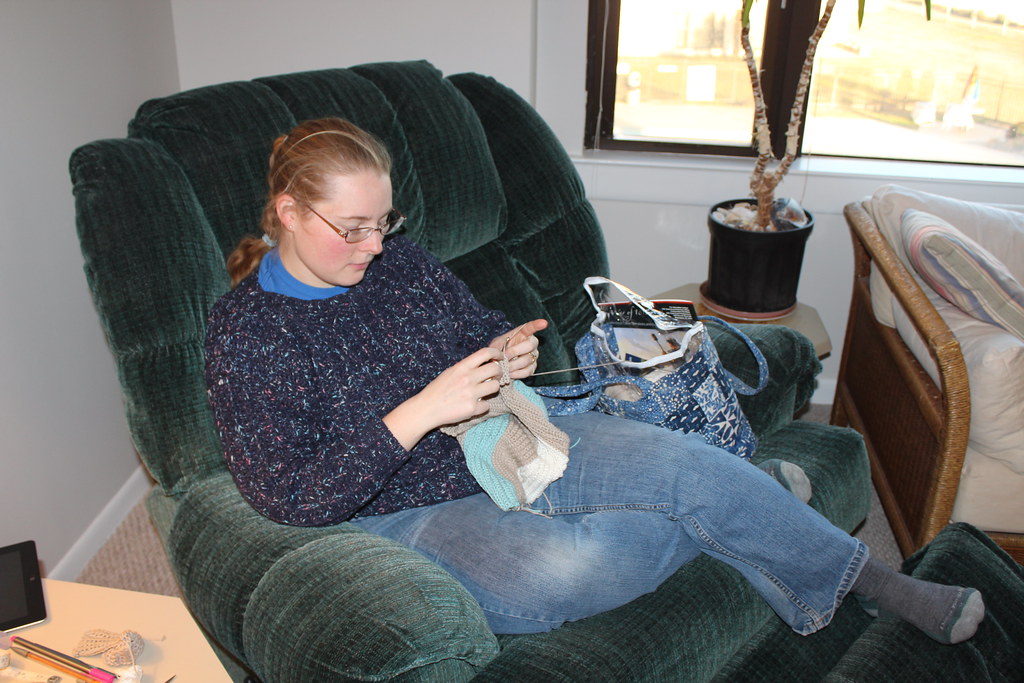 |
| The lovely lovely easy chair, where most of my knitting or crocheting took place. |
 |
| beach vegetation against sunset |
 |
| Me, watching sunset (Michael can’t seem to get a horizon line straight) |
 |
| Michael, looking picturesque. |
 |
| more vegetation |
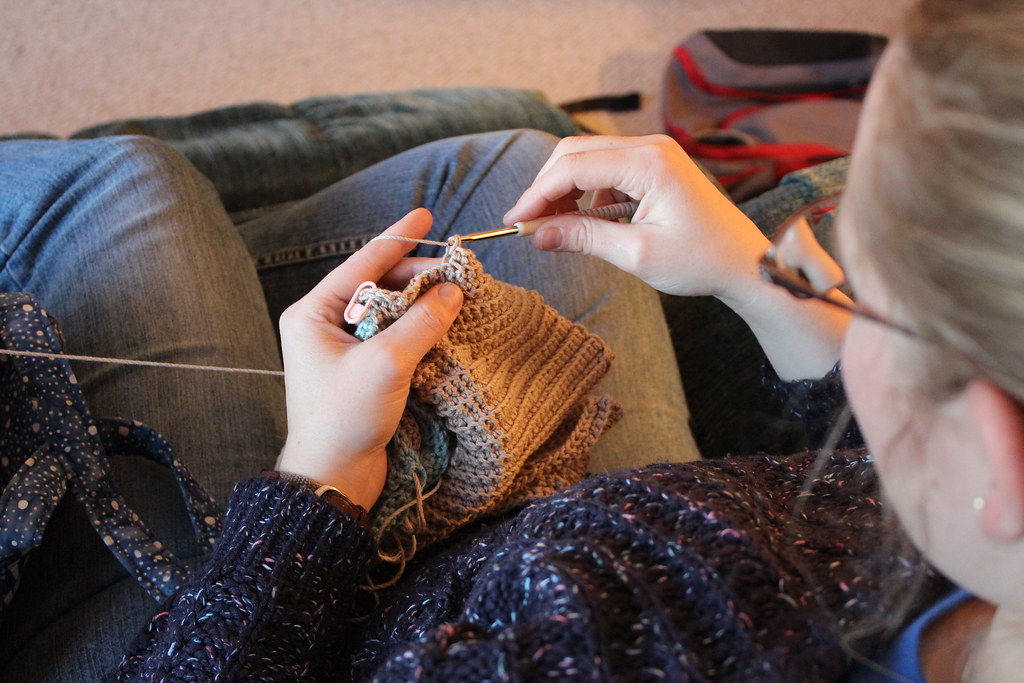 |
| And all along, I stitched away. |
I shrunk my socks in the wash – now what?
I’ve been winding down from a mad sprint that began shortly after Thanksgiving and wrapped up this past week. It’s been several months of multiple deadlines every week, and staying on top of all the personal and professional obligations has been difficult, to say in the least.
For the first time in what feels like forever Mr. Turtle and I got chores done on Saturday instead of Sunday. It’s our habit to do grocery shopping and laundry on the weekend, and over the last few months laundry has been done on Monday or Tuesday night (or even there’s been weeks skipped), and grocery shopping late on Sunday when we get home. While it seems like a small thing, being able to get our chores done not at the last minute has been wonderful – once the chores are done I can relax into the weekend.
Since laundry had been skipped last week, there was a plethora of hand-knit socks that needed to get washed. I like knitting my socks in superwash wool – they go into the washer with the rest of the clothes (cold or warm cycle) and then get pulled out to hang dry. The rest of the clothes go in the dryer.
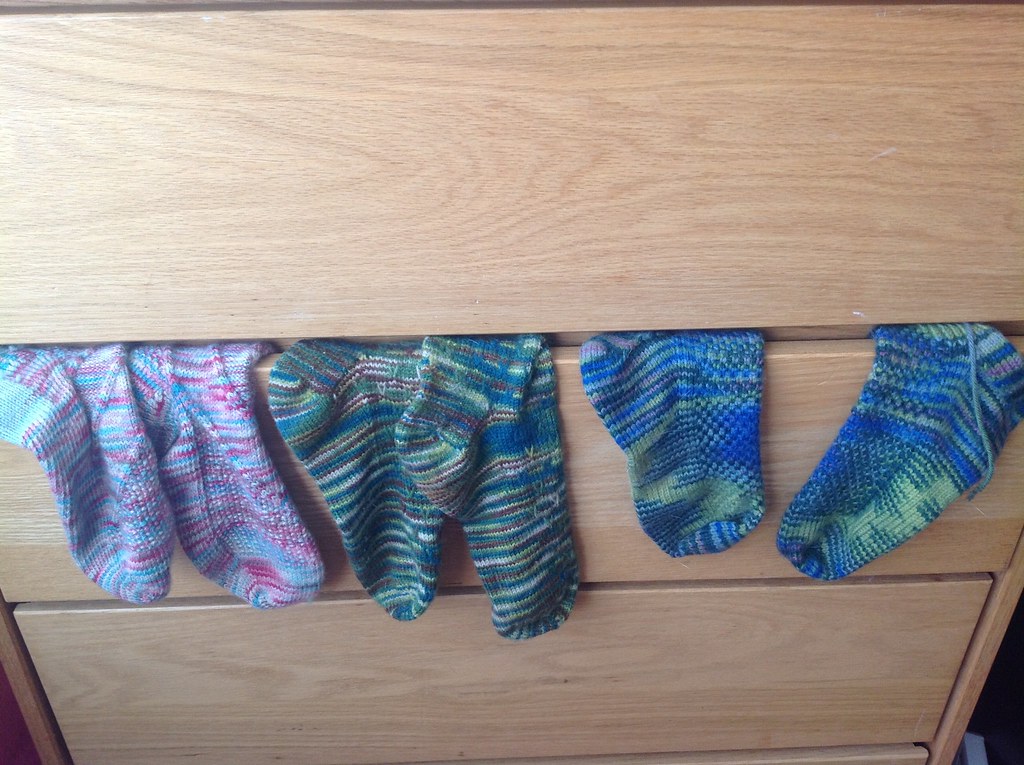 |
| My highly technical way of drying socks – over the edge of the sock drawer. |
Well, we missed a sock… which made it into the dryer.
Now, this is no great tragedy – I’ve had socks go into the dryer before, but I don’t particularly like it because in the dryer my row gauge shrinks. (I’m not sure why – perhaps because when they are hang drying the weight of the socks keeps the row gauge stretched out?) Still, it was an interesting comparison between the line dry sock and the hand-dry sock.
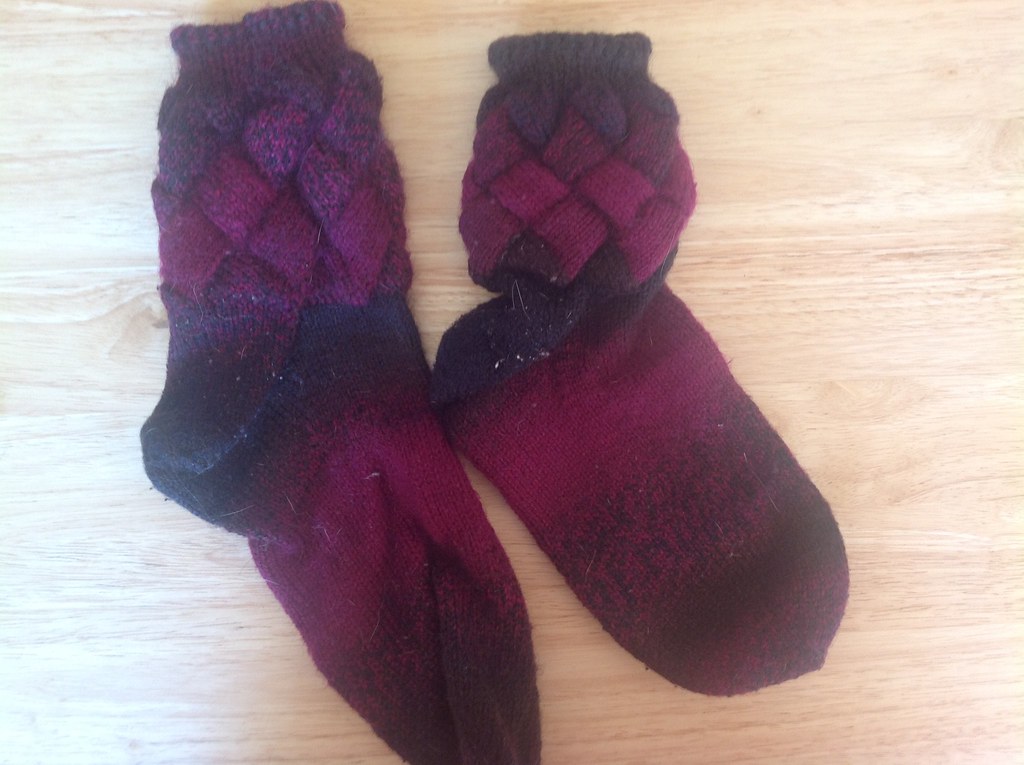 |
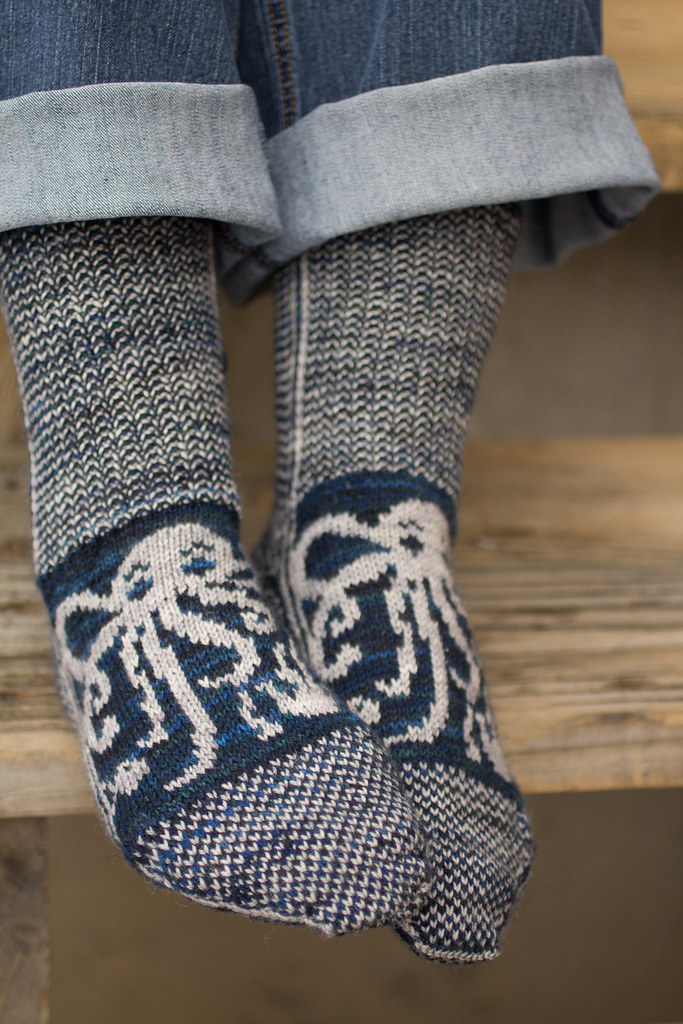
| Line dry sock left, dryer sock right. |
This is a quick snapshot from the ipad – not particularly well exposed, but you can see the difference between the line dried sock (on the left) and the dryer sock (on the right). The dryer sock is a good inch and a half shorter, and while the ribbing is pleasantly snug, the heel is nearly too small and if I put the sock on… my toes would be quite squished.
Luckily there’s an easy way of fixing the situation. Now, let me make it clear – the sock on the right did not felt. It just shrunk a bit – and got blocked in a particularly enthusiastic way.
So I dunked both of the socks in the sink filled with water, blotted them dry with a towel, and then hung them damp on my sock blockers – by tomorrow afternoon latest, they’ll be as good at new.
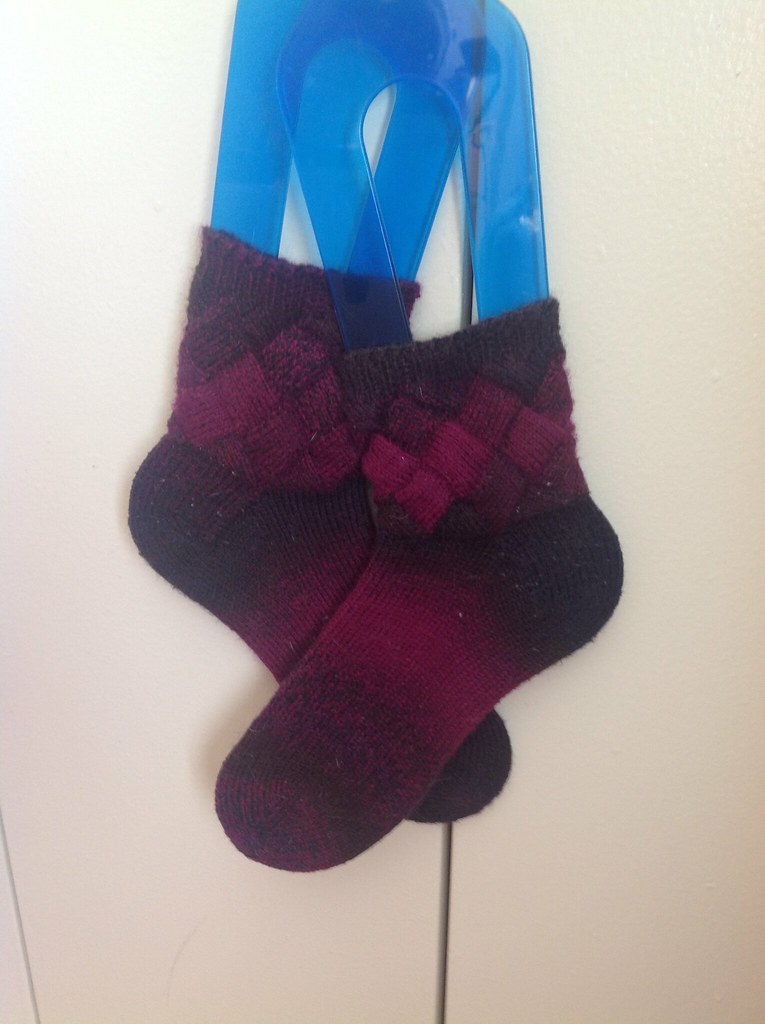 |
| My socks, looking particularly nice on my sock blockers. |
Technology and Organization: How to stay on top of your files.
| Tinking Turtle’s Personal Cloud looks like any Windows file structure, and is organized and accessible across multiple computers. |
Tinking Turtle has recently set up our own Personal Cloud system to store all of our business data including design information, contracts, and other important documents, in one simple, easy to access location that any computer on our business network can connect to. This allows us to categorize and file designs and other business documents in an organized, hierarchical manner, while still preserving the ability to share these among members of the business.
Personal Cloud providers such as Western Digital or Seagate now offer affordible data storage solutions with a wide range of features, including automatic backups, audio and video streaming services, and even the ability to access documents anywhere across the internet. This functionality offers small businesses a key competitive advantage, as by being organized with your company data, you are better able to use your available resources.
Triple H = Helix Herringbone Hat
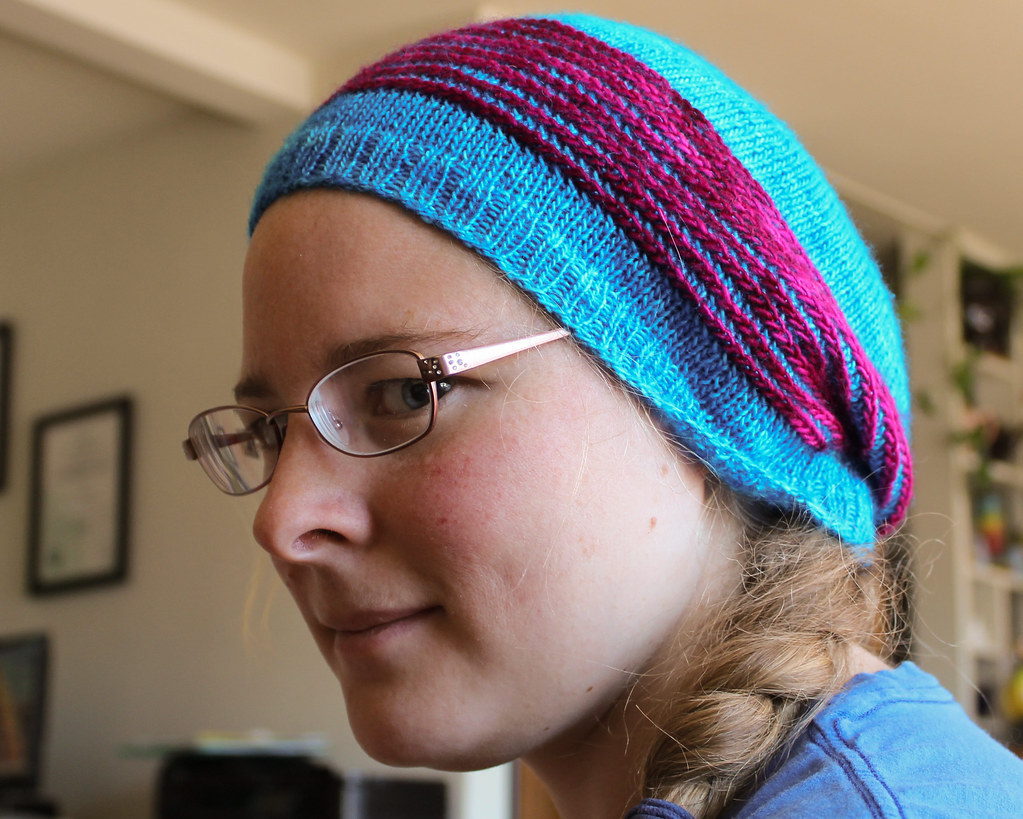 Caught in the throes of winter, I’ve managed to convince myself that spring is eminent. This has nothing to do with reality, and everything to do with the fact I’m tired of winter – it needs to end. Thus, I’ve decided that warmer weather is coming my way. It’s as if I’ve decided that I can will away winter, just by saying it so.
The colors for this hat were in that vein – chosen entirely because they were bright and counter to the dreary cold of winter. The hat is Helix Herringbone Hat, and I’m teaching the pattern in a class at Fibre Space next weekend along with a class on Finishing.
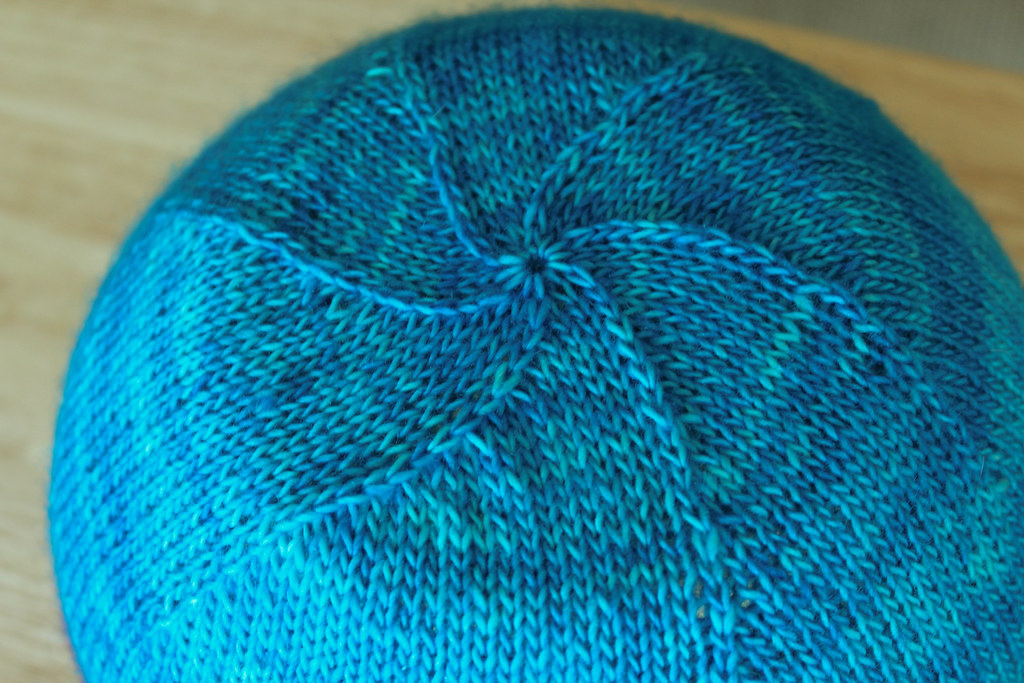
What I love about this hat is the details: the herringbone stitch running in a corkscrew around the hat, making the stripes. The perfect level of slouchy-ness. The way the blue picks up my eyes. The wonderful, wonderful drape of Neighborhood Fiber Company’s Rustic Fingering.
- « Previous Page
- 1
- …
- 11
- 12
- 13
- 14
- 15
- …
- 43
- Next Page »

