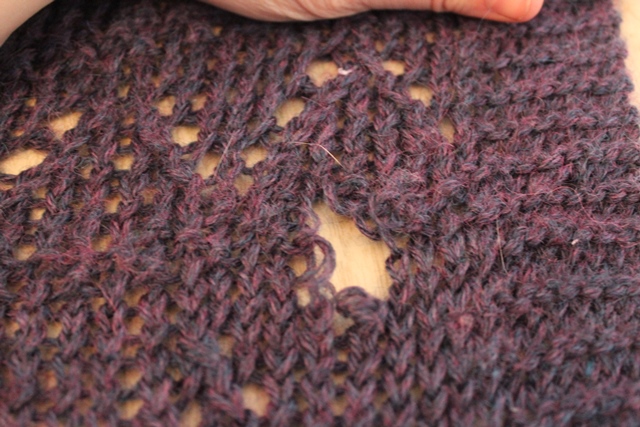
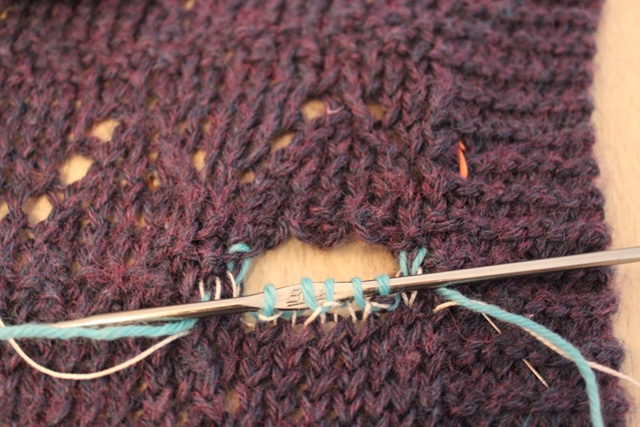
One of the first steps when I get a piece is an initial evaluation to make sure everything is ready to be worked on. It always helps when clients secure stitches and mark the areas that need to be worked on. In this paticular case, a hole had developed in a supremely soft knit afghan… clearly it needed repairing to be used this winter! I feel like the end of 2020 has been a year of wanting to snuggle under a blanket, especially as in the Northern Hemisphere it’s getting cold.
Mending a Midwest Inspried Crochet Afghan
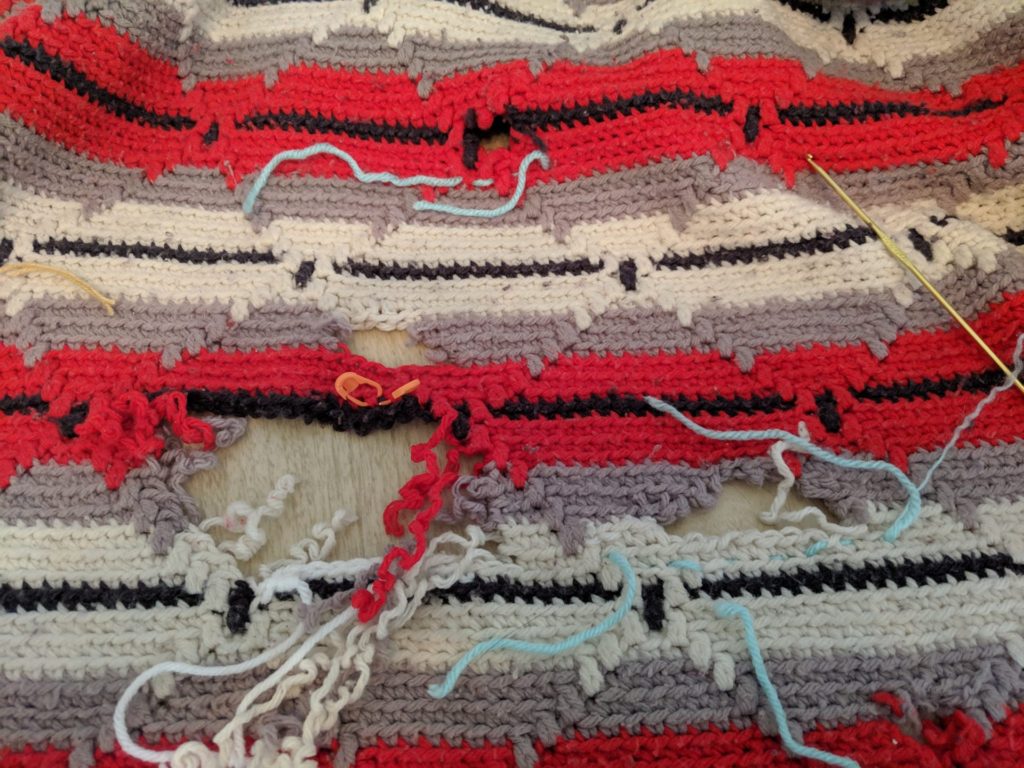
This midwest inspried afghan had a lot of damage done to it over the years, and the owner contacted me about doing some repairs and mending to bring it back up to shipshape! This was an interesting piece – each row was done through the back loop (hence the distinct ridges, and each row the yarn was cut on the end, resulting in the creator only ever going from right to left when working on it. The cut ends became part of the fringe.
It did make the repairs a lot easier to do, as I didn’t need to flip the blanket over for each row. Working through the back loop does mean that the last row invoves a lot of sewing, though.
The two holes right above the the black line were so close together it made more sense to pull out the yarn between them and work them as one large hole. I decided to tackle that first.
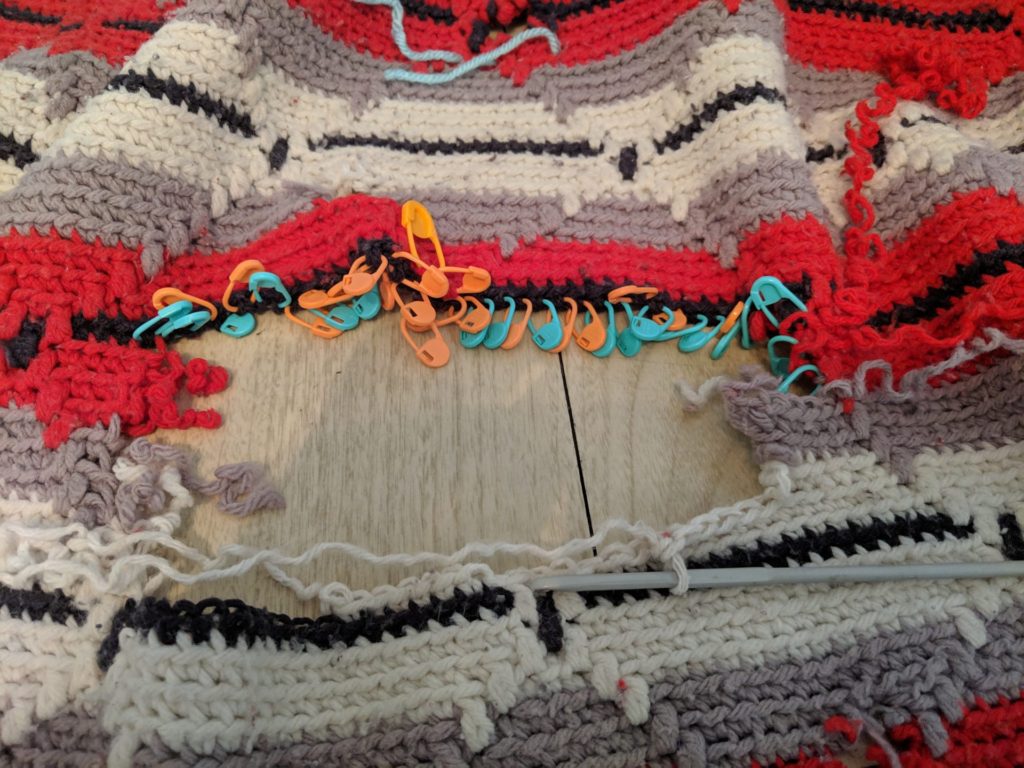
To keep track of each stitch, I used locking stitch markers to hold each leg of the single crochet together. This will help when I reweave the last row.
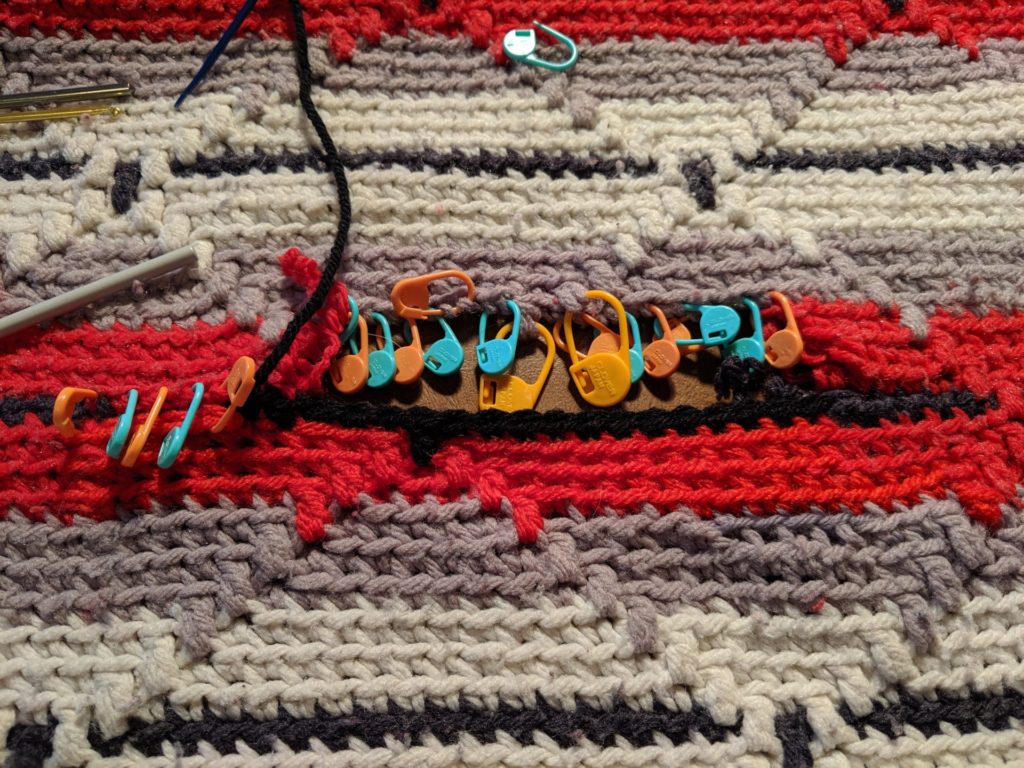
Nearly done! After working each of the rows, I’m finishing up by joining together the last row. I had to take out the black row later in the process as it had more damage to it than I realized.
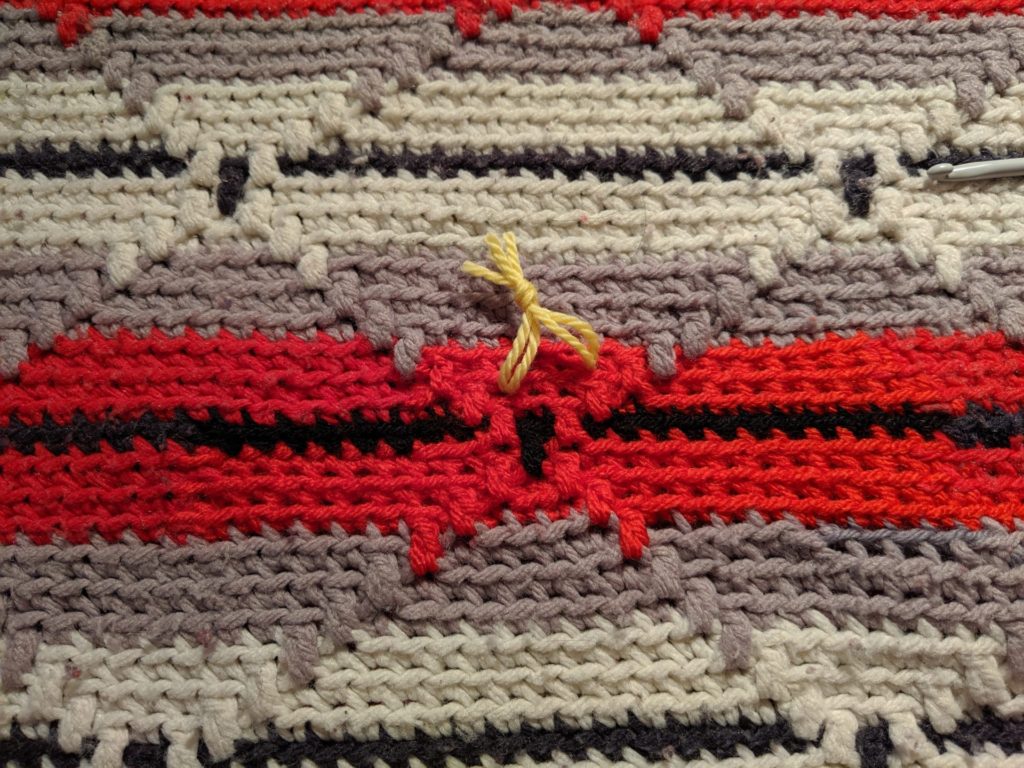
Now I’ve got everything worked up and the ends woven in. I mark each area of repair with a piece of yarn, so the repairs are easier to find. When the clients get the repaired piece they can take the markers out.
See that the stitches look a little more lively where I’ve done the repairs? This will improve as the piece gets used, and the newer stitches gain some wear.
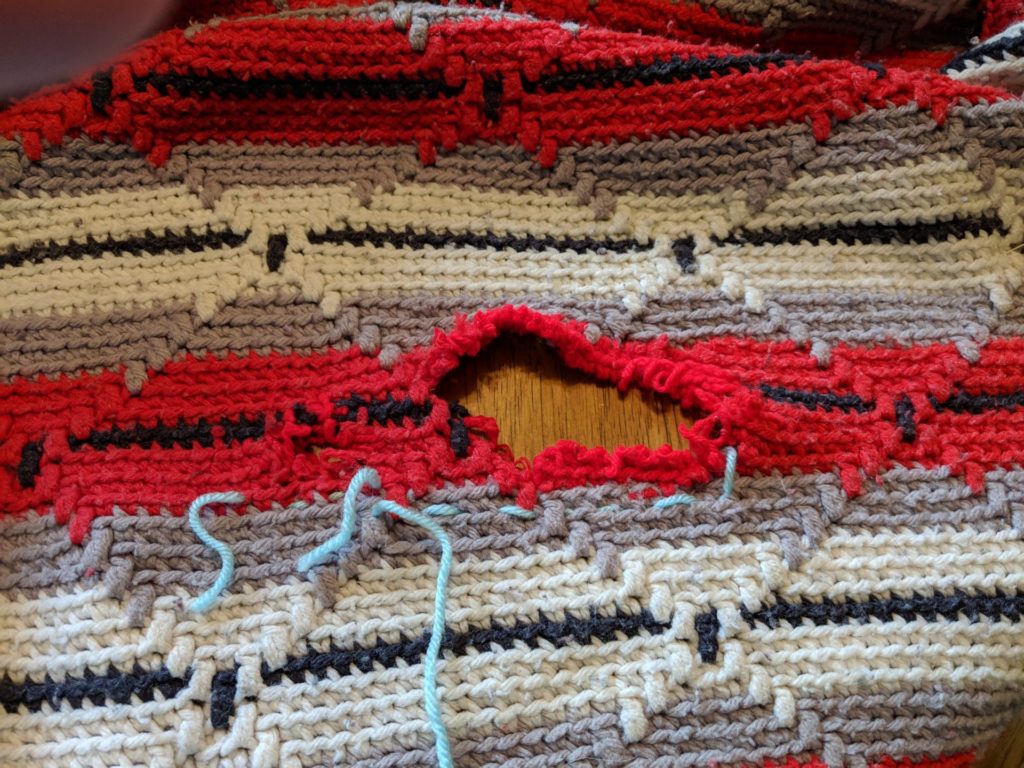
Now I’m tackling the repair that is further up in the blanket. You’ll notice there’s the larger hole, and to the left, another smaller hole. It made sense in this case to also pull out and combine the holes. The yarn in between the two holes was worn away enough that I was concerned about its stablility.
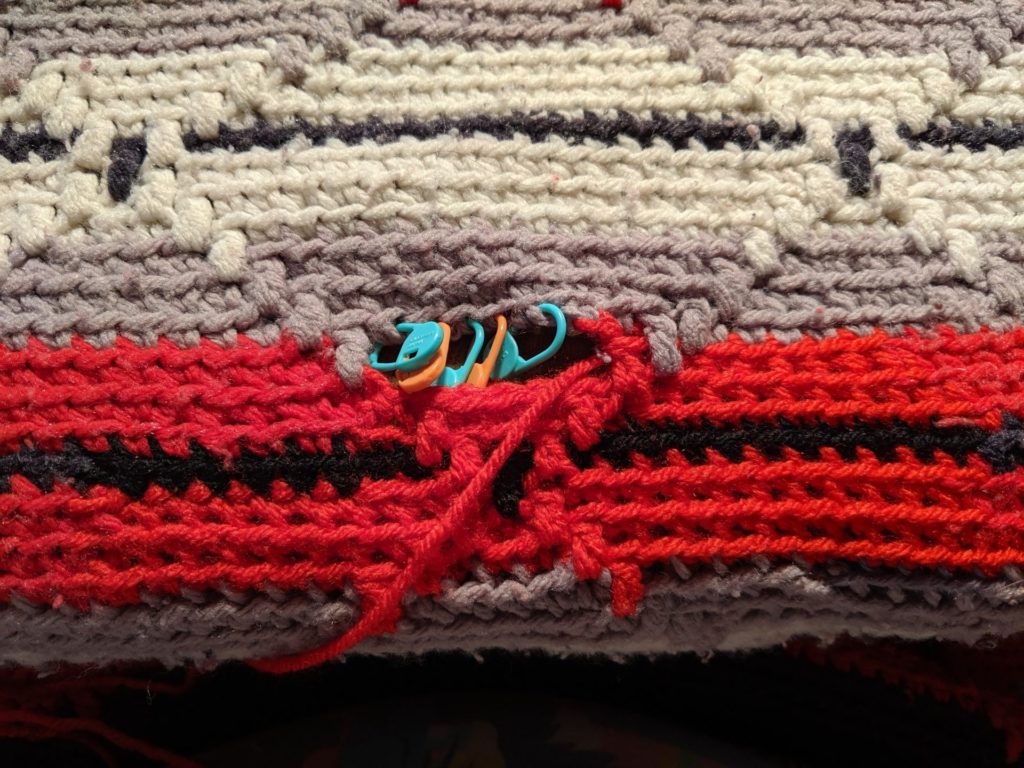
As in many repairs, this is a slow process of just adding the new yarn to the old, crocheting across the row, and then sewing and reweaving the old to the new. What you can’t see on the backside is all the ends I still need to weave in.
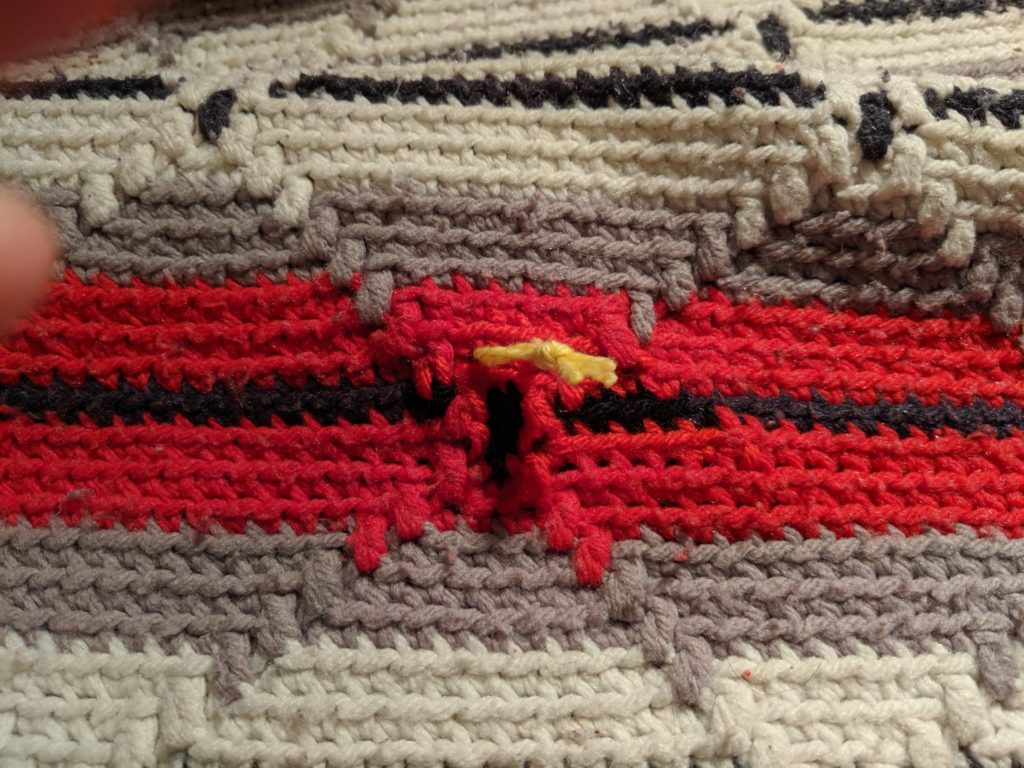
And now we’re at the end: the hole is closed up and the ends are woven in. A bit of yarn to mark the spot. Now it’s time for this afghan to have a quick wash before it leaves to go back to its owner.
Snowstorm Projects
It’s grey and overcast. Every once and awhile I see a stray flake drift down from the sky, and there’s a hushed breath feeling to the air when I stepped outside this morning. Like any good snow-day or snowstorm, I have on a ratty sweater with penguins on it, and my favorite pair of pajama pants. Unlike my childhood snow-days, my list is full. Self-employment (especially when you work from home), means you get to keep working until the power goes out – and sometimes you don’t stop then.
Still, I’m planning on knocking out all my internet things this morning, and curling up with a blanket and my projects this afternoon. Just in the time I’ve been typing this, the snow’s started to come down harder, and is starting to show up on the walkways.
So what will I be working on as the snow comes down?
I’ve got a hairpin lace project I’m working on for Piecework – I have to get it off by next week. I’ve created a lovely swatch, and now need to get cracking on the real piece. One of the things I love about Hairpin is how it comes together so quickly, once you get the strips done. I’ll put on an audiobook, and get a good chunk of it done this weekend.
This blanket is turning into the project I can really only work on for two-hours at a time – before my brain needs a rest and my back needs to stop hunching over it. This too has to be done by the end of next week. I’ve got one more big hole to fix, one smaller hole, and a bunch of worn places to reinforce. I’m really happy with how this is working out, and hoping to get a good picture of it when it’s done. This is logistically a little difficult right now, as our downstairs guest bedroom has become a staging ground for a larger home project, and the upstairs really doesn’t have a good spot. I’ll figure something out, though.
The final project I don’t have a picture of, but it’s my near full-to-the-top meding bag. It’s one of the larger bags by erin.lane (seriously good project bags – she doesn’t do anything revolutionary, other than having really cute fabrics, a well-lined bag, and sturdy reinforcing at stress points… but really, isn’t that all you need?), and it’s filled with hand-knit socks that need darning or reinforcing. I made a dent in them this week, and I’m hoping to make a bigger dent in them, as I’m down to two pairs of handknit socks, and that really isn’t enough.
And now, in the simple 40 minutes I’ve been working on this, the snow has really started to pick up. We’ve got accumulation on most of the concrete surfaces, and Mr. Turtle’s chomping at the bit to walk into town, get our snowstorm wine and cheese, and take a romantic walk in the snow. So, I must be off!
What’s your snowstorm project?
Repairing a Puppy-Destroyed Blanket
New Year brought a small, temporary break in the designing workload – thank goodness! I took the time to catch-up on some of the repair work that’s big and cumbersome, including repairing a puppy-chewed blanket.
Over New Year’s I was able to work on repairing a family blanket that had been “savaged” by a puppy. This is a tricksy repair, with lots of patterning. I’ve been working my way through it, taking the time to trace out the pattern in waste yarn before making the final repairs.
Take a look at some of my progress:
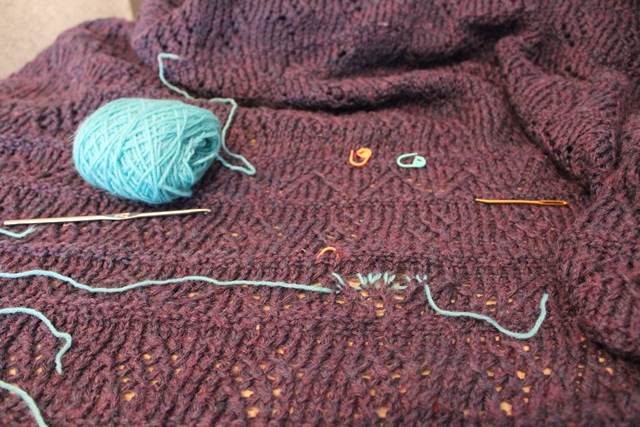
Here I’ve got the tools of my trade: good solid waste yarn that’s smooth and not prone to breaking. I’ve got a bent-tip needle, locking stitch markers, a crochet hook, and the project. You can see the hole closed up now, with the yarn ready to be traced over.
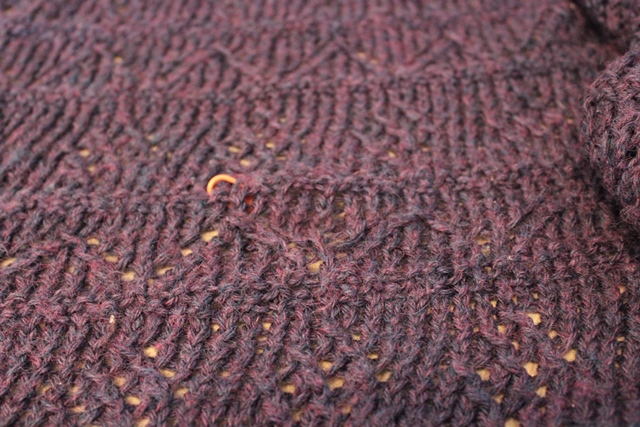
And here we have the final repair, the new yarn nearly invisible. You can find the fixed area by looking at where the orange marker is poking through.
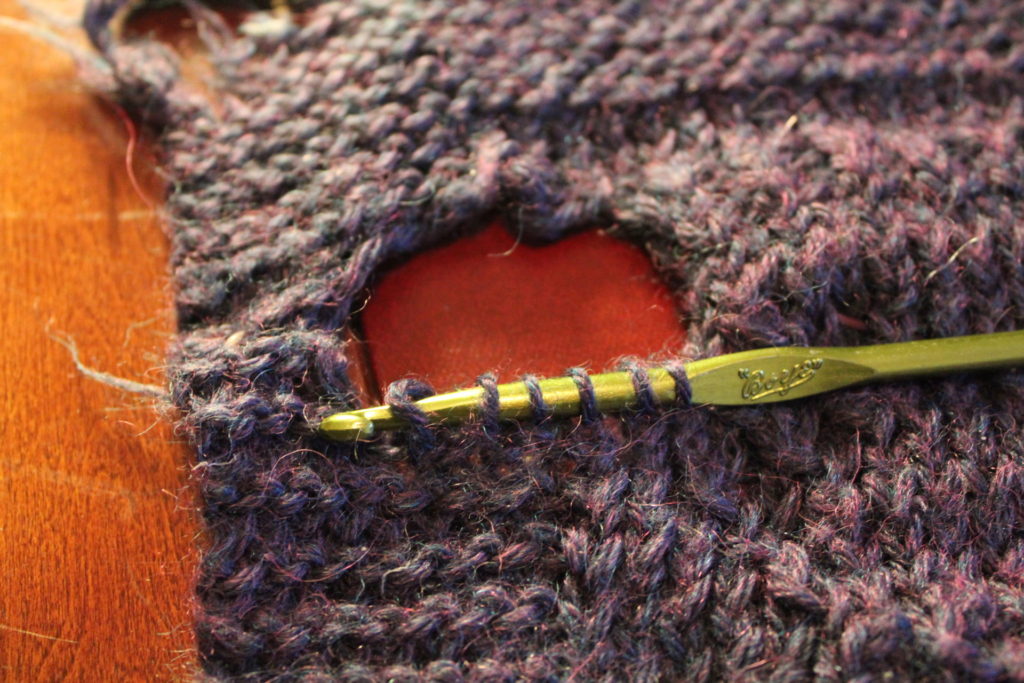
Another hole, this one near the edge. The repairs are made a bit more difficult because every other row the knitter worked is twisted. Twisted stitches are NO FUN to repair because the top unraveled bit looks like a backwards loop cast on. Every other row has to be manually detangled instead of just dropping things back to a good starting point.
Here, working the pattern using a crochet hook.
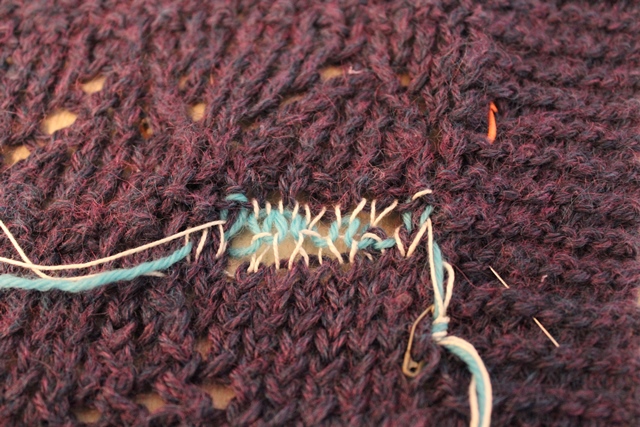
And now, the hole ready to be traced over with the new yarn! Halfway finished!
Stay tuned, as this blanket has several more tricky holes that I’ll be tackling.
3 Essential Rules to Work on Granny Square Crochet Blankets
Tomorrow morning I’ll be winging off our a week long vacation with my family in Alaska, and then I’ll return to quickly packing up for three weeks of summer camps in Rockville, MD. So I’ve been trying to wrap up a few long-term finishing projects.
Sometime soon I’m going to write a post on how to properly finish off a granny-square blanket so it doesn’t fall apart in 30 years. (Or really, any blanket for that matter.) Still, it seems like all I’ve been doing lately is repairing granny squares.
It’s meditative work at the best of times, and dead boring at the worst. I normally like to put on a book-tape or podcast and crank out the repairs. This time around I took a few photos to share, and decided to add my 3 rules of working on granny square blankets.
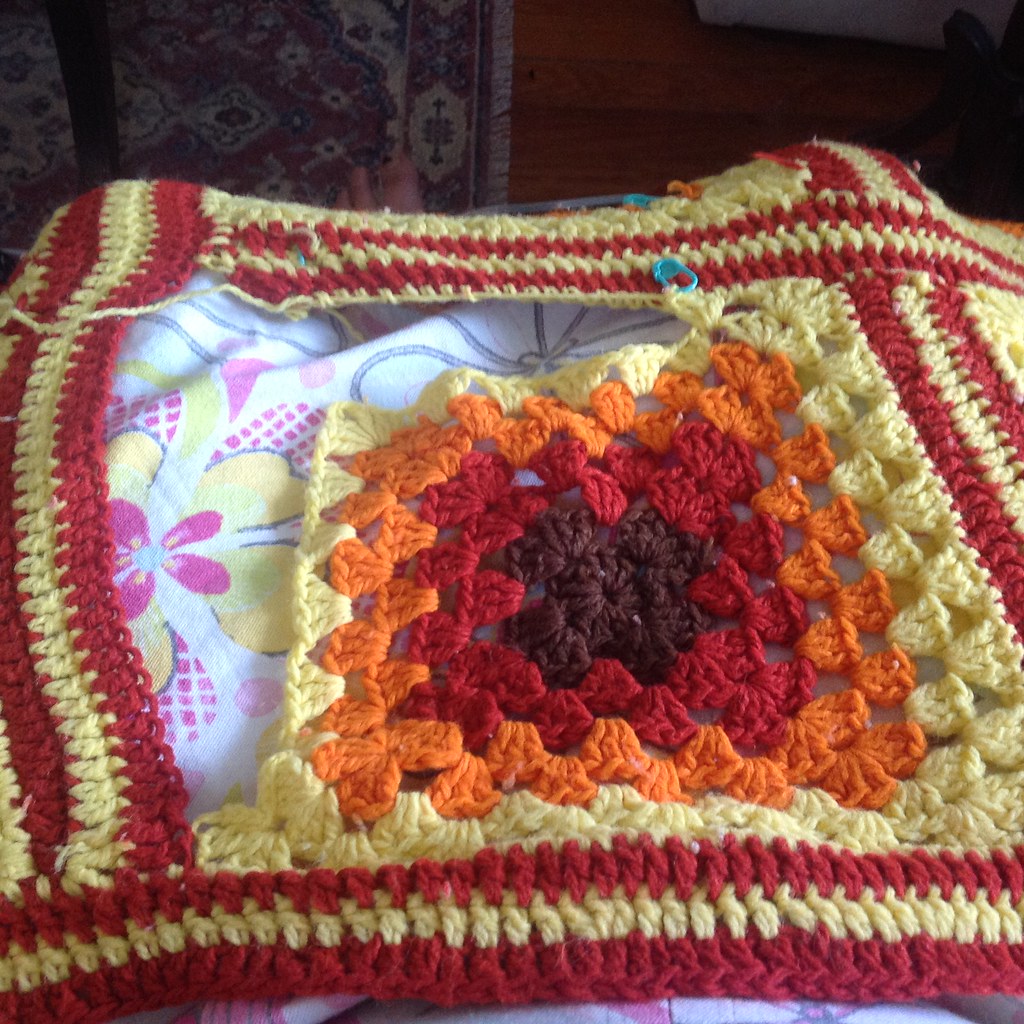
Granny Square blanket with split seams
The first blanket, featured above, had two major places it was broken: the last row of the square didn’t have its ends woven in, and I needed to rework the last row and reattach.
Rule #1: Properly weaving in ends is essential in a blanket that you want to last. Crocheting over them doesn’t cut it.
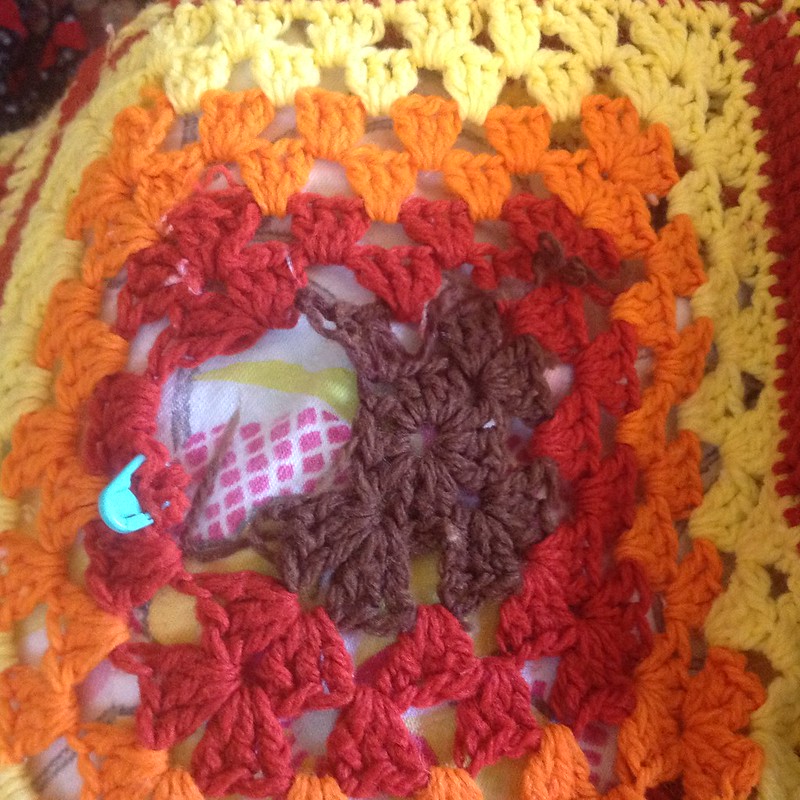
Repairing hole in Granny Square Blanket
As a corollary to Rule #1, the closer an end is to the center, the more stress it takes. REALLY weave in the ends at the center of a blanket.
Which brings me to my next rule.
Rule #2: include care instructions when you give a blanket to someone. Don’t expect them to know how to care for the blanket and the fibers!
Let me show you some examples:
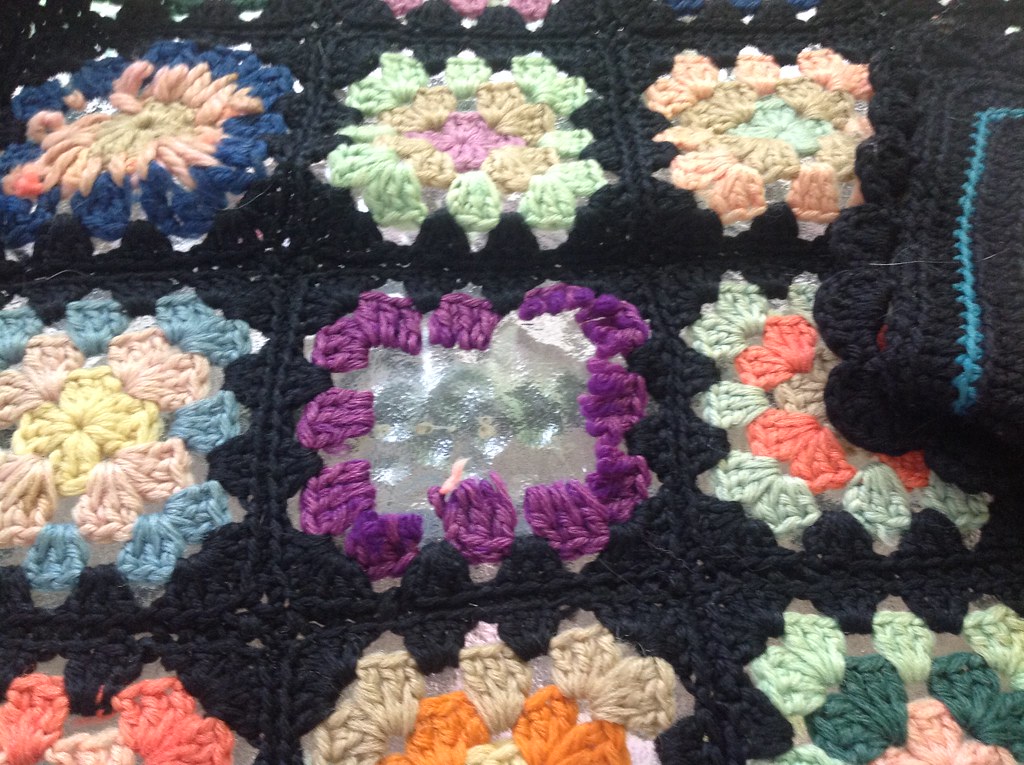
Center of granny square lost of love
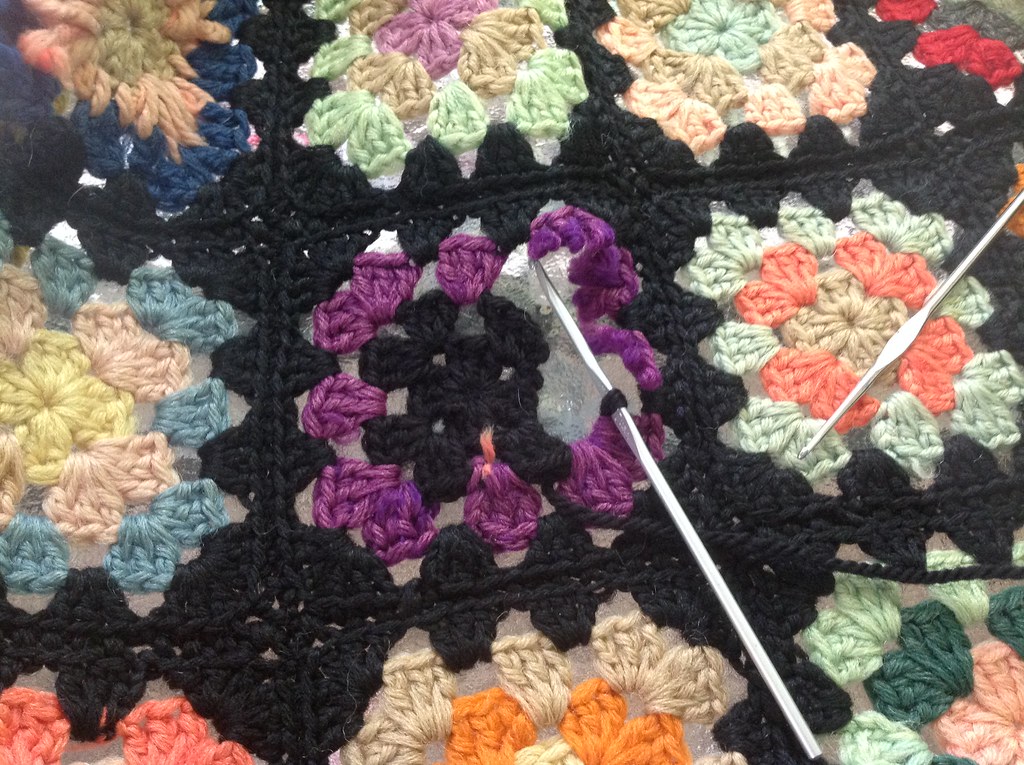
Slowly adding back the center of the Granny Square
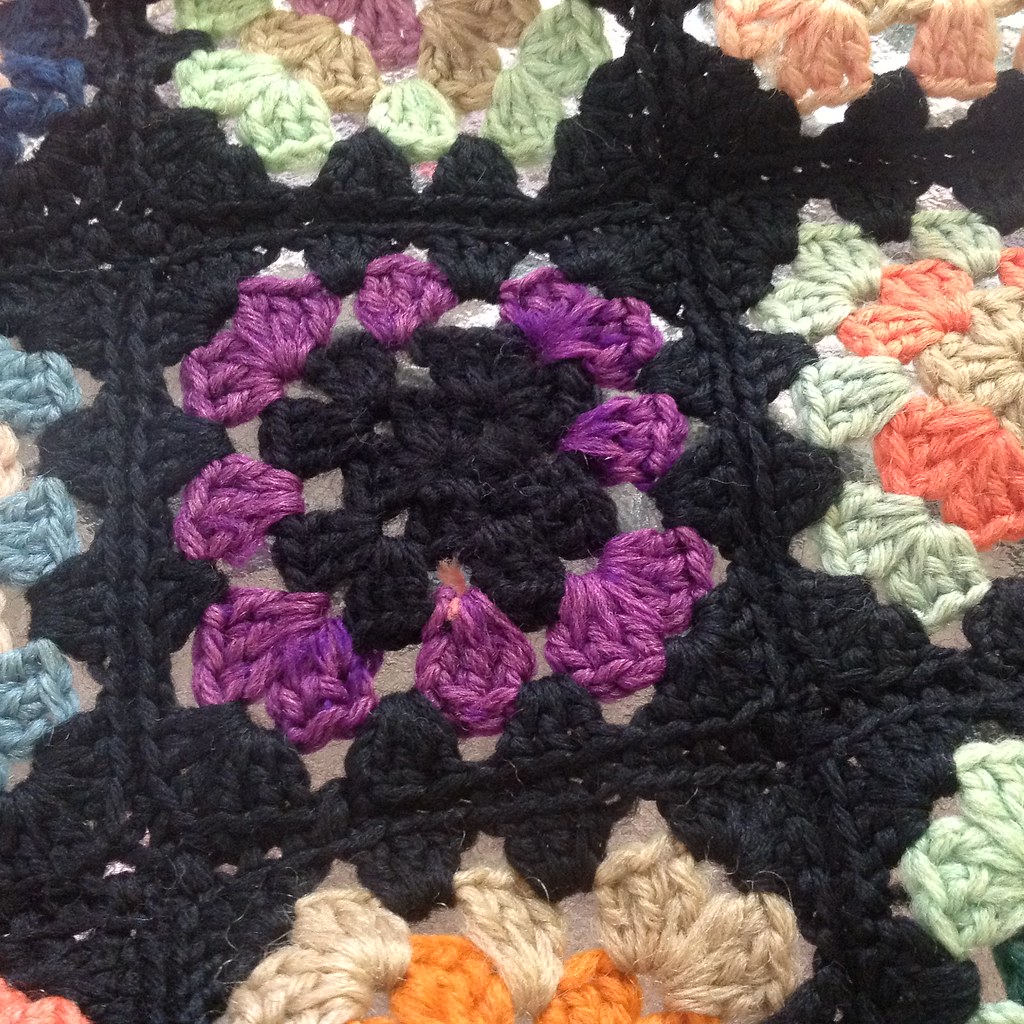
Granny square center replaced!
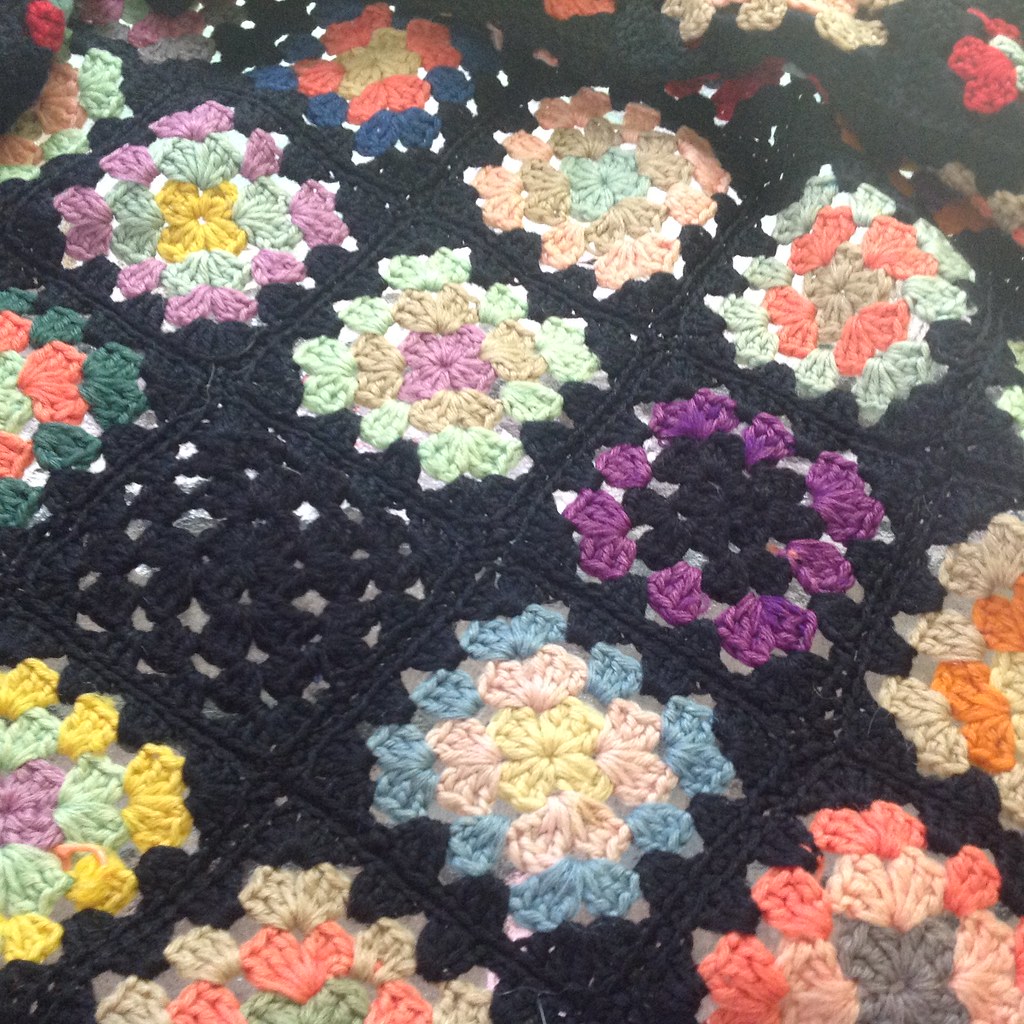
All the black that’s not a “frame” for the granny square is replaced & repaired.
The blanket above is one that’s been well loved, but also subjected to light and heat damage. The fibers are very very delicate, and I’m working to repair the largest holes so this can be gently loved again. Still, proper care of textiles can extend their life a hundredfold.
Finally, my last rule.
Rule #3: REALLY, REALLY weave in your ends. Seriously. Nearly 80% of the granny square repairs I do is in places where they ends have come unraveled, instead of the fibers degrading. Weave in the ends. Use a sharp needle. Skim them in.
Are there things you can think of to extend the life of your afghans? What are they?
Students Report In!
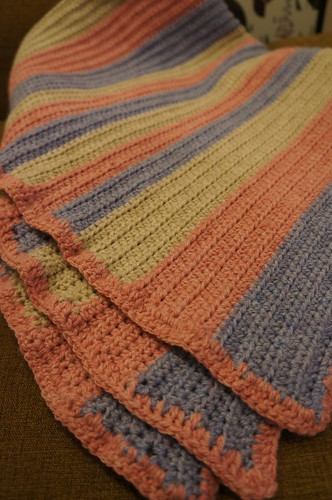 One of my favorite things about being a knit and crochet designer and teacher is that I get to live vicariously through my students. Because most of the projects I crochet are original designs, I rarely get to try out the beautiful other patterns other designers produce.
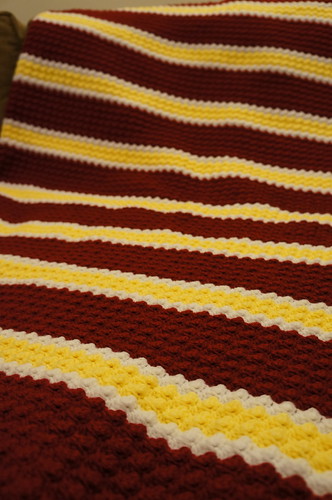 Elizabeth was one of my students a couple of months ago. She came into The Yarn Spot for some private lessons, and simply took to crochet like water. Next thing I know she’s taking some of my intermediate classes and showing me pictures like the ones to the side. In a few short weeks she had made ENTIRE AFGHANS. Do you know in the many years I’ve been crocheting how many afghans I’ve made? One. And I stopped early because I got bored. It ended up being a lap blanket.
So in order to get in the head of someone so incredibly motivated and excited about her new hobby, I “invited” (really demanded, but she’s accommodating) Elizabeth to answer a few questions about herself.
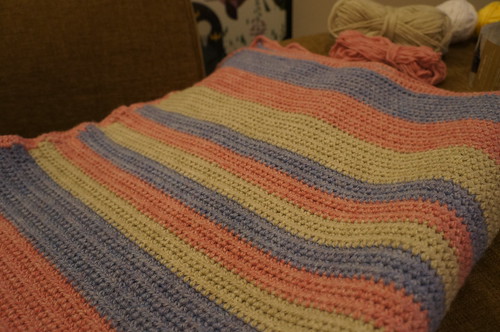 |
| Look how large this blanket is. |
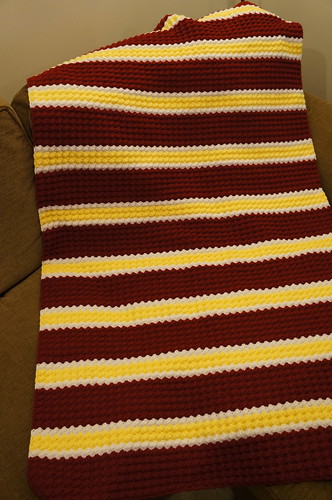 Two of my favorite things in my home are a blanket made by my Aunt Connie for me when I was little and a housewarming gift made by one of my best high school friends. Both are chevron crocheted blankets. I have always felt loved cuddling up in them and being able to make those for other people in my life is what made me want to learn to crochet.
  |
| This one is pretty big too – and the stitches came out beautiful and regular. |
Thank you Elizabeth for stopping by and showing off your hard work. Keep at it!
Are you a student that’s taken one of my classes or a private lesson? Have you ever worked one of my patterns? I’d love to hear about you and your projects!


