MENU

Padded Crochet Tutorial

Padded Crochet Tutorial

In honor of Rag-ety Rug coming out this week from Crochet World, and my recent post about it coming out, I thought it was appropriate to finally post this tutorial, which I’ve been saving for quite a while.

What you’ll need:

  • A crochet hook
  • Some scrap yarn
  • Rags, upholstery cord, or something else nice and thick but flexible to crochet over.  Bulky yarn would work too.

A bit about padded crochet: this technique originally was used to crochet around thicker yarn to create different motifs.  It gives you a lot of flexibility because you don’t have to crochet into the previous row, you can also just crochet around your material.  You see this technique often used in  Irish Crochet.

To begin, work a foundation chain, and work single crochets into the chain.  This can be any width, as we’re working a practice swatch.  After you’ve finished those two rows, you begin by adding in your cord/rag/yarn.  You’ll be crocheting around it much like you do when you’re burying an end into your crochet work, except this will be much larger.

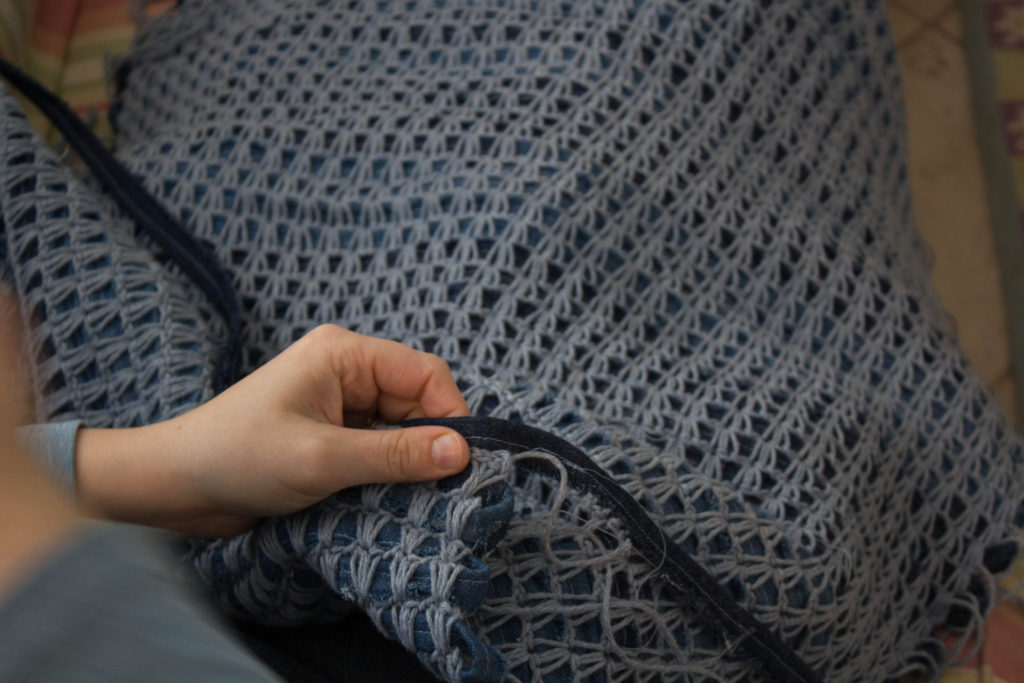
Adding in your cord/rag/yarn

Adding in your cord/rag/yarn

Begin by holding your cord/rag/yarn above the last row you worked.

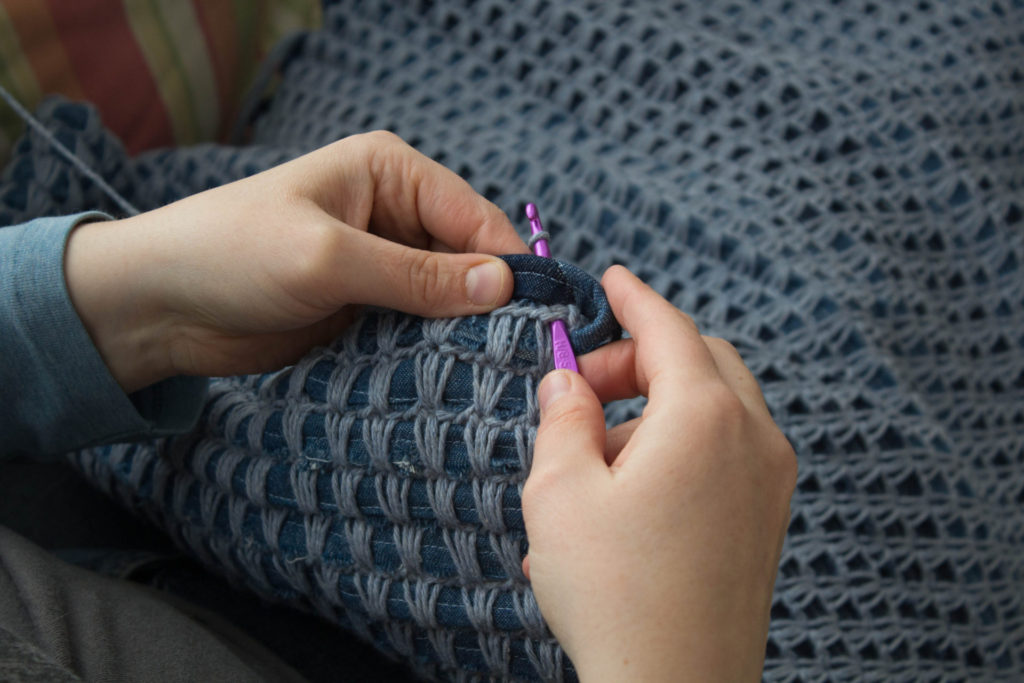
Joining Yarn around padded crochet

Joining Yarn around padded crochet

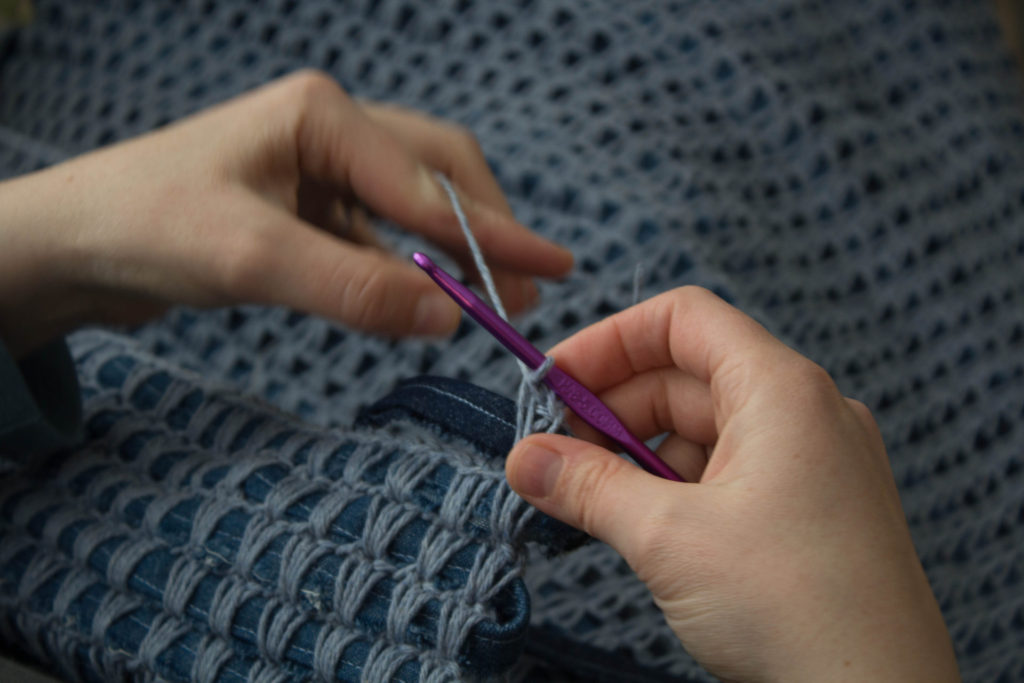
In this case, I’m also joining the yarn for this row.  Insert your hook into the last stitch of the previous row, and draw up your yarn.

Attaching yarn, Padded Crochet, Step 2

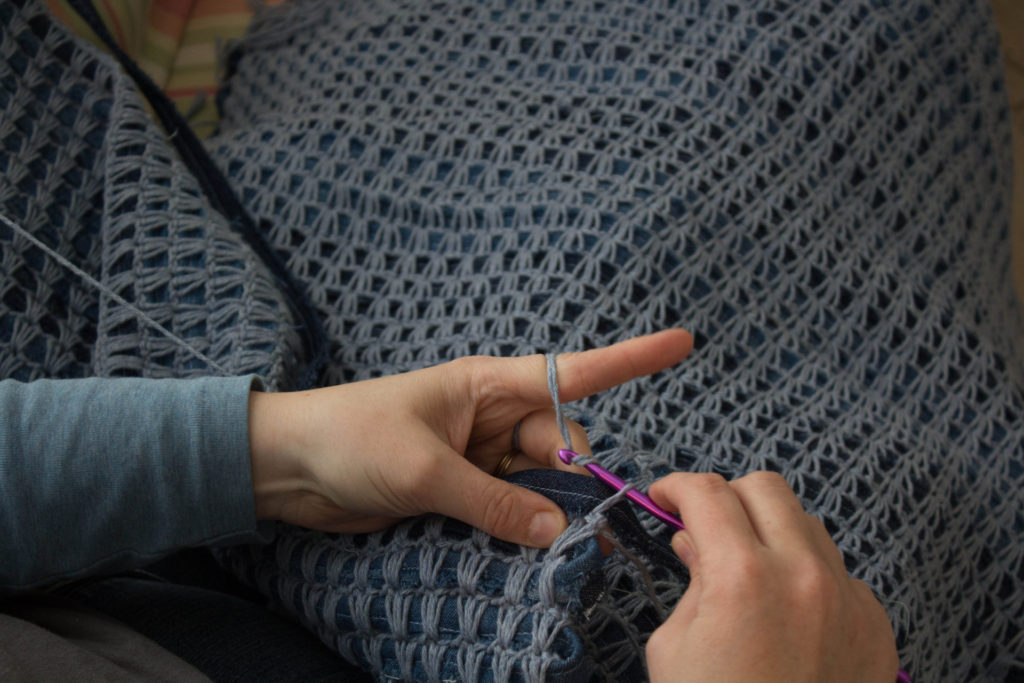
Chain one, securing yarn around the cord/rag/yarn.  I like to hold my tail together with my working yarn for this first stitch, or no other reason than it makes me feel better, and makes me feel like things are more secure.  I’ve got no proof, though.

Begin working Single Crochets around cord/rag/yarn

Begin working Single Crochets around cord/rag/yarn

Now, begin working your crochet stitches into the stitch of the previous row, working the yarn around the cord/rag/yarn.  In this case, I’m working a variant of the v-stitch.

Some tips:

  • Make sure you’re letting your stitches lie flat.  If you make them tight, they’ll bunch up your cord/rag/yarn.
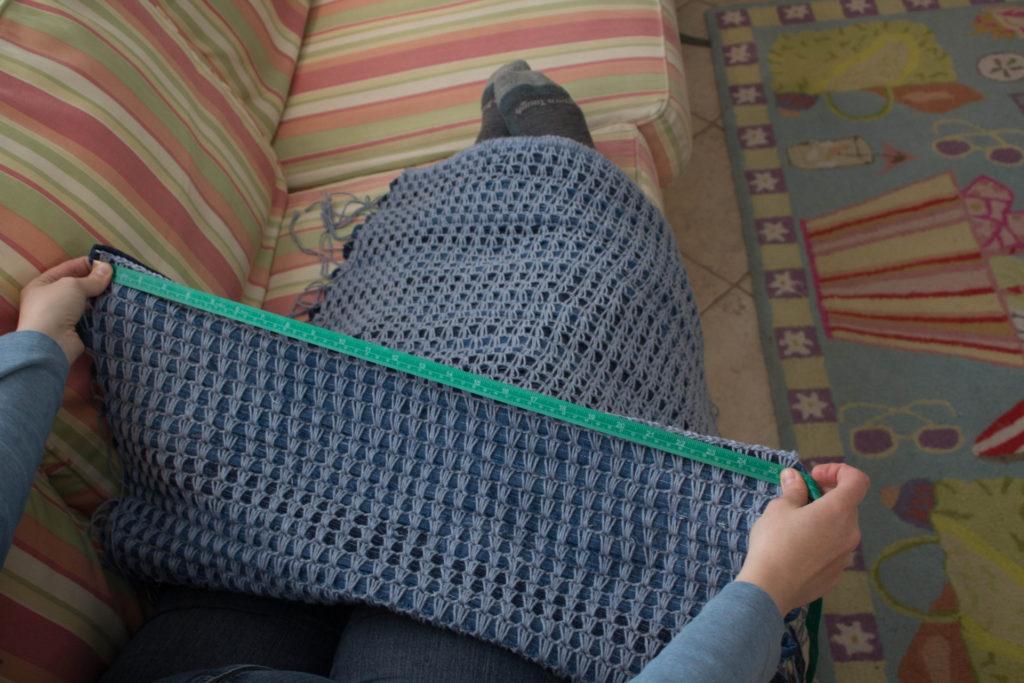
  • Every once and a while check to make sure that your piece is laying flat.  Because the cord/rag/yarn that you’re working over has a tendency to shift around, it can make things pucker, draw tighter or looser.  I like to measure ever few rows.
  • When you have to add more cord, there’s a few ways you can do it.  In my case, I sewed on my rags together, because it was a bit more tidy.  You can also just hold the end of one rag and the beginning of another together.
  • Make sure if you’re using rags they’re the same width, so your rug doesn’t have a lumpy look, or have irregular rows (unless that’s the effect you’re going for)!
Measure, measure, measure!

Measure, measure, measure!

Have you every worked padded crochet?  How’d it turn out?  What was the project?

New Pattern: Rag-ety Rug, a Padded Crochet Project

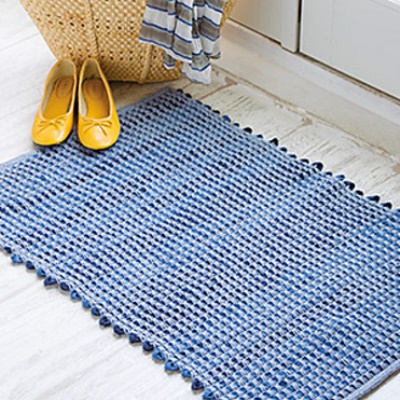
Rag-ety Rug by Jennifer Raymond

Rag-ety Rug, a Padded Crochet Project

I’m proud to announce that Rag-ety Rug, my pattern with Crochet World Magazine’s August 2015 issue, is officially out.  (Yes, I know it’s only June.  I’m not quite sure how Annie’s works their release schedule, but even though it’s June, you should be able to start finding the magazine on shelves in the next few weeks).

Rag-ety Rug uses one of my new favorite crochet techniques, padded crochet.  Like Stained Glass Rug and Matryoshka Baskets, Rag-ety Rug uses padded crochet.  Normally padded crochet is worked with smaller items (like in Irish Crochet Lacework), but I like to use padded crochet to make more modern, exploded lace pieces.

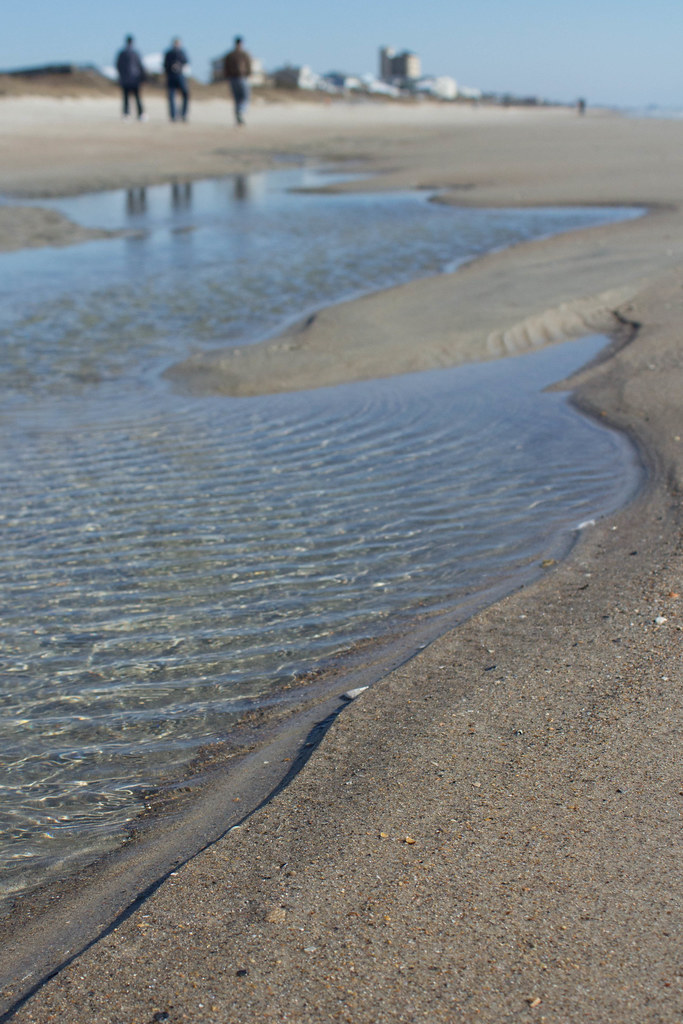
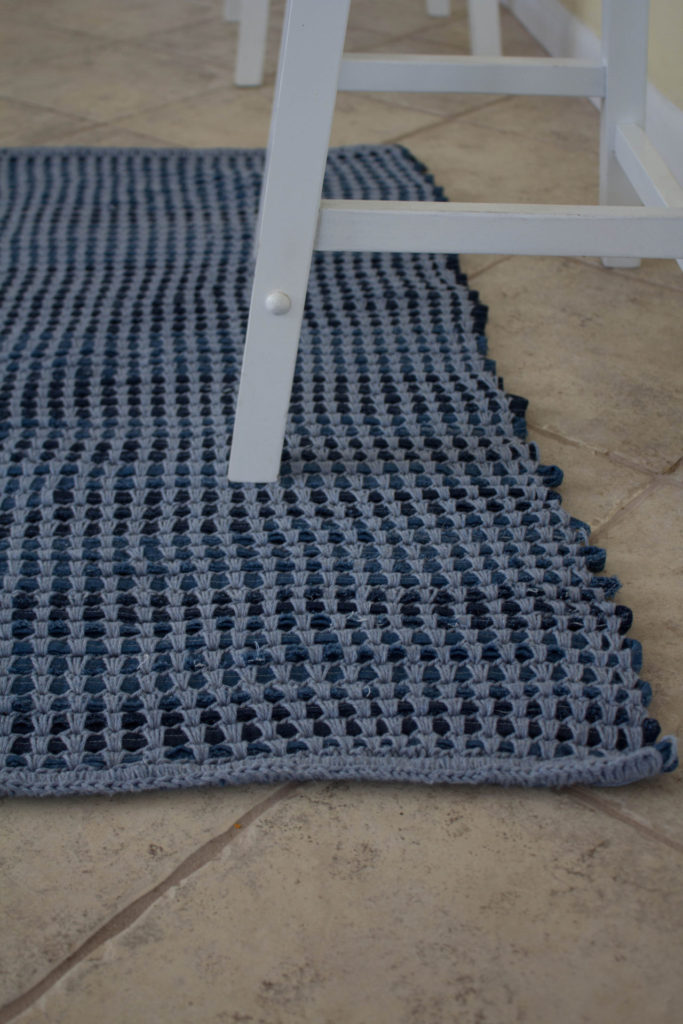
Rag-ety Rug was mostly worked on during a vacation to Atlantic Beach with Mr. Turtle’s Parent’s.  It seemed rather fitting: this rug, worked with denim scraps, fits in perfectly with beach decor.  The varied blues of the different denim scraps seemed to echo the blues of the ocean.

walking on Atlantic Beach in January

Walking on Atlantic Beach in January

There is a meditative quality to this rug, as each row the “v-stitch” nests into the following row.  I loved watching the rug gradually grow.  The cotton in the rug is from Lily’s Sugar ‘n Cream line, in a color called Stone Wash.  It was a perfect pairing for the denim.

Padded Crochet Rug from Annie's Crochet World

Rag-ety Rug, done in Padded Crochet, detail shot.

In my original pitch I imagined this rug in rainbow colors, for a children’s room or for someone who loves color.  I think it’d be fun to play around with textures too: perhaps with prints or strips or plaid?  The possibilities are endless!

What colors would you work this rug in?

New pattern: Victoria’s Riflebird

It is with pleasure I’d like to introduce you to the newest addition to the Tinking Turtle lineup, Victoria’s Riflebird.

Some details:

Victoria’s Riflebird Wrap

by Jennifer Raymond

Printed in: Crochet World Magazine, August 2014
Craft: Crochet
Category: Neck / Torso → Shawl / Wrap
Published: June 2014
Suggested yarn: Berroco Weekend DK
Yarn weight: DK / 8 ply (11 wpi)
Hook size: 3.75 mm (F)
Yardage: 1340 yards (1225 m)
Sizes available: 61 inches wide at widest point x 17 inches deep at deepest point
Skill Level: Intermediate

Materials:
Berroco Weekend DK (light) acrylic/cotton yarn (31/2 oz/268 yds/100g per skein): 3 skeins #2904 pebble 1 skein each #2926 clothesline and #2902 vanilla
Size F/5/3.75mm crochet hook or size needed to obtain Gauge
Tapestry needle
Locking stitch markers: 2 of 1 color, 6 of another color
Gauge: 18 rows = 4 inches; 17 sts = 4 inches

Right now the design is only available in print, though that might change.