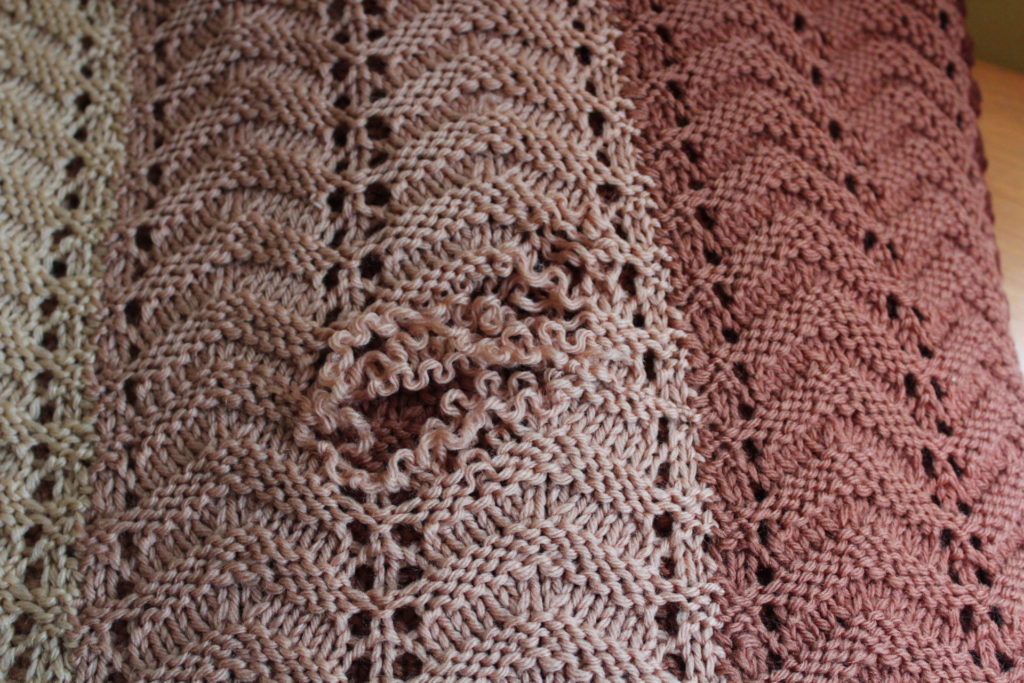
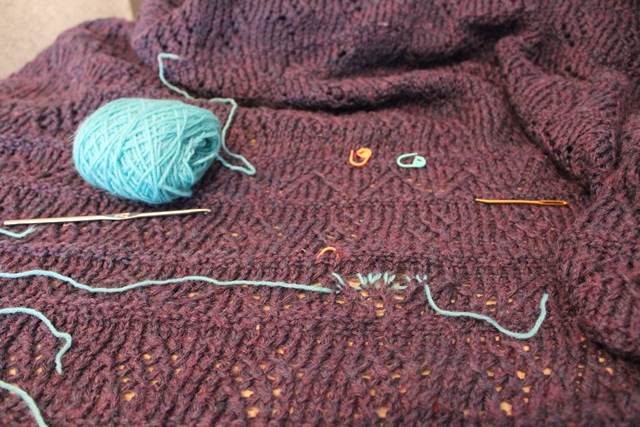
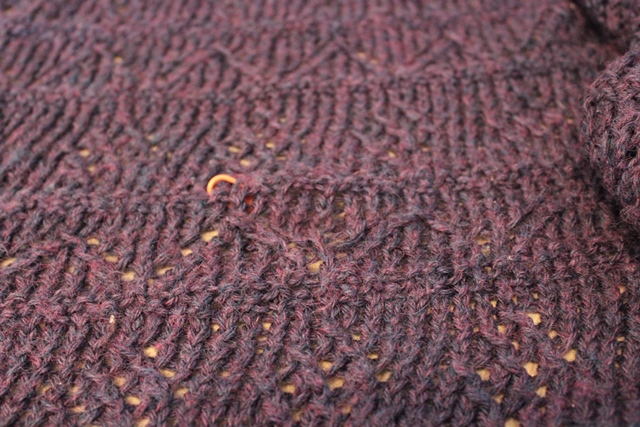
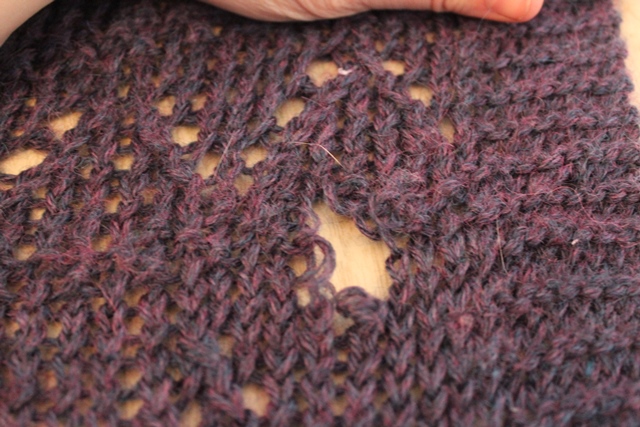
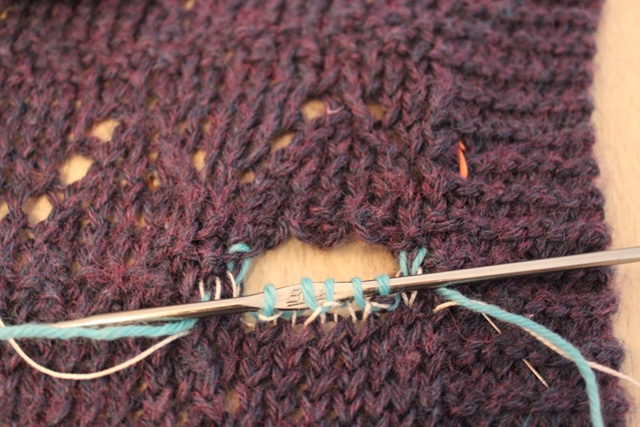
One of the first steps when I get a piece is an initial evaluation to make sure everything is ready to be worked on. It always helps when clients secure stitches and mark the areas that need to be worked on. In this paticular case, a hole had developed in a supremely soft knit afghan… clearly it needed repairing to be used this winter! I feel like the end of 2020 has been a year of wanting to snuggle under a blanket, especially as in the Northern Hemisphere it’s getting cold.
Challenges in Restoring Crochet Rag Rugs
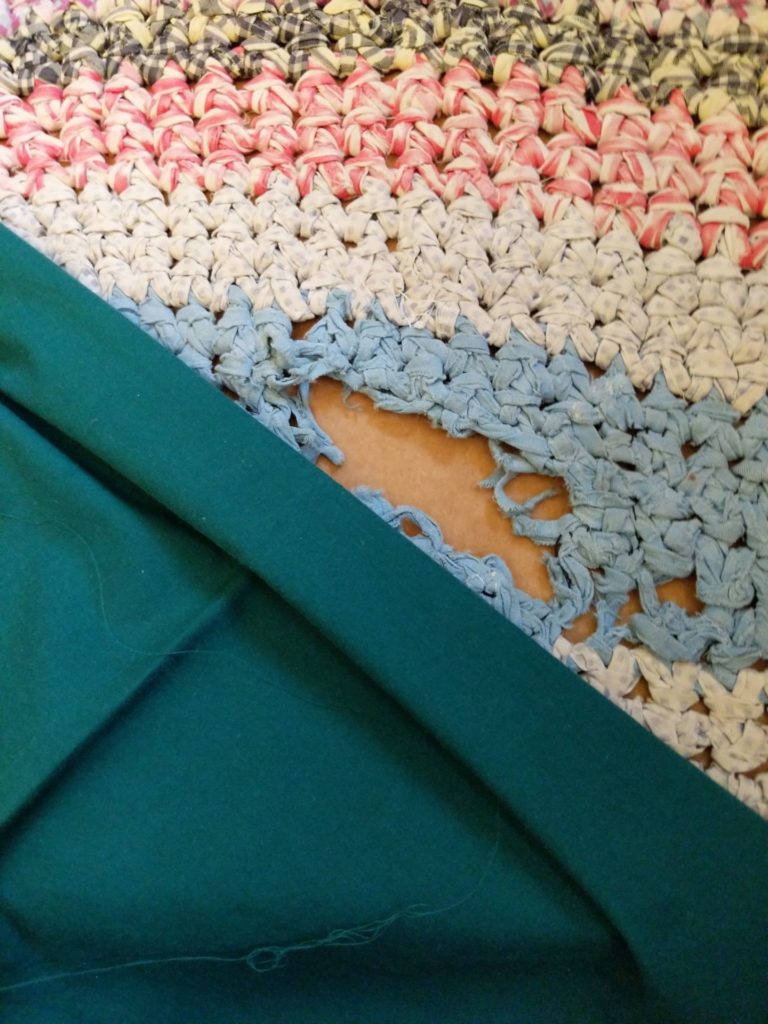
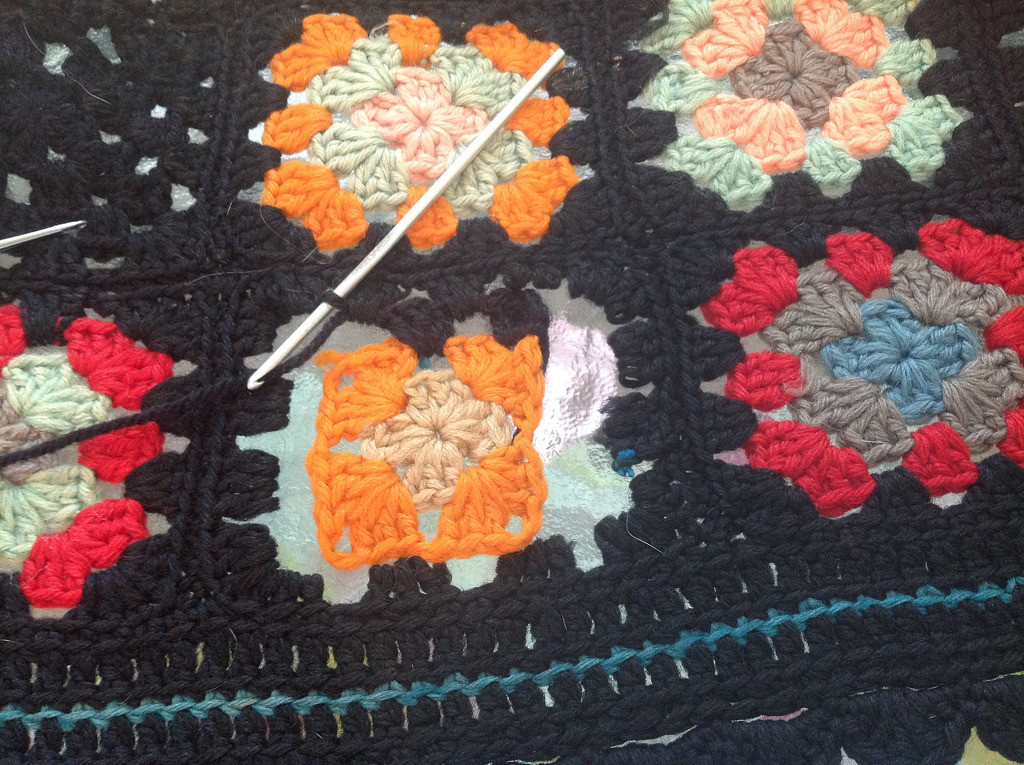
Normally I’m all about the yarn, but the most recent repair I’ve been working on is a set of three crochet rag rugs. Restoring these pieces took some real inguenuity and creativity, as I worked with the client to come to a solution. Let’s take a look at these three lovely rag rugs, and how we approached repairing them for further use!
These rugs started out with some pretty significant damage. Because they were made out of rags, some of the more delicate fabrics had worn out quickly, while much of the rug was still in really good shape. I thought when the client first sent picture that the rugs were made out of quilting cotton, but it became apparent once I had a them in my hands that the quilts were made from garments – most notably, men’s button up shirts. [Read more…]
Reweaving and Grafting a Green and Gold Asymetrical Shawl
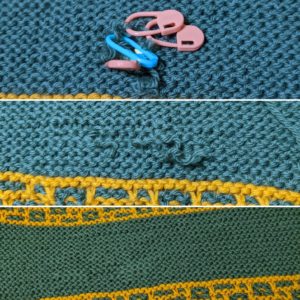 It seems like the entire fall has been consumed with white sweaters: I had three repairs of Irish Knit sweaters in a row, which is one of the more boring things to write about. But my latest repair is a lovely green and gold shawl that I thought was paticularly interesting, and I thought I’d share it here in addition to writing about it on Instagram.
This piece had five rows of stitches ripped into a hole: it had caught on something (dryer? door?) and gotten the hole. Being that it was in the colors of the client’s daugther’s team, it needed to be repaired.
This is one of the repairs that is just a joy to work on: the client, D, had sent the piece to me with the loose stitches still on locking stitch markers. She had taken my Darn It class with me at Rhinebeck, so she knew the drill: catch the stitches so they don’t drop and make the hole bigger. It meant I could dive right into the repair without having to fish around ladering the stitches back into place. (Which, have I mentioned lately that my Darn It class is both on Interweave and Craftsy?)
It was time to get to work.
Garter stitch is one of the prime times where I like to use a single long-ish strand of the repair yarn if I can. While many of the orional techniques of doing swiss darning call for a new strand of yarn on each row, I find that leaves a lot of ends to weave in, and can make the fabric very dense in those areas. Trying to keep the ends pretty short, I only opened up the hole a little, working duplicate stitch along the sides and then knitting across the hole before moving up to the next row. I did that for the first few rows, and then grafted the last row together.
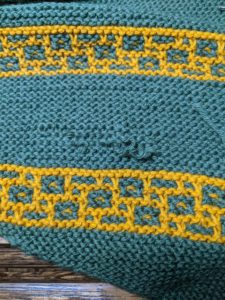 Then it was time to weave in the ends.
I feel like often most of the attention I give to pieces is the process of repairing the hole, which is important! But, I find it equally as satisfying to weave in the ends – that’s when a hole is truly repaired. I feel like sometimes garter stitch can be a little tricky to weave in all the ends, so I chose to split the yarn into smaller strands to try and hide the ends a little better and keep the fabric from getting too thick where the old and new yarn overlapped.
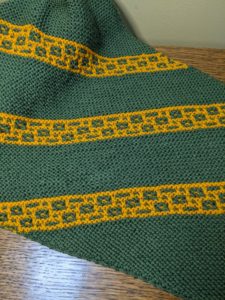
Finally, it was time to fuss with the tension to make sure that everything was laying flat and even.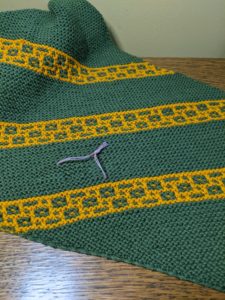
A blast of steam to “convince” the newly woven in ends that they should stay where I put them, and this piece was ready to send in the mail. A satisfying way to leave things!
Recent Repair of a Knit Afghan
Now that I’m getting back into the swing of things, I wanted to document a unique repair that I worked on. This 52-year old afghan was in need of some TLC before it got handed off to the next generation. Working with this piece was a true pleasure, with the yarn in remarkably good condition for it’s age. The afghan was a huge ripple pattern, with 9 panels joined together by intarsia.
INTARSIA. Think about that… it wasn’t seamed. It was 9 balls of yarn that were worked on at the same time across the blanket.
But back to the repair! There were several holes – mostly along the edge where ends had worked loose, but also one spot in the center of the piece.
Repairing Cables Article in Interweave Knits Fall 2018
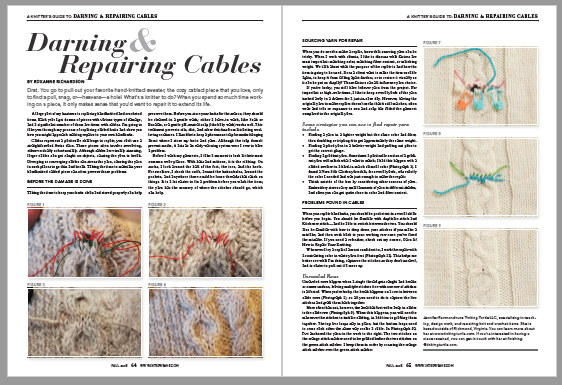
And the releases keep coming! I’m proud to announce I have an article in the Interweave Knits Fall 2018 issue on repairing and reweaving cables in knitwear.
My piece appears on page 64. You can also find a copy of the article on the Interweave Knitting Page.
The article offers tips and tricks to repairing cables. I’ve added in some expert tips about where I source my yarn. I think the editorial staff at Intwerave did a great job laying out the article and making it the best it can be!
Back from Maternity Leave!
Hello from the Turtle Household!
Monday marked the end of my self-imposed maternity leave. I’ve been taking the last month to sort through emails and triage what I needed to do for the business. If everything goes as planned, the remainder of August and the month of September will be marked by an increased amount of activity as I learn what the new normal for the business and our family is.
The intent is to begin to contact individuals on the waiting list for finishing and repair services and begin taking in items again. I’m so looking forward to burrying my hands in yarn!
I’m hoping for the ability to return to a little more blogging, a few news emails if you’re on the newsletter, and a somewhat regular teaching schedule. We’ll see how ambitious this will be!
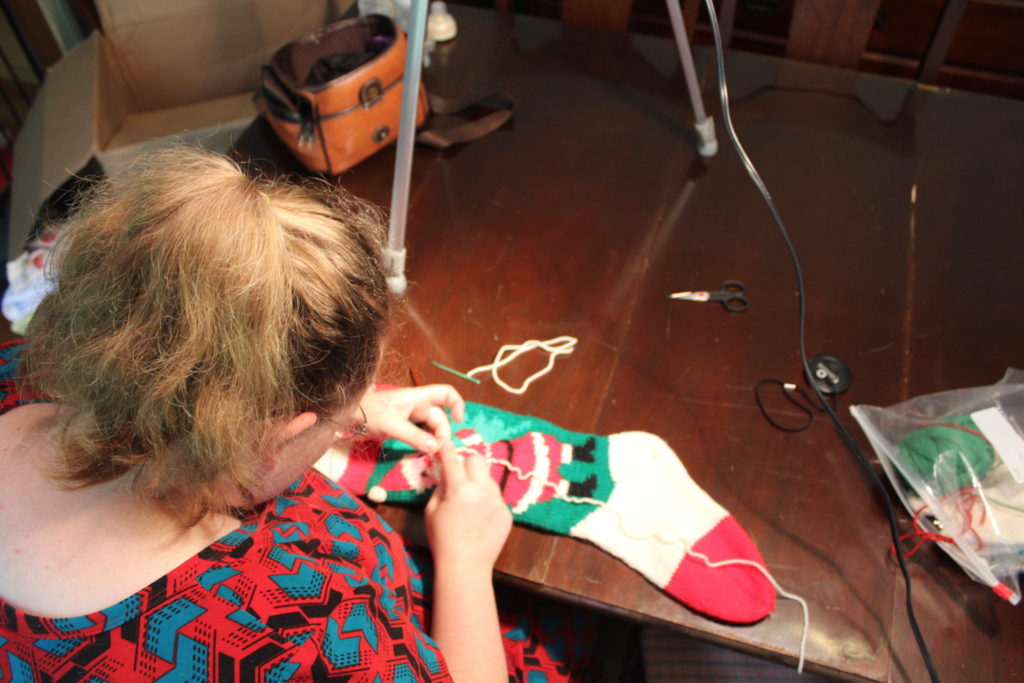
Meanwhile, I’ll leave you with this picture, of a project I worked on during my maternity leave for an article that will be published later this year.
On the other Side of the Snowstorm: Repairing Broken Things
One of the things I love about snowstorms is how they can sometimes function like a home-vacation: a chance to tackle all the things you haven’t quite gotten to yet. I talked about my plan on Friday of things I wanted to tackle: darning, personal projects, starting the Piecework lace project I’ve got to get off by the end of the week. And in that regard, it was a lovely weekend. Little did I realize it at the time, but the theme of the weekend became repairing things: Mr. Turtle and I took turns solving problems and mending what’s broken. There’s a lovely sort of satisfaction in that.
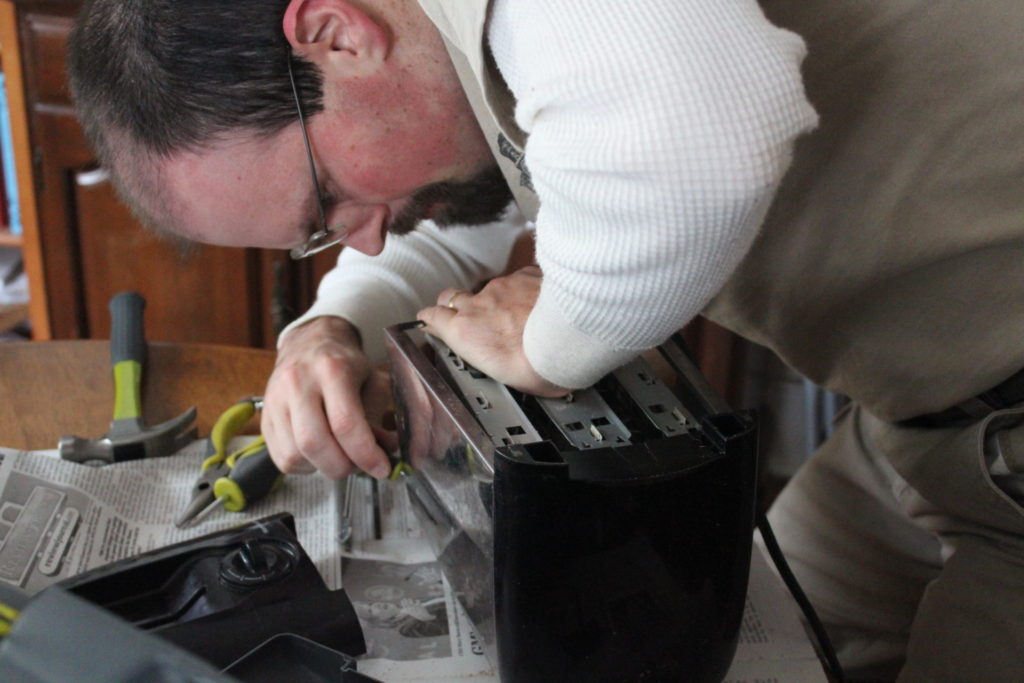
Saturday morning with the snow still coming down, Mr. Turtle and I got up earlier than expected. After breakfast (and happy we hadn’t lost power during the night), Mr. Turtle tackled repairing the toaster, which had been failing to latch when you put the lever down.
It was one of those moments that made me glad that Mr. Turtle and I have different interests and things we’re good at: when a small electrical appliance breaks, it’s “broken” to me, beyond repairing. Similarly, when Mr. Turtle’s got a hole in his socks or some textile wears out, he wouldn’t have a clue about how to fix it.
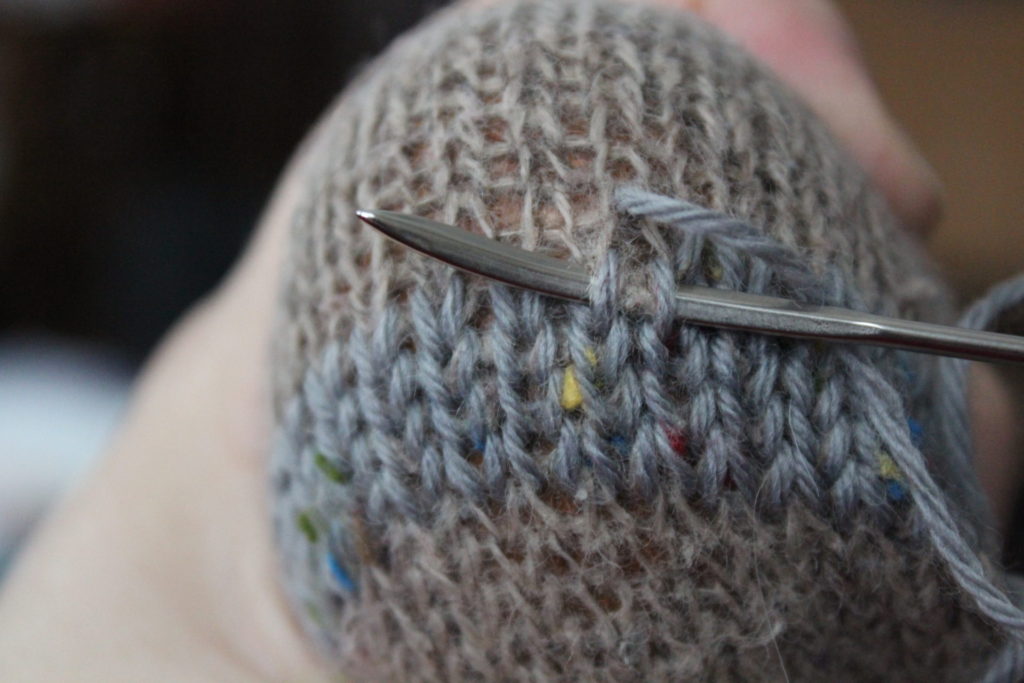
But to Mr. Turtle, the toaster was (nearly) an open book. Meanwhile, I was busy tackling a pile of darned socks that had been building (and building and building). Many of them didn’t need much repairing – we’ve both gotten better about “watching” our handknits for thin spots. Much of the work was just working duplicate stitch over areas worn thin.
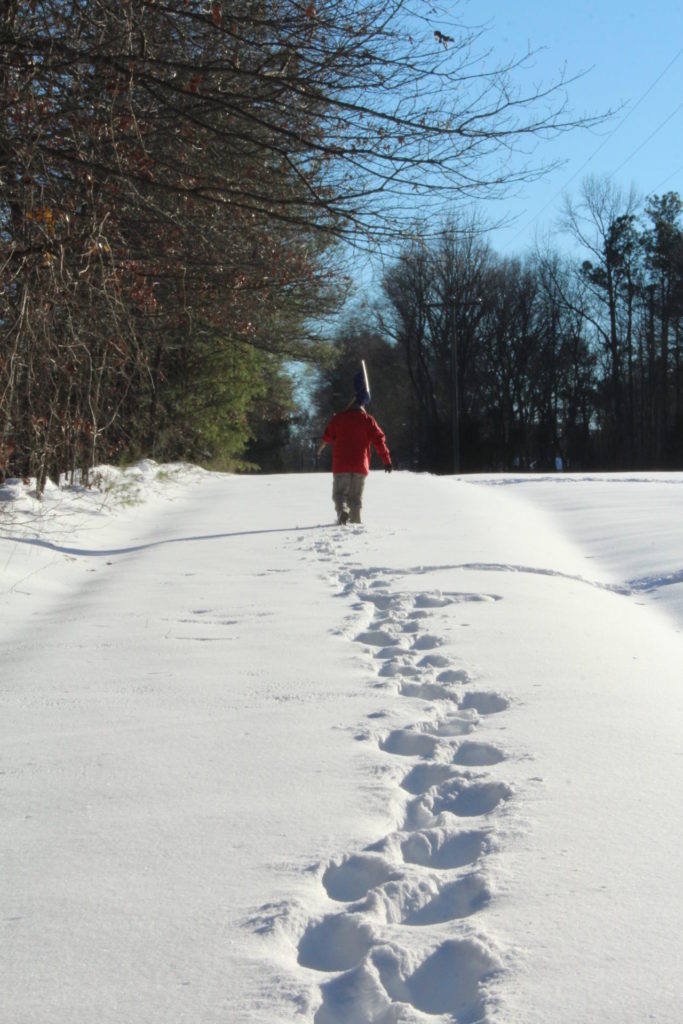
So while Michael tackled the toaster, I tackled the socks. Then, it was out to do the first of two shovel efforts, a quick walk, and then a retreat indoors as the storm picked up again.
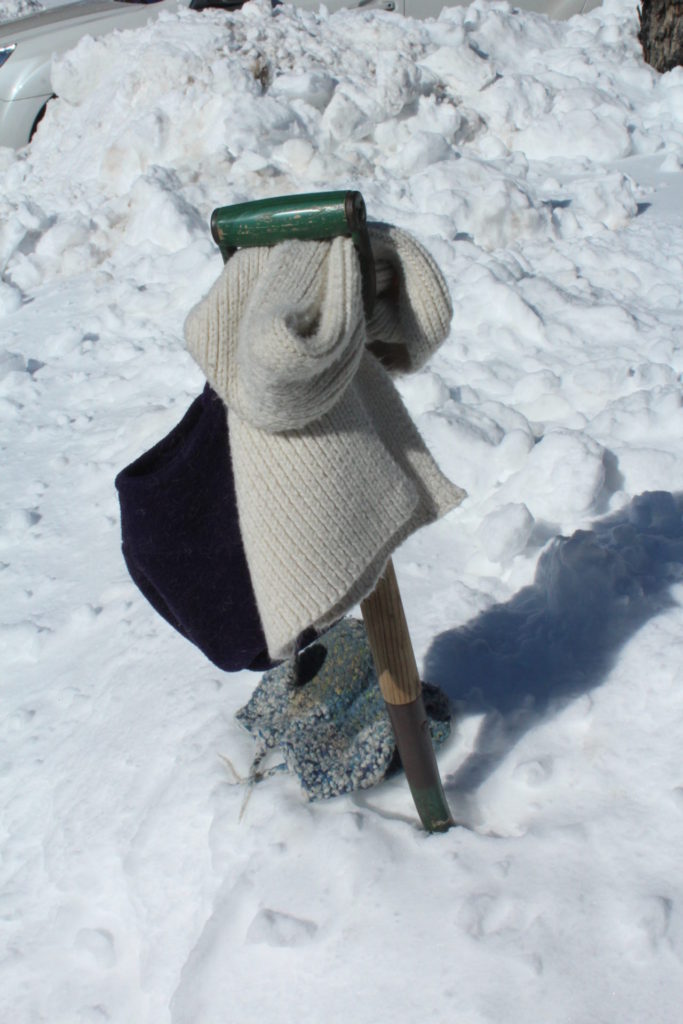
Sunday dawned with the news that church was canceled (not surprising), and nearly another 8″ of snow spread over our cars, yard, driveway and sidewalks. It was not going to be a fun job to shovel – our one real snow-shovel (with a metal edge along the blade!) was out of commision. The day before I’d bent the handle – a combination of it being an “ergonomic” handle and me being a mite bit too enthusiastic. I was not looking forward to shoveling the driveway, sidewalks and other areas with a garden shovel. Not only are the blades on these shovels small (so small!), but it just hurt my New England pride.
This is, again, where Mr. Turtle comes to the rescue – off he vanishes with the broken shovel, to return with the blade on a new wooden handle. Our yard edge-trimmer (which we never use), valiantly gave up its handle to be installed on the snow shovel. Soon we were warming up, the hats and mittens, jackets and scarves coming off as we polished off the driveway.
And because it hurt my pride not to do it, we are the sole people on the street that also cleared off our sidewalks and storm drain. Again, raised in New England (and later upstate New York), I’m fairly certain it’s a law that you have to shovel off your portion of the sidewalks and clear out storm drains in your yard. If it isn’t a law, then it was at least a family law in our household: you dug out the mailbox, you dug out the storm drain, and, gosh darnit, you dug out the sidewalks to ensure safe passage from the house in case of a fire.
So even as we’re living in Ashland, we did the same.
Then, it was time for another walk, this one along some of the more parklike areas of Ashland, to take pretty, artsy snow photography and enjoy the evening sun.
Repairing a Puppy-Destroyed Blanket
New Year brought a small, temporary break in the designing workload – thank goodness! I took the time to catch-up on some of the repair work that’s big and cumbersome, including repairing a puppy-chewed blanket.
Over New Year’s I was able to work on repairing a family blanket that had been “savaged” by a puppy. This is a tricksy repair, with lots of patterning. I’ve been working my way through it, taking the time to trace out the pattern in waste yarn before making the final repairs.
Take a look at some of my progress:
Here I’ve got the tools of my trade: good solid waste yarn that’s smooth and not prone to breaking. I’ve got a bent-tip needle, locking stitch markers, a crochet hook, and the project. You can see the hole closed up now, with the yarn ready to be traced over.
And here we have the final repair, the new yarn nearly invisible. You can find the fixed area by looking at where the orange marker is poking through.
Another hole, this one near the edge. The repairs are made a bit more difficult because every other row the knitter worked is twisted. Twisted stitches are NO FUN to repair because the top unraveled bit looks like a backwards loop cast on. Every other row has to be manually detangled instead of just dropping things back to a good starting point.
Here, working the pattern using a crochet hook.
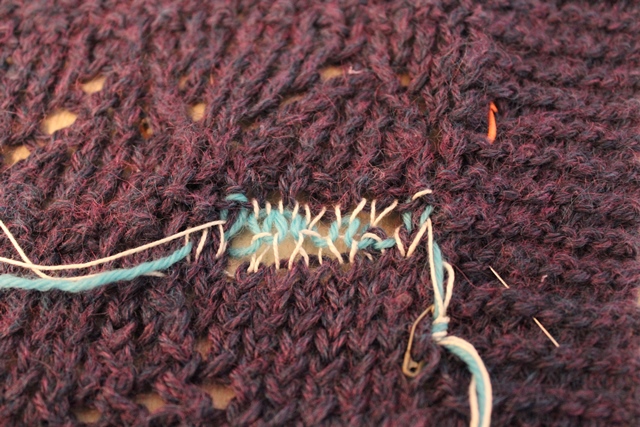
And now, the hole ready to be traced over with the new yarn! Halfway finished!
Stay tuned, as this blanket has several more tricky holes that I’ll be tackling.
A Perfect Sweater Repair
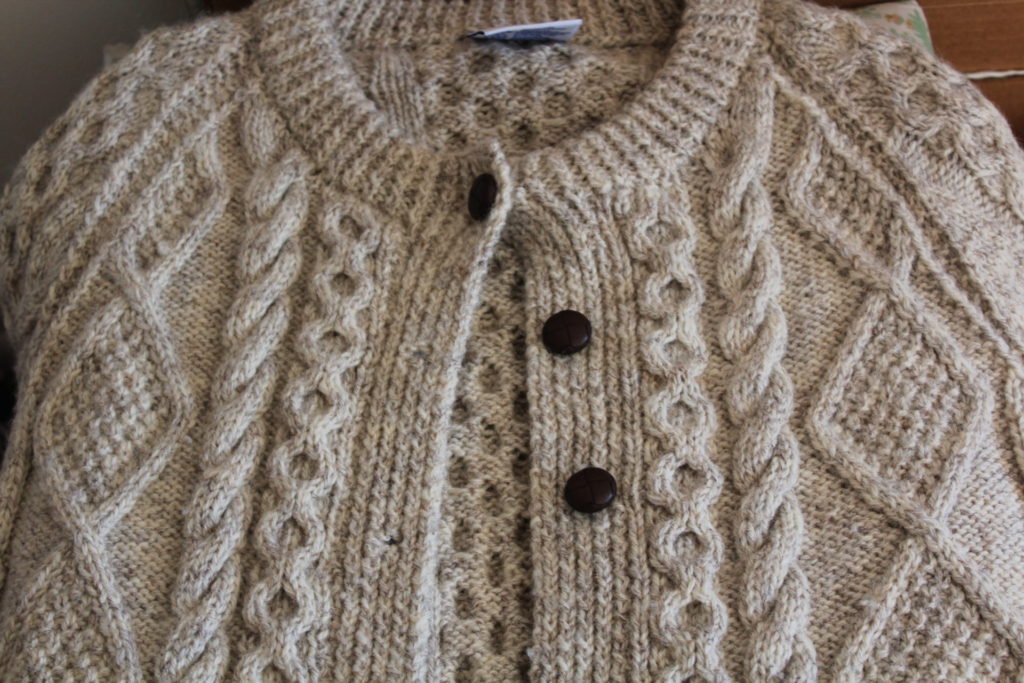
As I mentioned earlier this week, I’ve been hopping, trying to wrap up finishing projects before Christmas is truly upon us. I’ve nearly pushed through the projects that are due in the next two weeks (and then the rest aren’t due until the New Year!). I had one repair in particular that I wanted to share – a sweater repair in the Irish Knit Style. The owner, AM, discovered me through the Washington Post article, and got in contact with me shortly thereafter. She had a hole right in the front of the sweater, and could I please repair it?
As always, I told her I’d do the best I was able, but I was concerned – the yarn she had, a cream flecked with bits of brown, looked to be tricky to match.
This week I sat down to start on her repair, and when I pulled her sweater out of my bag, I couldn’t help wincing – this yarn was going to be really tricky to match. I have a number of different creams on hand, but all of them were too light, and with too much “yellow” undertone. AM’s sweater was a cream with an almost grey undertone. And again, it had flecks of brown it it – tricky to match. I checked the sweater – there wasn’t a good place to “harvest” yarn without going to a lot of effort, and I knew AM wanted to keep the costs down. So matching the yarn from somewhere else would be a better option.
The hole itself was a lucky one: a row higher and it would be in the middle of a cable – a repair that’s much more finicky and tedious to do. Two rows down there was the same problem. This hole happened in exactly the right place – the few rows between two cables.
Well, it’d been a while since I’d been to one of the local yarn stores. I figured it was time for a visit.
The Knitting B is a local yarn store about 25 minutes from where I live. It’s the longest drive to a LYS I’ve had since I left my parents’ house. So I don’t get there as often as I feel I should, and it’s too bad. It’s a great store with lots of natural light, a solid selection of yarns, and a good parking area (always a plus!). Elizabeth, the owner, had an LYS in Charlottesville, VA for 25 years. She’s a savvy businesswoman who knows here stuff.
When I got to the Knitting B one of the employees began helping me out trying to get a match. Everything we pulled was not right. Many of my go-to’s weren’t working. And then, I remembered a trick I’d used before to get a good match. Color changing yarns often will have sections that shift between colors, which means you get a lot of “bang” for your buck – and in this case, a couple of yards of yarn that match a hard to match yarn. In this case, Noro Silk Garden came to the rescue.
The repair was pretty standard after that.
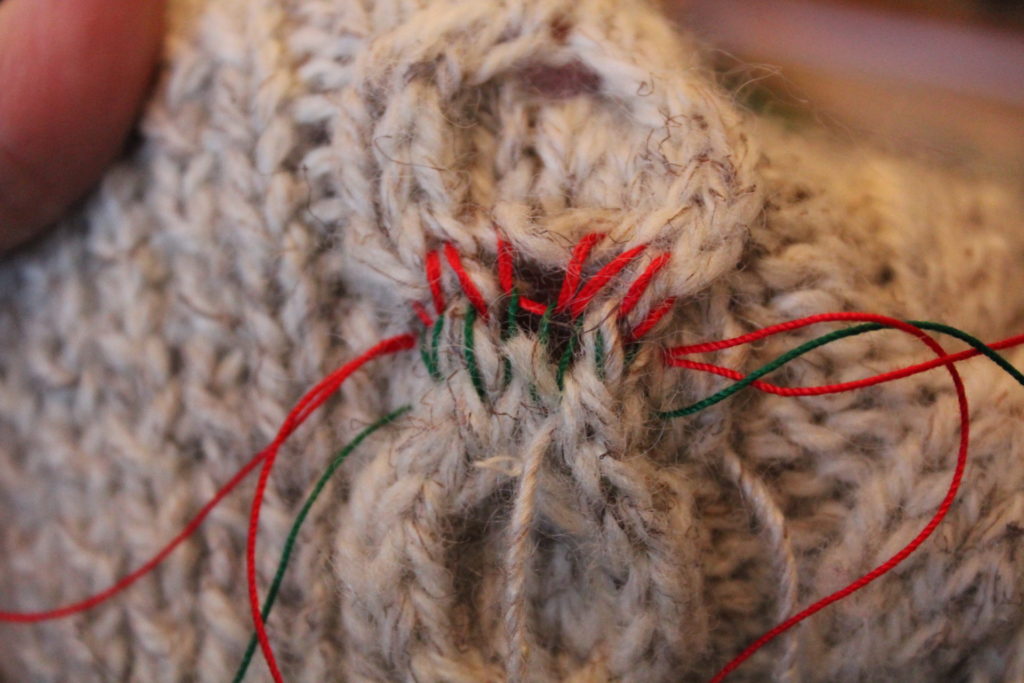
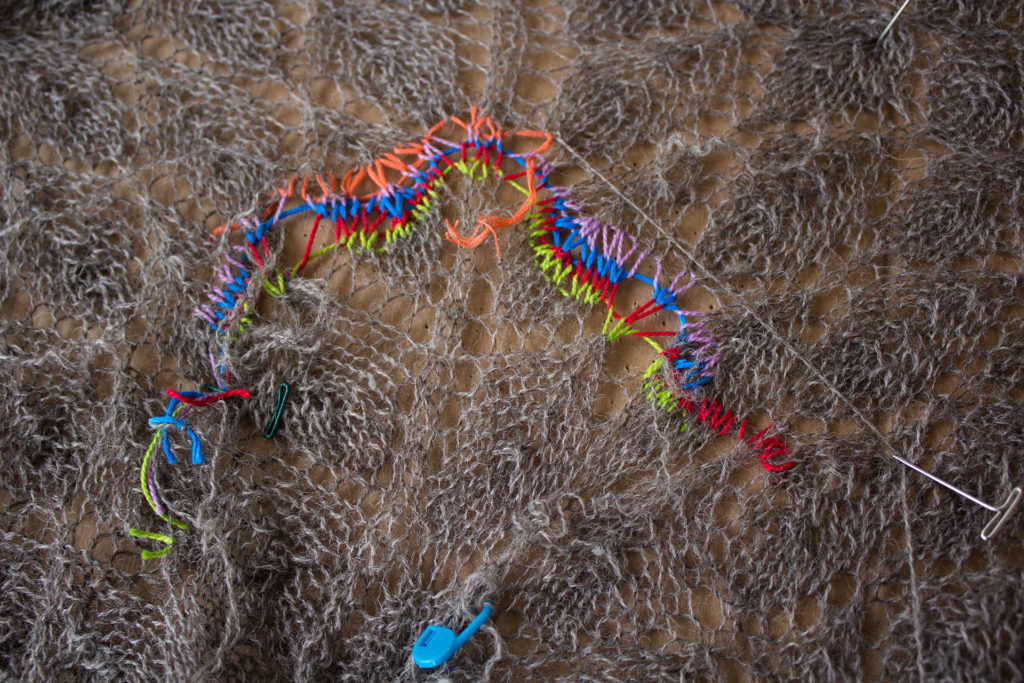
Because the yarn was awfully fuzzy, and hard to see what I was doing, I did a step I sometimes skip. I ran guidelines: a different color of crochet thread for each row. Because it’s the holidays, I decided to go with red and green. I then unpicked the old yarn, pulling it out of the way.
I began tracing the yarn with the Noro Silk Garden. My only complaint about Noro is that it’s really easy to pull apart, being a single-ply. It was also a fraction less lofty than the original yarn, but the color matching was so perfect I didn’t care, as the repair was only 4 stitches across. I ran the first row of yarn, adjusting the stitches to make sure they matched the gauge of the stitches around them. Then I pulled out the green guideline. It’s one of the reasons I love crochet cotton: it pulls out REALLY easily, and is nearly unbreakable without scissors.
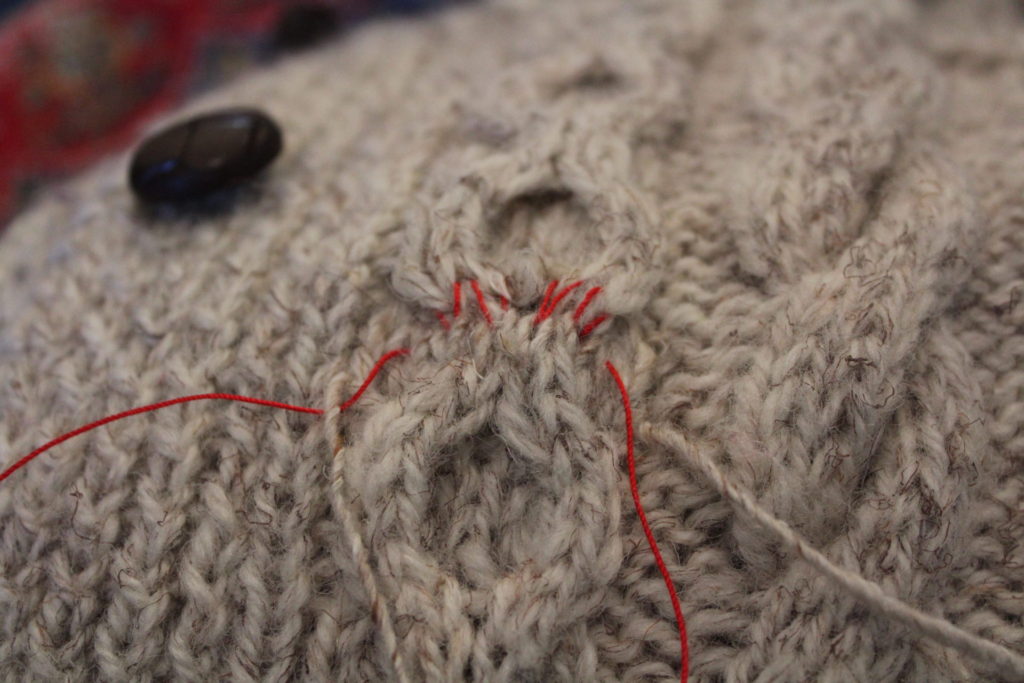
I then ran the second set of yarn, and pulled out the red yarn.
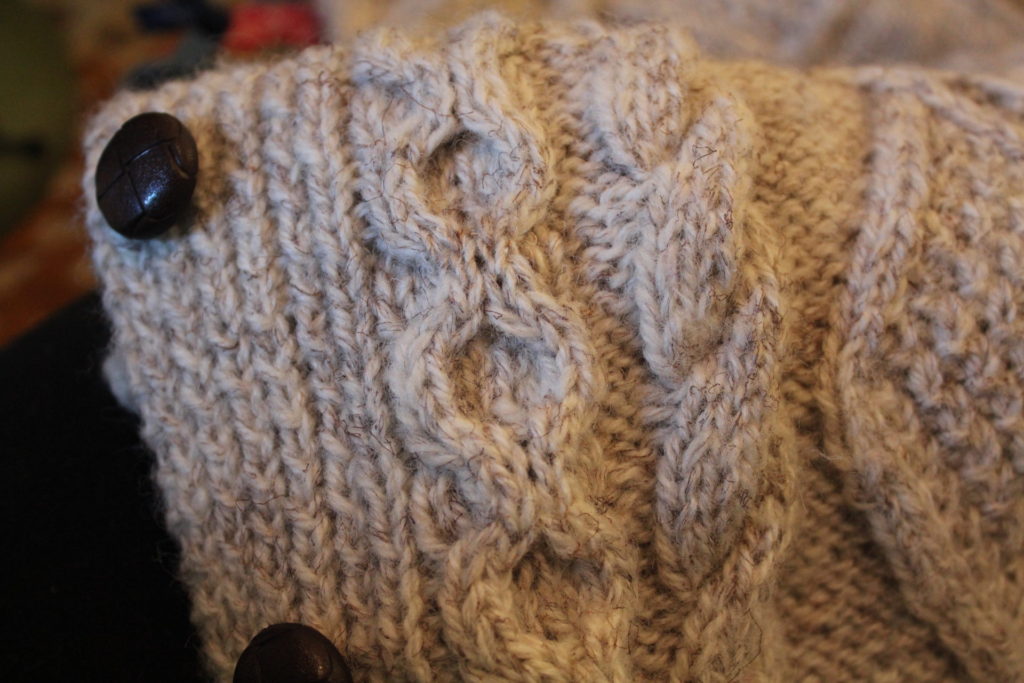
See how nice the color match is? Just let me be geeky for a moment – the under-color is SO close, and the flecks of brown is SOOO close too. You’d really have to be looking to notice this.
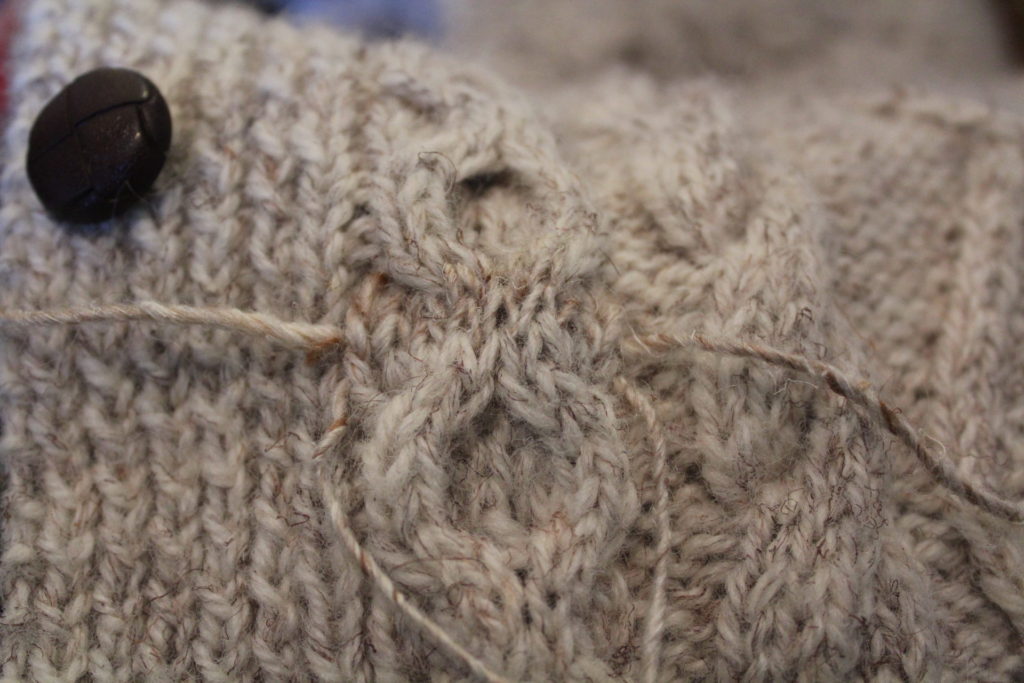
Then got down to the tedious part: weaving in the old ends and the new ends, tweaking things as I go.
Can you spot the repair? Yes? Well then, I ask you.
How about now?
As always, if you’re looking to have a knit piece repaired, get in touch with me on my Finishing Page. Got questions? I’d love to hear from you. Comment, or drop me a note!
Changes: Pricing and Holiday Deadlines
It’s getting to be the end of October (where did all the time go?) and that means we’re starting to move into the Holiday season. This is the time of year where the amount of finishing and repair I do nearly triples!
I love doing finishing and repair work – I love being able to help you finish your projects and make them perfect! I love helping you restore older pieces that have gotten loved on a little too much.
But the reality is that Finishing & Repair are the types of work I can only do so much of in a day before my well runs dry. It’s also time (and very often space) consuming. There’s a reason I get so many different large shawls, blankets and other large items to block! I’m fortunate that Mr. Turtle and I have been able to dedicate a space in the house just for this type of work, and that he’s totally chill with finding a bunch of sweaters and other things drying on the guest bedroom bed.
What Changed?
Quite a few things have changed since I last changed my pricing- nearly two years ago now! And many of these changes have led to me concluding that prices need to increase.
- I moved, and it became more costly for me to drive to my drop-off/pickup locations.
- More individuals have opted to mail, and have me mail back, their items. Postal prices have increased.
- The type of projects I tend to get have become more complicated: most of my customers like to handle the “smaller items” themselves, and send me the more difficult projects.
- My volume of projects has increased! Now, don’t get me wrong – I’m happy about this. BUT! The reality is that knitting, crocheting, seaming, blocking, pinning, etc are all hand and arm heavy activities. I’m relatively young, but I’d hate to find that 5 or 10 years down the road, I’ve given myself a repetitive stress injury. Because of that, I limit the amount of hand-heavy activities I do during a day, and I make sure I have time to stretch in between. This means I have a finite amount of time during the day I can devote to finishing and repair.
- I’ve gotten better. As I practice more and learn more, the quality of my finishing and repair has increased, and I believe that my expertise is worth it!
Frankly, I’ve known I’ve had to raise my prices for nearly 6 months, but the reality of the holidays coming really drove the point home – my prices are not sustainable.
So what does this mean for you, my customer?
- Coming Sunday November 1st, my prices will be increasing on Finishing & Repair work. My hourly rate will increase from $30 to $40. Many of the categories in my Finishing line of services will also change – some won’t change as much as my hourly rate, and some won’t change at all. But most things will be increasing by a little.
- On Monday November 30th, I will no longer be accepting Rush Service. This will continue thru January 1st, and then Rush Service will return. You may still request (and receive!) Express Service. That means if you want to get something finished or repaired before the Christmas Holidays – get it in sooner rather than later.
- There will be a new surcharge for oversized items. Details are still being determined. But the long and short of it is: I have cats. I make sure all my finishing stays in places where it won’t get affected by cats. This is fine for smaller items, but when I need to work on really large things, I have to rearrange my house to create a space where I can work that won’t also have cats laying all over it. This extra effort needs to be taken into account – otherwise I’m going to get frustrated and grumpy every time I go to work on large items. I don’t want that to happen.
- Note: for any of you that have gotten items to be before the November 1st deadline, don’t worry! Your projects will be charged under the old system.
Got questions about the changes? As always, you can leave me a comment, or drop me an email, and I’ll be happy to answer them!
Thank you so much for being loyal customers!


