I’m in the airport waiting for my flight to head to Indianapolis and TNNA! I’d love to see you there! Best ways to get ahold of me is to tweet me or email me. See you there!
10 Things to Prepare for Maryland Sheep and Wool
Maryland Sheep and Wool is a lot of fun, but it’s more fun if you are prepared. Some things to think about before you go.
- Sunscreen and layers: last year I went on Sunday and it was cool, the day before on Saturday my friends were coming home complaining of sunburn. Take precautions to guard against sun and cold, so you can have fun.
- Money: For some, this means they will only be bringing cash. For others, this means that they bring a 2nd credit card. Whichever way you go, it’s very easy to break your budget at Maryland Sheep and Wool. Plan beforehand. If you are using a credit card, call your provider beforhand and let them know that you might be making purchases that look like they are coming from all over. Vendors bring their own payment processing systems, and some of them register as being in other states (because the business is out of state).
- Good Walking Shoes: I forgot this one last year, and I regretted it. Remember, Maryland Sheep and Wool is not only about yarn, there are also livestock. Wear sturdy shoes that you don’t mind getting a little dirty.
- A buying plan: You say, “Wait, I already set my budget.” Now, you need to figure out what you need or want: a new spindle? Yarn for a new sweater? Do you want to try out spinning wheels? Figure out what you are looking for so you don’t go home with things you’ll never use.
- Figure out a way to remember where your car is located: The only detractor for the parking situation at Maryland Sheep and Wool is the rows aren’t well labeled. Every year I’m so excited I forget to take note of where my car is, and I race in. Every year I leave the fair and wonder where the heck I parked. Save yourself a headake and a bunch of walking – remember where your car is.
- Look at the schedule beforehand and memorize map: It’s much easier to get around Maryland Sheep and Wool if you are familar how the fairgrounds are laid out. I like to think of the fairgrounds as having two main streets: one where the animals are, and the other where the food is. Between the two “streets” are most of the vendors, with some scattered at the far ends of the fairgrounds.
- Make a list of the things you cannot miss: There’s a lot going on a the festival, so take a look at the schedule beforehand. Do you want to see the sheepdog demo (answer, you do, it’s cool)? Is there there a talk that’s only happening once? Decide where you want to be when.
- Figure out which of your favorite vendors will be there – and the most efficient route between them: If you are at Maryland Sheep and Wool for the shopping, you want to get the best deals and you want to have the maximum choices. Figure out where the highpoints are, and then plan your route around it.
- Are you going Saturday or Sunday or both? Saturday has more things going on, but the fairgrounds are more crowded. The lines will be longer. Sunday is more laid back, and there are normally less people, but the trade-off is that vendor’s stock is more depleted, especially towards the end of the day.
- Bring a Sherpa: I joke, but figure out a way to haul your booty. Planning a mid-day trip to the car? Bringing a significant other? One person I saw had their own radio flyer wagon for their haul.
PPST…. it’s almost time!
This weekend I was kept hopping with exciting stuff in the background, and a set of really
wonderful classes both Saturday and Sunday. So much fun!
This week some exciting things are happening (I want to share more, I really do, but you’ll have to wait with me – so hard!), and I’m nearly beside myself with anticipation.
So, for those of you who are up late, you’ll get a special treat: a little sneak peek.
Because I can never resist giving hints!
Breaking Down Blocking Knit and Crochet Items
I got some blocking mats, pins, and wires and have been
experimenting with blocking some smaller things that I made, like
scarves. I recently finished a crochet project that I’ve been working on
for a while (Daisy Wrap) and I don’t know where to start with blocking
it….well, after I soak it in water for a while anyway. The blocking
instructions say to pin each picot and there are a lot of them. What would
you recommend for blocking? Fold it in half? I have enough blocking
mats to block it full length. I don’t know where to start with this! Thanks,An Overwhelmed Student
I’d would fold
it in half, just because it’d reduce the amount of pinning I’d have to do by
half. There’s no two ways around it… if you want to have all those picots
standing out the way they look in the pattern, you need to pin them out. I’d probably
take a blocking wire and run it through the two or three picots that are at the
point of each of the arches, and pull those out on each side, just so I didn’t have to pin all of the picots. I’d pull those out, and then just pin out
the picots that didn’t get picked up by the wire.
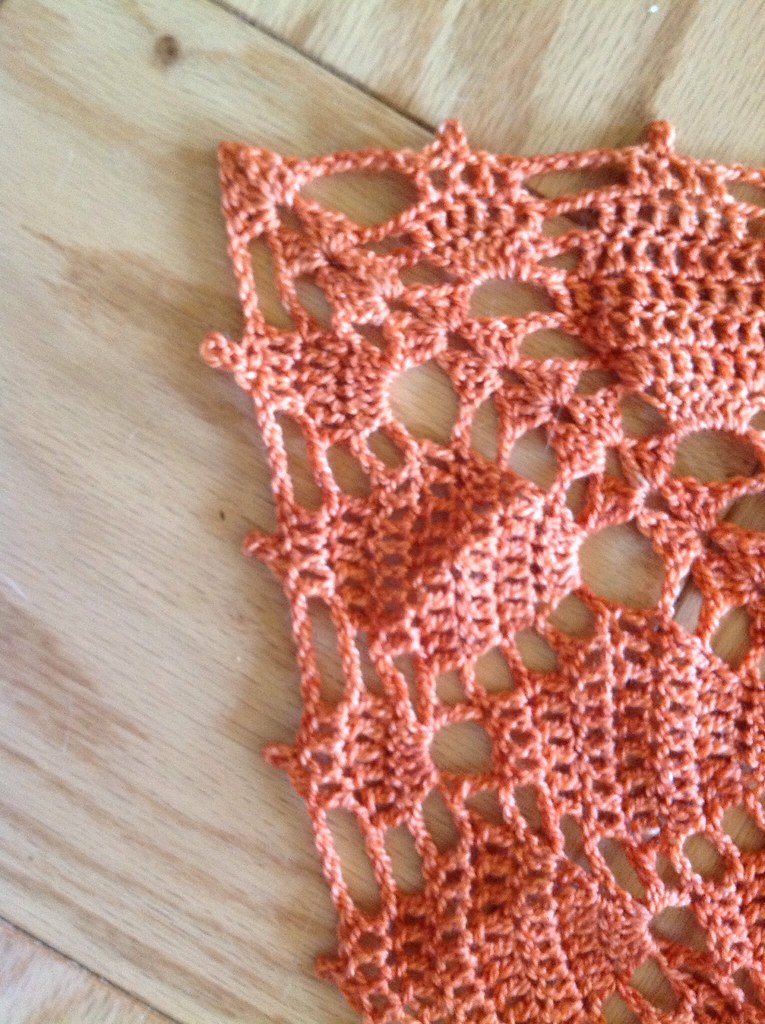 |
| My own Freshly Blocked Firefly Shawl |
Visiting Atlantic Beach
I wrote this post once already, hit save, went to do something else, then went back to edit it and it was gone. I did everything right and I’m still having to rewrite it. *Grumbles*
I’m catching up on things that happened while I was super busy and couldn’t keep up with everything. One of the things I wanted to share was a trip Michael and I took with his parents to Atlantic Beach. It’s become a tradition for them to visit the beach in the off season – when the rates are cheap, the beaches are empty, and you can have the ocean all to yourself. I have to admit I probably like the beach better this way. I don’t mind the cold, particularly. In fact, when you are bundled up there isn’t really a chance of getting sunburned, which is what I’ve done every time I’ve went to a beach in the summer.
Unfortunately for me it was a working vacation – I had a number of designs due at the end of January and beginning of February and I couldn’t just not work on them. But I only did the essentials – so no email or answering the phone.
The unit where we stayed had a GIANT easychair, which I took possession of early in the weekend, and worked on most of my crochet/knitting there. It was an amazing chair.
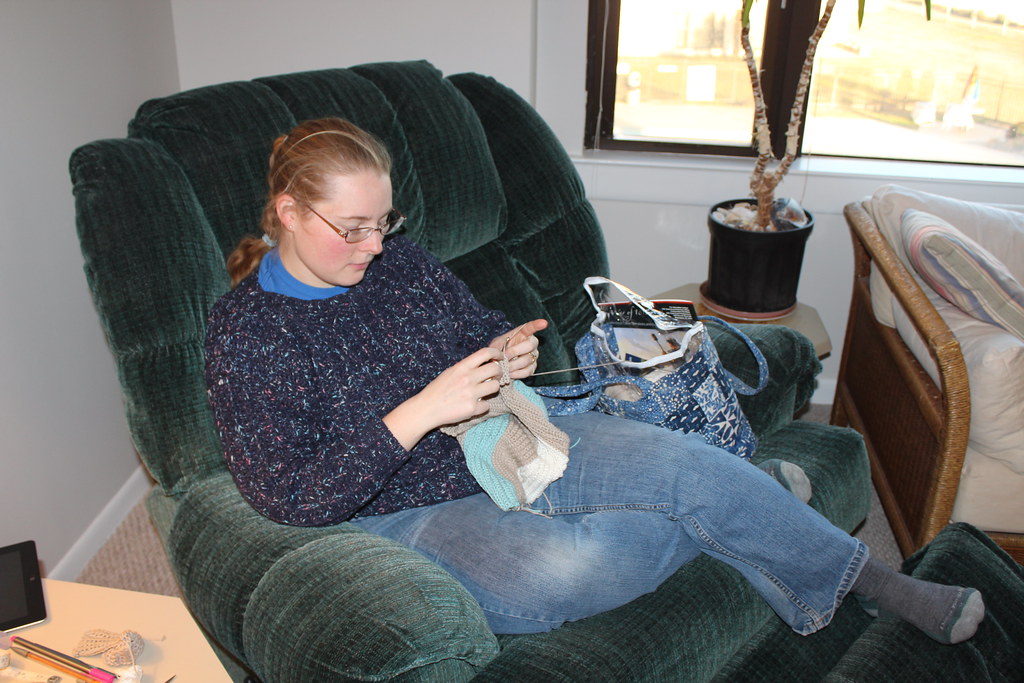 |
| The lovely lovely easy chair, where most of my knitting or crocheting took place. |
 |
| beach vegetation against sunset |
 |
| Me, watching sunset (Michael can’t seem to get a horizon line straight) |
 |
| Michael, looking picturesque. |
 |
| more vegetation |
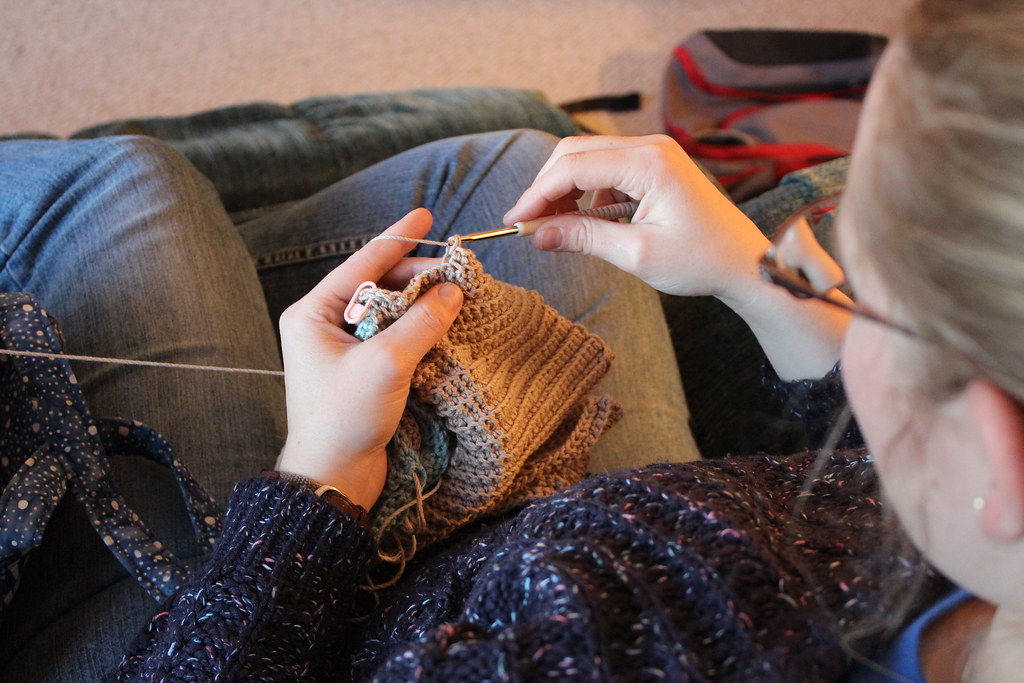 |
| And all along, I stitched away. |
I shrunk my socks in the wash – now what?
I’ve been winding down from a mad sprint that began shortly after Thanksgiving and wrapped up this past week. It’s been several months of multiple deadlines every week, and staying on top of all the personal and professional obligations has been difficult, to say in the least.
For the first time in what feels like forever Mr. Turtle and I got chores done on Saturday instead of Sunday. It’s our habit to do grocery shopping and laundry on the weekend, and over the last few months laundry has been done on Monday or Tuesday night (or even there’s been weeks skipped), and grocery shopping late on Sunday when we get home. While it seems like a small thing, being able to get our chores done not at the last minute has been wonderful – once the chores are done I can relax into the weekend.
Since laundry had been skipped last week, there was a plethora of hand-knit socks that needed to get washed. I like knitting my socks in superwash wool – they go into the washer with the rest of the clothes (cold or warm cycle) and then get pulled out to hang dry. The rest of the clothes go in the dryer.
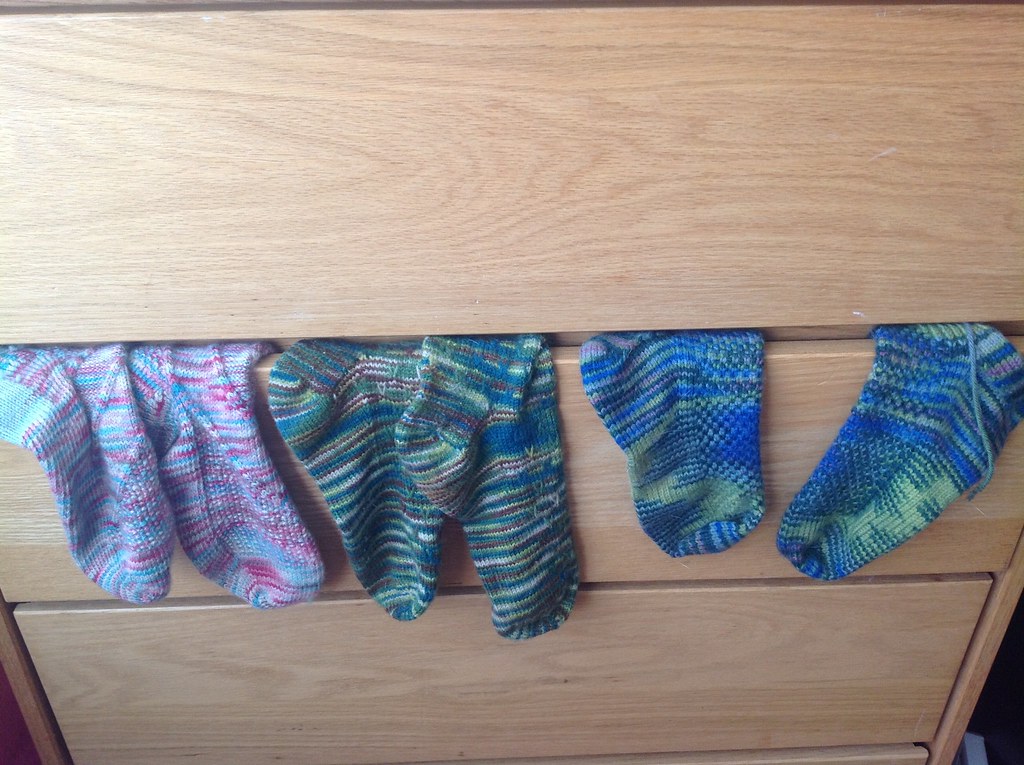 |
| My highly technical way of drying socks – over the edge of the sock drawer. |
Well, we missed a sock… which made it into the dryer.
Now, this is no great tragedy – I’ve had socks go into the dryer before, but I don’t particularly like it because in the dryer my row gauge shrinks. (I’m not sure why – perhaps because when they are hang drying the weight of the socks keeps the row gauge stretched out?) Still, it was an interesting comparison between the line dry sock and the hand-dry sock.
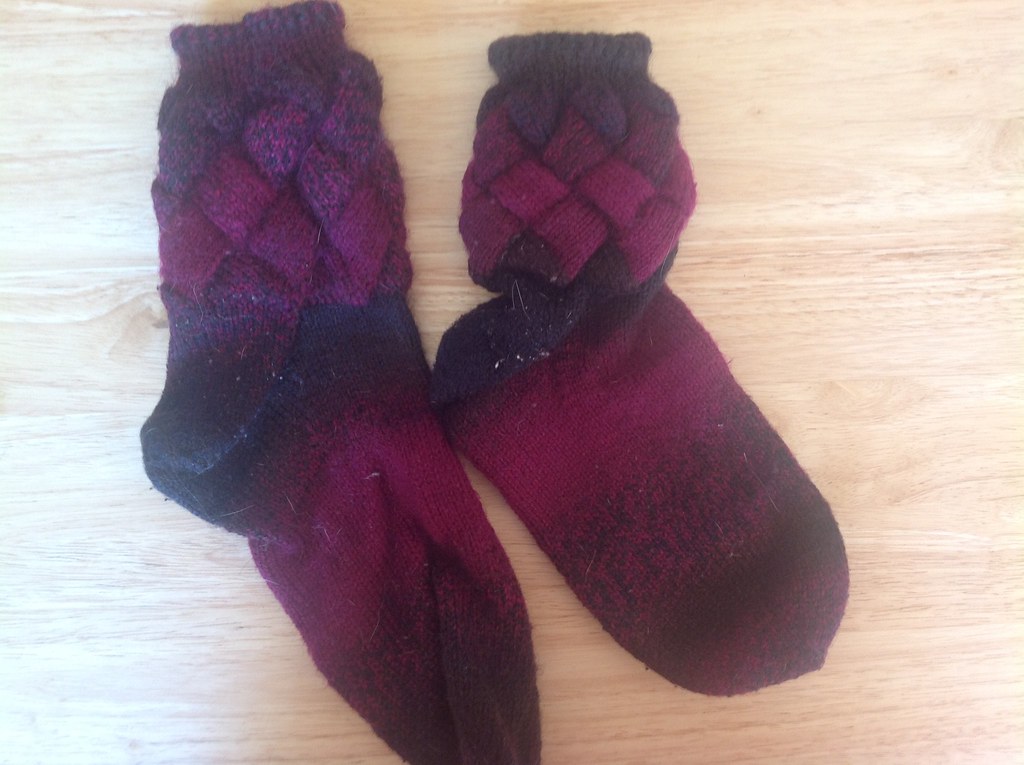 |
| Line dry sock left, dryer sock right. |
This is a quick snapshot from the ipad – not particularly well exposed, but you can see the difference between the line dried sock (on the left) and the dryer sock (on the right). The dryer sock is a good inch and a half shorter, and while the ribbing is pleasantly snug, the heel is nearly too small and if I put the sock on… my toes would be quite squished.
Luckily there’s an easy way of fixing the situation. Now, let me make it clear – the sock on the right did not felt. It just shrunk a bit – and got blocked in a particularly enthusiastic way.
So I dunked both of the socks in the sink filled with water, blotted them dry with a towel, and then hung them damp on my sock blockers – by tomorrow afternoon latest, they’ll be as good at new.
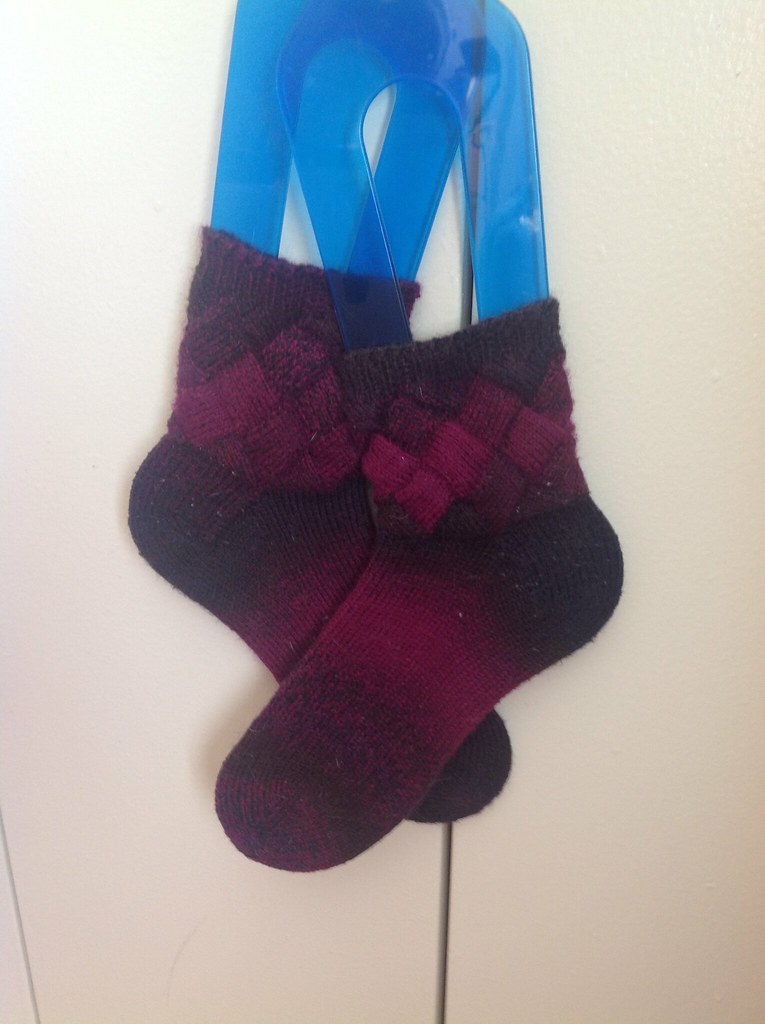 |
| My socks, looking particularly nice on my sock blockers. |
6 Ways to Increase your Knitting Speed
Nearly everyone I’ve met has, at one point or another, expressed a desire to speed up their knitting. Here’s a few tricks (some fast, some not) to speed up your knitting.
- Knit off the Tips: that is, move your stitches to the tips of your needles. When we first learned to write when we were children, I know many of us held our pencils in the middle of the pencil, only to have our teachers slide our fingers closer to the point of the pencil. The closer your fingers are to the action, the less movement you have to do, and the less time each stitch takes. Beginners often hold their stitches far away from the tips of the needles, afraid the stitches will fall off. It can quickly become a habit. Move your stitches and fingers closer to the tips of the needle, and things will gradually speed up.
- Watch for unnecessary movements. Sometimes when we first learn to knit we acquire extra movements that aren’t necessary for knitting. Watch your hands while knitting (and especially purling) to make sure everything you do is necessary to creating a stitch.
- Stay relaxed. The more your muscles tense up, the more you are fighting against yourself. When you are practicing speeding up your knitting, try to keep your wrists, shoulders and arms relaxed.
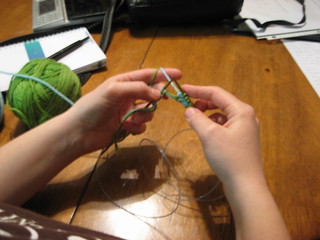
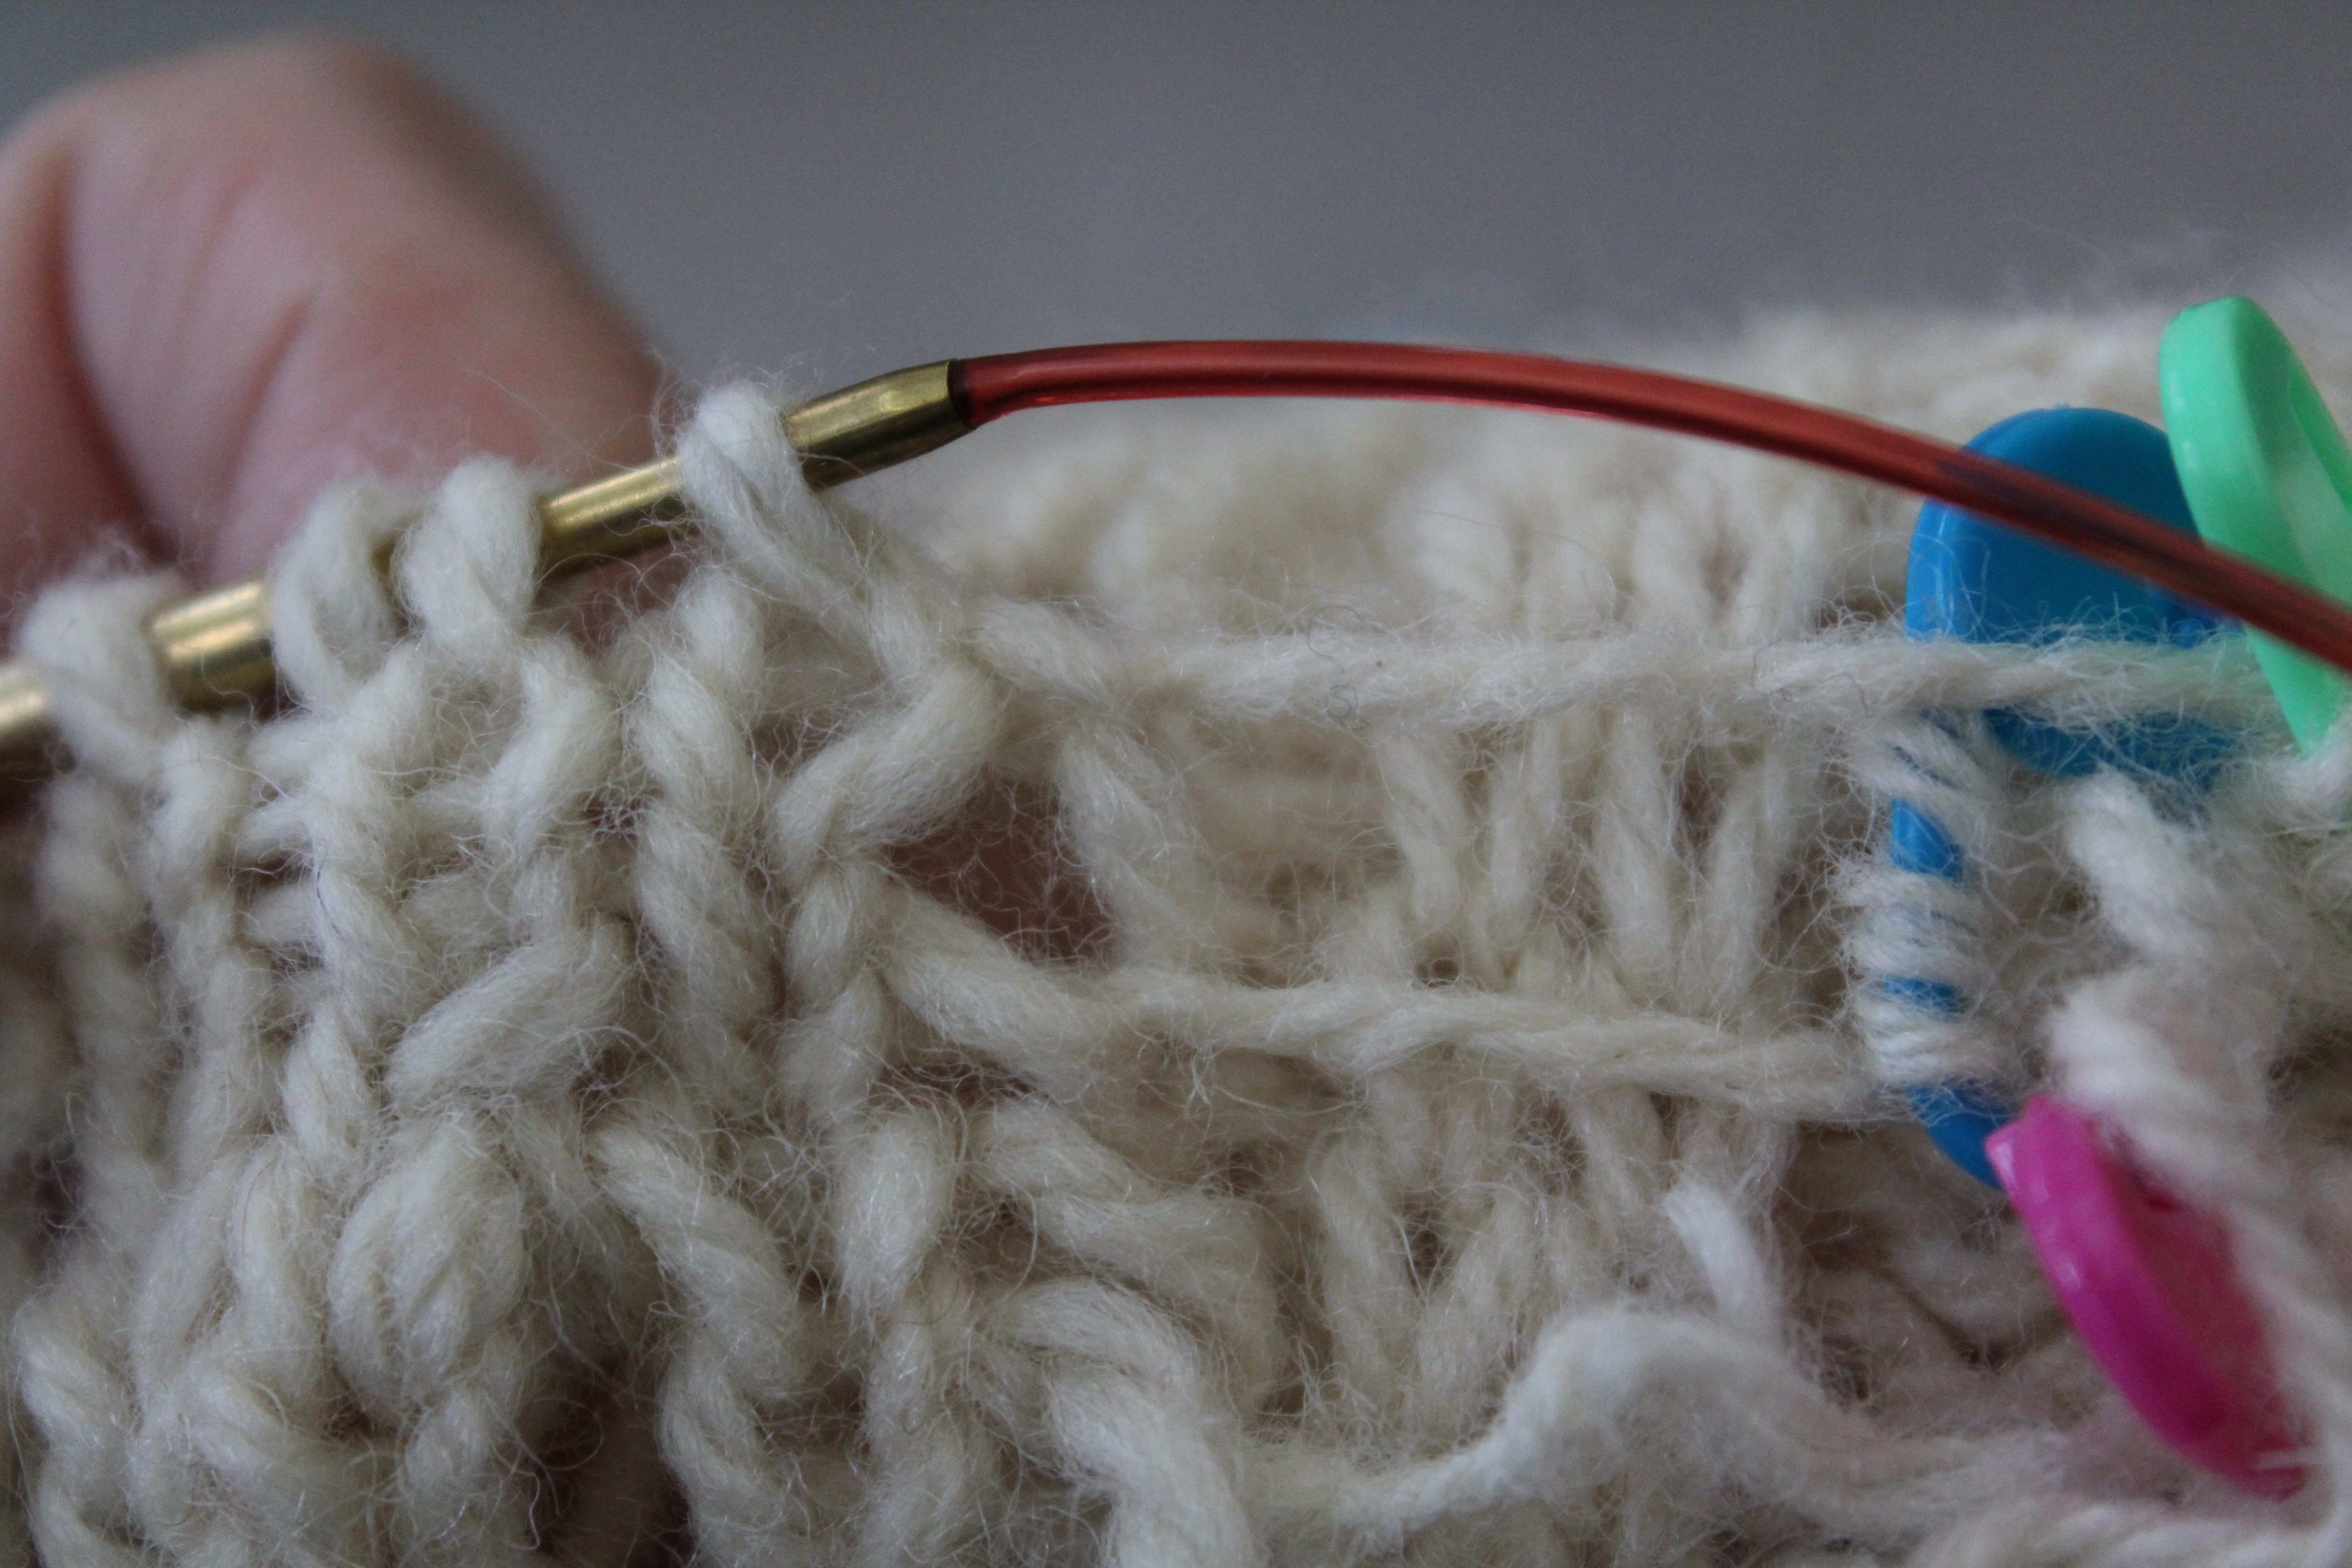
- Keep a finger on the next and following stitches. You can see here how the pointer fingers of both hands are holding the stitches on the needles.
- Learn a different method of knitting. While most people knit English Style, it is far from the fastest way of knitting. Try learning continental, Portuguese style, or something similar to the Yarn Harlot’s Cottage Knitting style.
- Watch your posture. The more you hunch over your knitting, the slower you’re going to get. Practice good posture and keeping your hands low in your lap instead of holding them midair.
What to do if your Family Heirloom is Falling Apart
 |
| working on repairs |
As you are putting away your holiday decorations, you notice it: a hole, a tear, a rip or an unraveled bit of yarn. Somewhere along the way this holiday season your childhood Christmas stocking, or that bit of lace your grandmother made, or other family heirloom has gotten a little beat up.
What do you do?
I’ve written before about checking your knit or crochet items to make sure they are staying well-cared-for, but what happens when the damage is already done? What do you do?
First, make sure that the stressors on the item have been removed. If the stocking was stuffed full of gifts, remove them. If the lace tablecloth was hanging off the side of the table, move it to a more supported location.
 |
| A recent Christmas Stocking Repair, nearly finished. I was fortunate to be able to closely match the red and the cream. |
Then, take a deep breath. Old knitted and crochet objects have a wonderful thing going for them: the stitches and yarn have been sitting in the same way for a very long time. They’ve settled and, perhaps in the case of wool, even felted a little bit. That means unless you are pulling and tugging on the object, the stitches should stay in place and unravel no further. If the yarn or fibers aren’t too delicate, fold the object up and put it in a bag that protects it from sun and dust. If it’s plastic, don’t seal the bag: it can trap moisture in with the fibers, which isn’t ideal.
Next, get on the phone or the internet and see if you can find a Local Yarn Store. If not, see if you can find a local museum or historical society that might deal with textiles. Often someone will know of someone who might have the skills to repair your object.
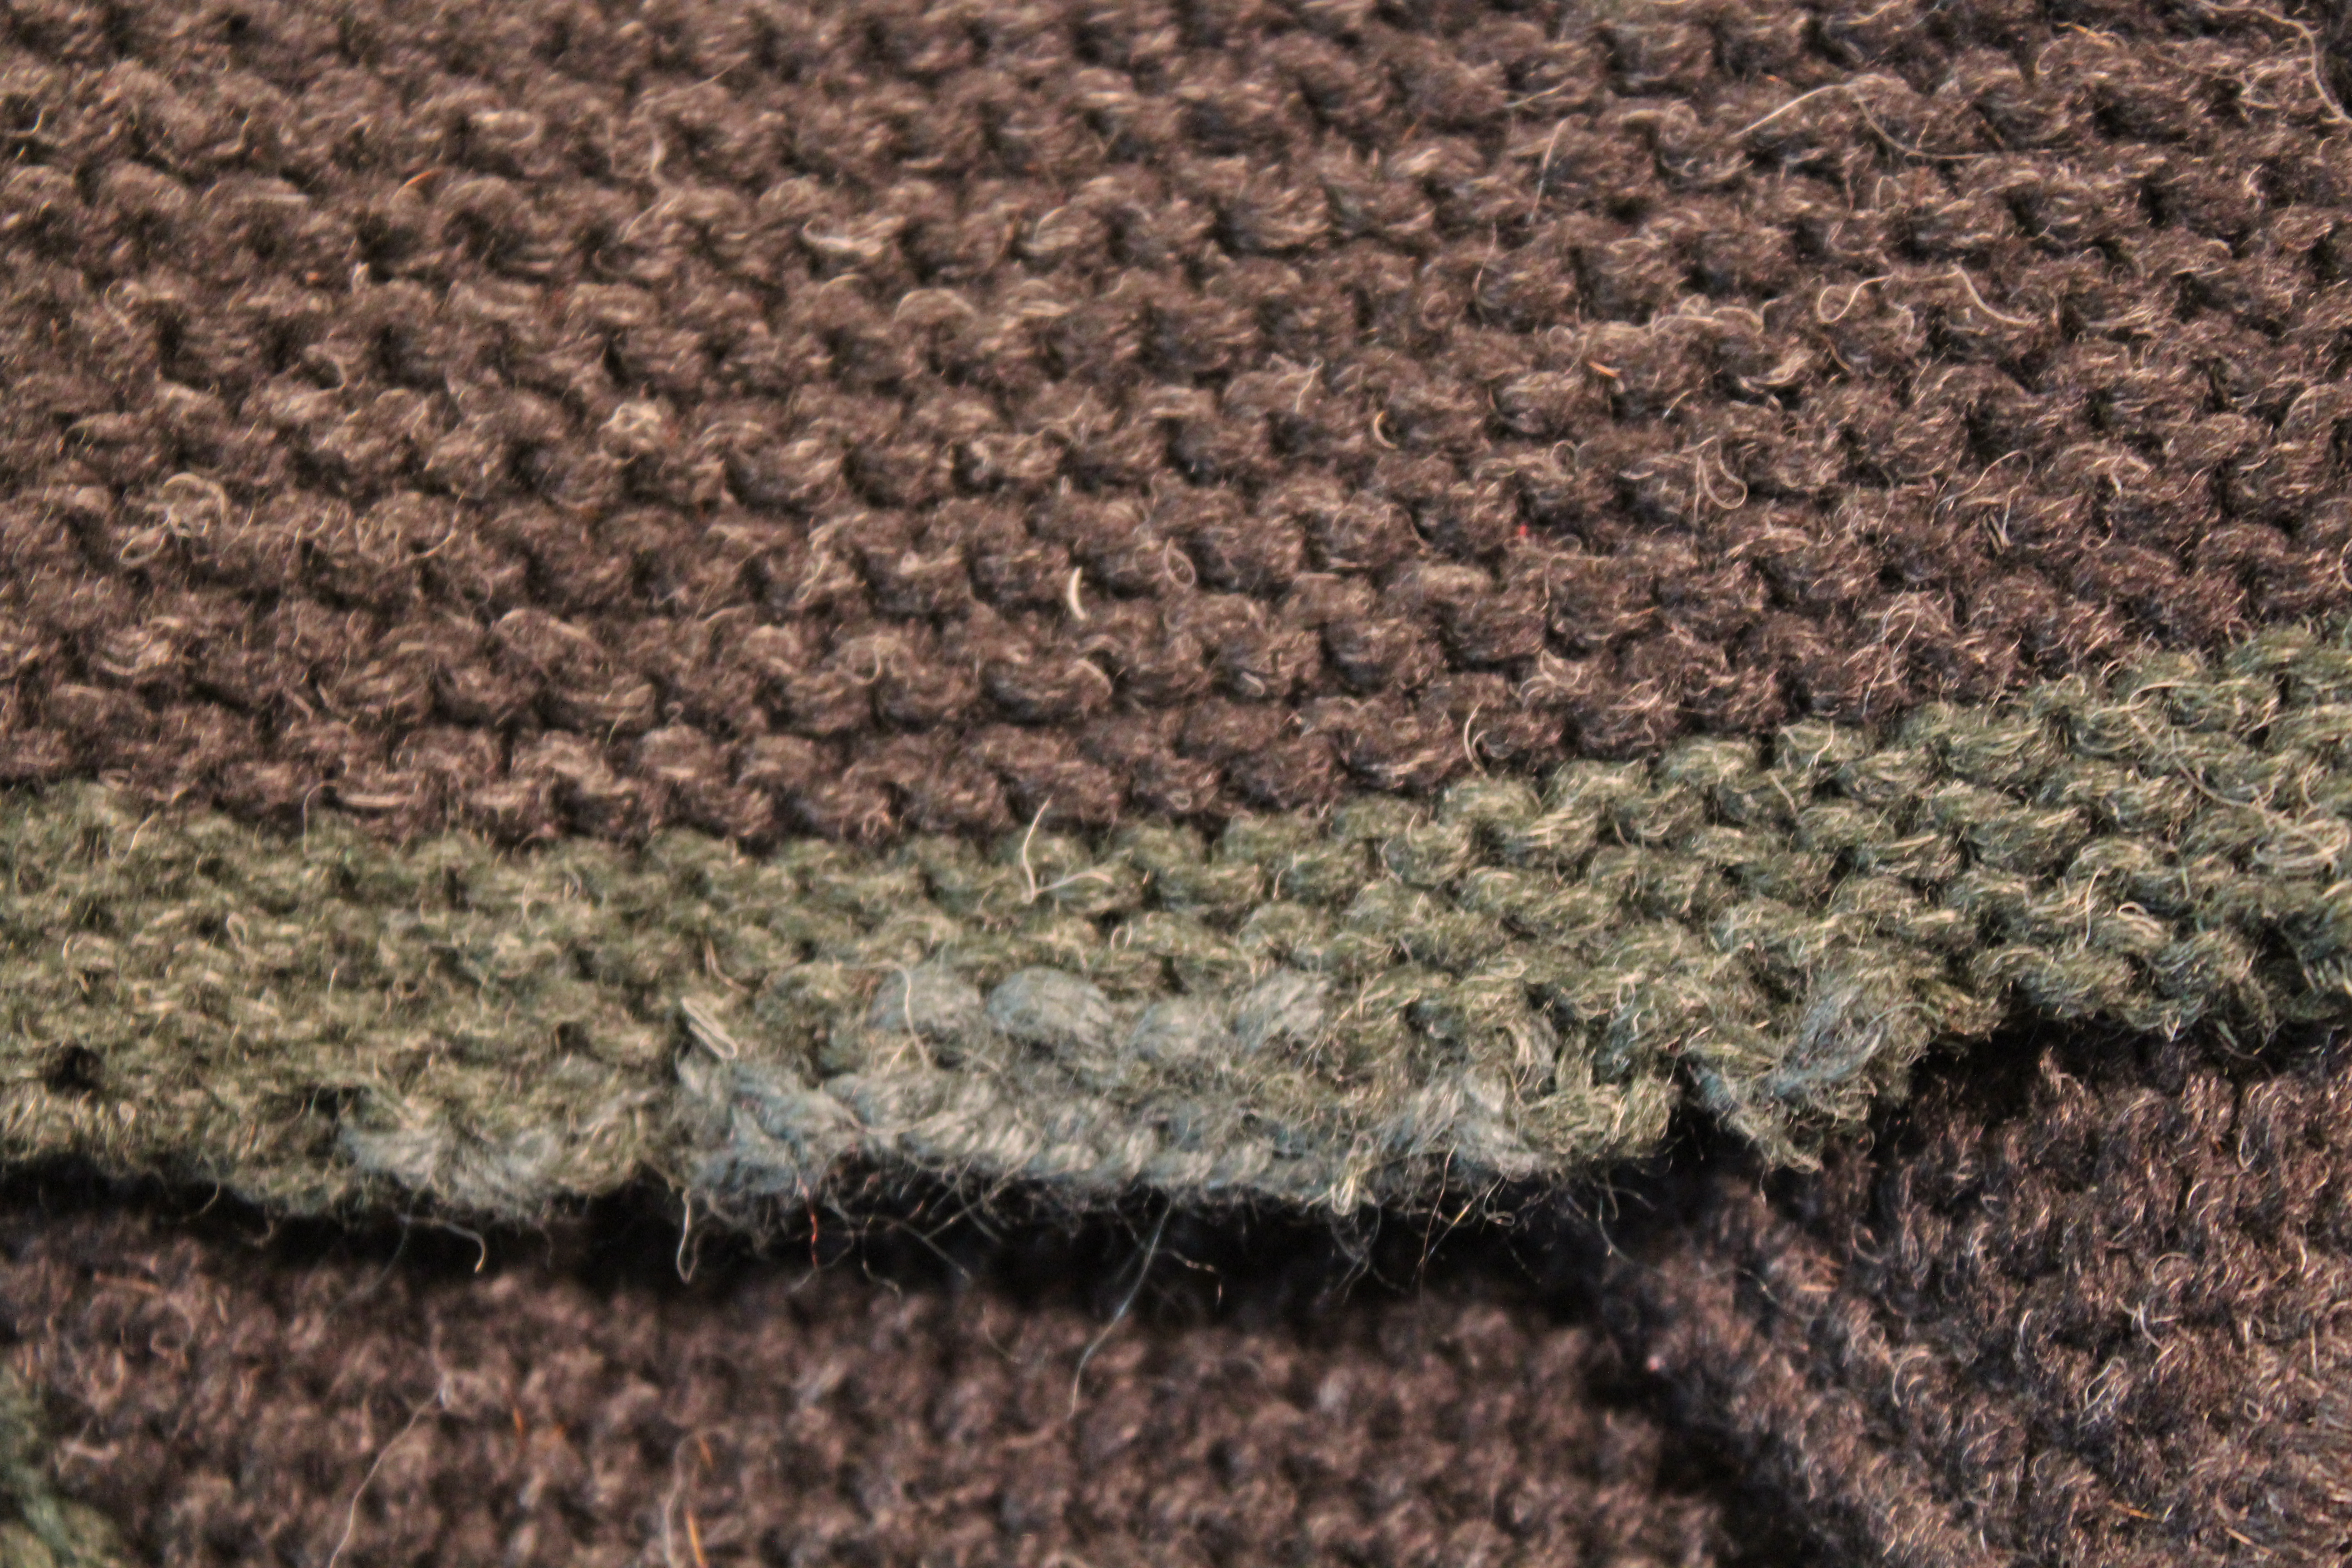 |
| Repairs to the edge of a sweater. |
Then, think. Before you talk to someone about repairing your heirloom
determine your goals. Are you looking to restore it to it’s former glory? Do you want to just have it fixed so you can continue using it? What is feasible for caring for your heirloom in the future?
A local knitter, crocheter or stitcher of some great experience might be skilled enough to repair holes and return your heirloom to former use, but they might not have the resources to do a perfect restoration. On the other hand, they might be more affordable. Meanwhile, someone affiliated with a museum might have more resources to do a full restoration of your heirloom, but it will probably cost more.
Making a decision about your commitment to keeping the heirloom safe and preventing it from deteriorating further is also important. If you plan to keep using the heirloom, it’s not feasible to have it under glass. Sometimes the best ways of preserving textiles is to not use them, which can be problematic if the reason you love a heirloom is because of it’s tradition of use.
 |
| Repairs to the arm of a person on a stocking – not all color matches can be perfect. |
Personally, I fall on the side of loving and using family heirlooms. I’m careful about how I handle and store them, but it doesn’t prevent me from using the object. As someone who creates, I think that useful objects (like furniture, clothing, blankets and many textiles) lose some of their meaning when they are no longer able to be used. And if the object takes some damage? Well, I’m fortunate enough to be able to make repairs myself.
Traveling, Knitting, Repair
Michael and I were heading to a wedding. We got on the Amtrak train in Washington, DC Friday night, ate dinner, worked, slept, ate breakfast, and got off at the station. The wedding didn’t start until 4, and we didn’t have a hotel room, so I camped out in the Amtrak station to work on a sweater repair. I got some odd looks.
| Picked up stitches on circular needle, unraveling part that will be patched. |
The sweater had suffered from some poor storage, and had a hole about 4″ wide about a 1/2 from the left side seam. The pattern was a doozy: a variation of a slipped puff/bobble stitch that involved using cabled slip stitches on the wrong side. Normally I’d try to reconstruct the fabric around the hole, but in this case, it was more time effective to pull the section out and knit a patch.
| Wrapping yarn around new patch yarn to create “retroactive intarsia.” |
The old yarn, since it was on the edge, was long enough that each row, as I knit back and forth, I’d work a type of retroactive intarsia, wrapping the patch yarn around the old yarn, then weaving/skimming the old yarn into the original fabric.
At one point I had more than 45 locking stitch markers in play, holding various ends out of the way, holding live stitches, marking future holes to repair, and marking where I started.
So much fun!
| Detail of “retroactive intarsia.” |
I could kick myself though: while I got pictures of the process, because I had to turn this project around quickly, I neglected to get pictures of the finished repair. Suffice to say, that when I handed the sweater to my husband to take a look at, it took him a good 3 minutes to find the patch.
I call that success.
Grandpa Les, and The Joy Of Making Something Yourself
 |
| My grandparents’ house, still well taken care of. |
The evening before NEFF, my mother picked me up at the train station in Springfield. “I want to show you the house where I grew up,” she said, “The one your grandfather built.”
My mother had grown up in Springfield before moving, when she was in high school, to Deerfield. My grandmother still lives in this house, but the last time I’d seen the house my Grandfather, Grandpa Les, had built I’d been much younger. Since it was only a little bit out of our way, we swung by.
My grandfather, and his side of the family, has always been handy with tools. For my grandfather that meant he loved to tinker – one of his hobbies was fixing clocks. He had a fully tricked-out woodshop in the back of his yard that he fashioned himself. For his sisters, one is a beautiful seamstress (though her eyesight is going now), and the other was handy with anything to do with yarn: knitting, crochet, tatting, rug making, etc. Their mother, my great grandmother, used to dye her own wool to make rugs in intricate detail. Going to my Grandfather’s childhood home (my great aunt, the seamstress, lives there still), the attic is a treasure trove of crafting supplies that are a joy to behold.
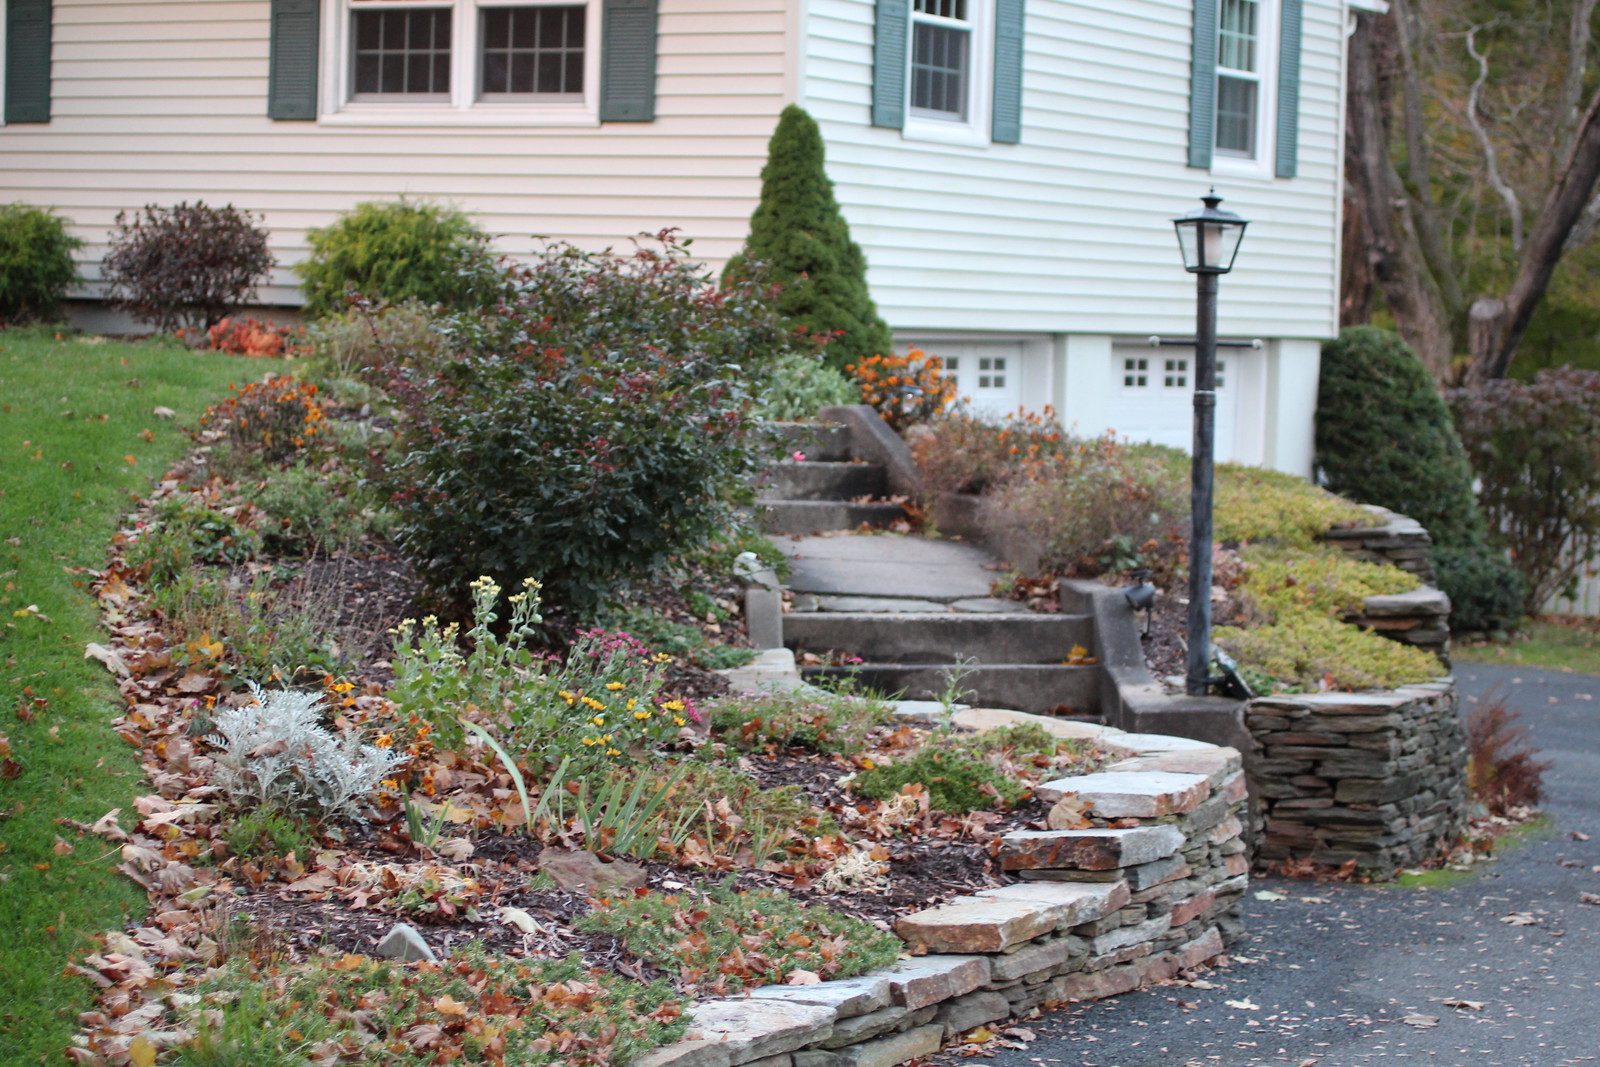 |
| My grandfather built this rock wall for my Grandmother’s Garden. It’s still standing. |
When my grandfather wanted to learn a new skill, he got a book. Or more accurately, books. When you go to his library in my grandmother’s house, you find books on electricity and wiring (he eventually got his electrician’s licence), plumbing, and carpentry. My grandfather was an early adopter of the computer, and there’s books on coding and how the internet works (the internet ones make for funny reading, nearly 15 years later).
He loved to take things apart to see how they work. I see that same quality in myself – I love to learn a new knitting technique, and then fiddle with it until it breaks down. When I see a knitted sweater or a stitch pattern that I’ve never seen, I will shamelessly look at the inside seams or inspect the use of knits, purls, yarnovers and decreases.
Grandpa Les wouldn’t buy something if he could make it himself – and he could make nearly anything. Need a rabbit hutch? He’s got you covered. His grandaughter wants a play kitchen? Give him two weeks. I think he really understood the satisfaction of doing something yourself, to take the time to do it right.
I find that same joy in knitting and crochet. And even though our crafts use different materials, every once and a while, while I’m meditatively working, I’ll think of him. It makes me happy.
- « Previous Page
- 1
- …
- 3
- 4
- 5
- 6
- 7
- …
- 9
- Next Page »


