MENU

Mending a Midwest Inspried Crochet Afghan

This midwest inspried afghan had a lot of damage done to it over the years, and the owner contacted me about doing some repairs and mending to bring it back up to shipshape! This was an interesting piece – each row was done through the back loop (hence the distinct ridges, and each row the yarn was cut on the end, resulting in the creator only ever going from right to left when working on it.  The cut ends became part of the fringe.

It did make the repairs a lot easier to do, as I didn’t need to flip the blanket over for each row. Working through the back loop does mean that the last row invoves a lot of sewing, though.

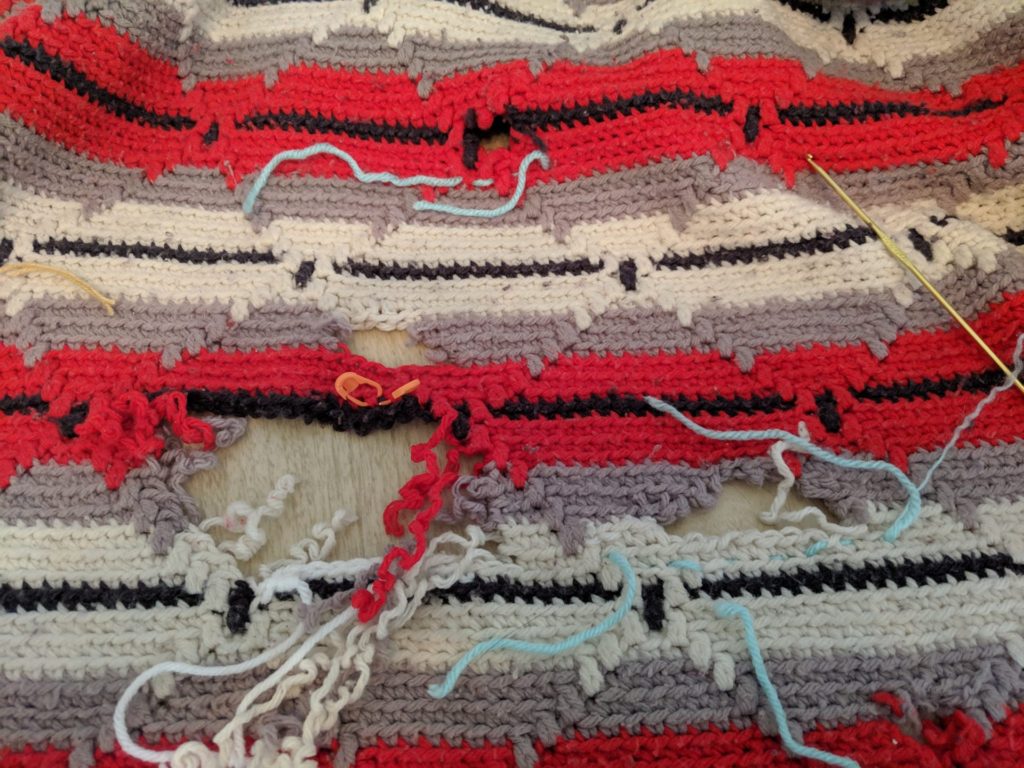
The two holes right above the the black line were so close together it made more sense to pull out the yarn between them and work them as one large hole. I decided to tackle that first.
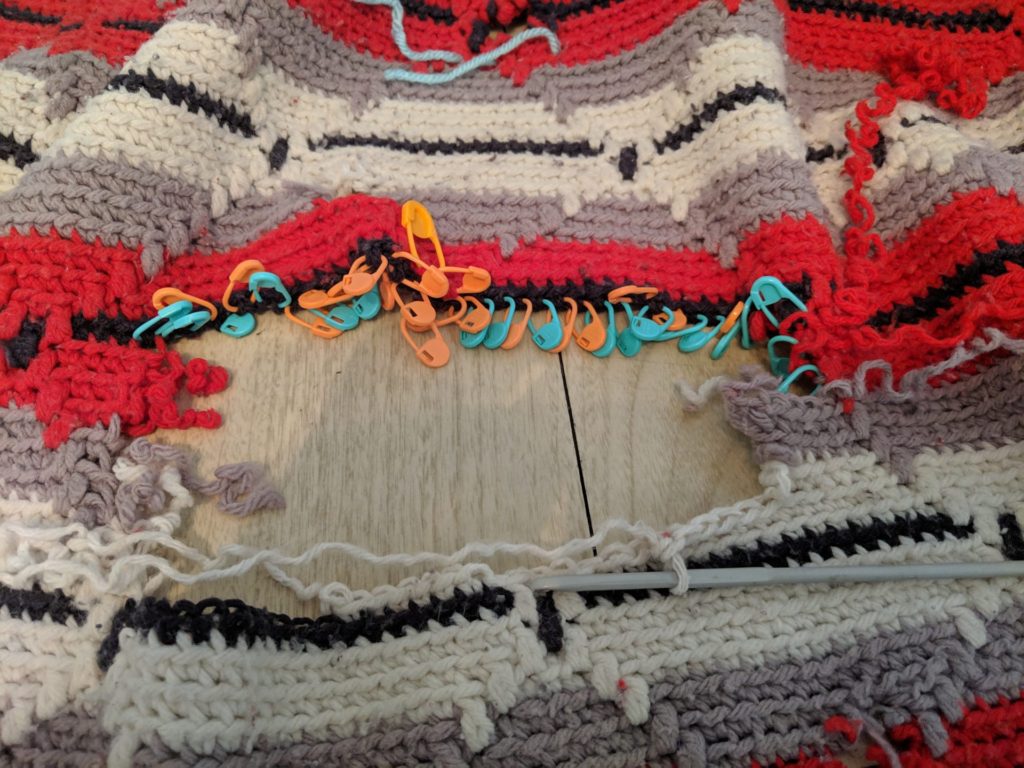
To keep track of each stitch, I used locking stitch markers to hold each leg of the single crochet together.  This will help when I reweave the last row. 
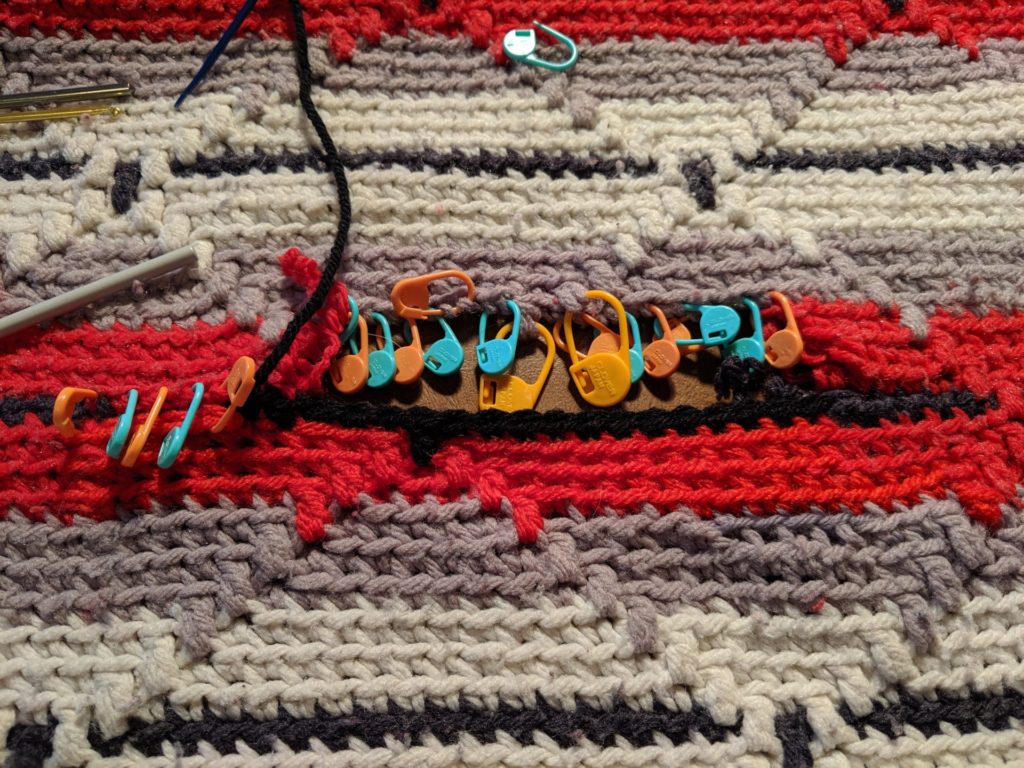
Nearly done! After working each of the rows, I’m finishing up by joining together the last row. I had to take out the black row later in the process as it had more damage to it than I realized.
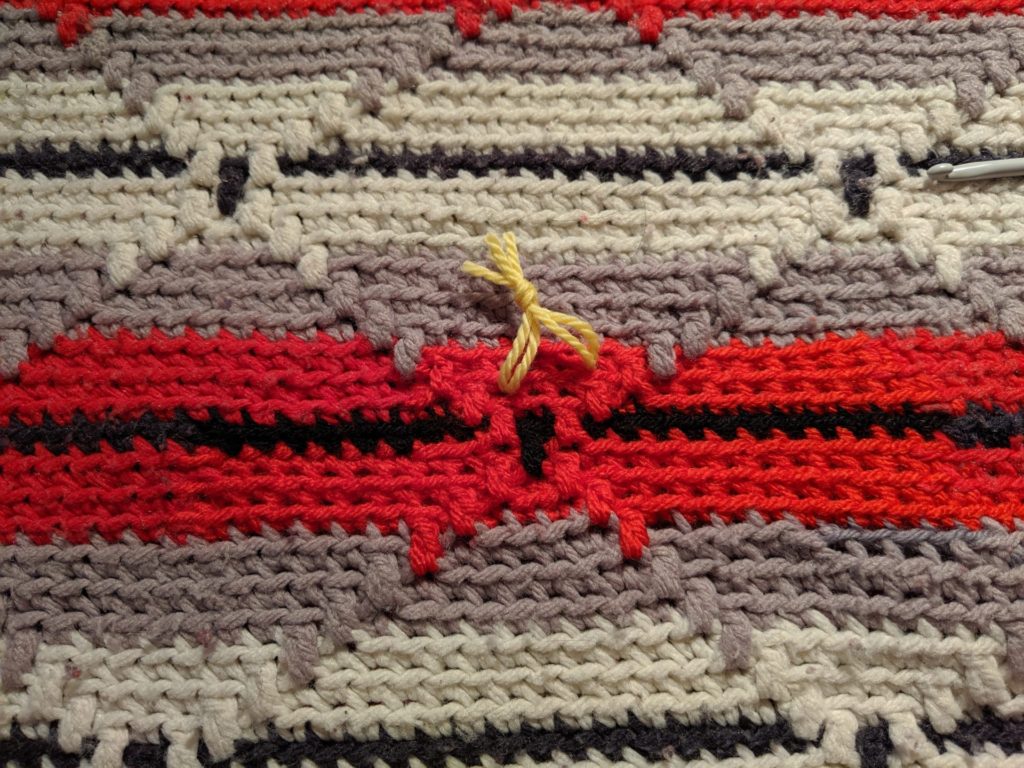
Finally Done!

Now I’ve got everything worked up and the ends woven in. I mark each area of repair with a piece of yarn, so the repairs are easier to find. When the clients get the repaired piece they can take the markers out.

See that the stitches look a little more lively where I’ve done the repairs? This will improve as the piece gets used, and the newer stitches gain some wear.
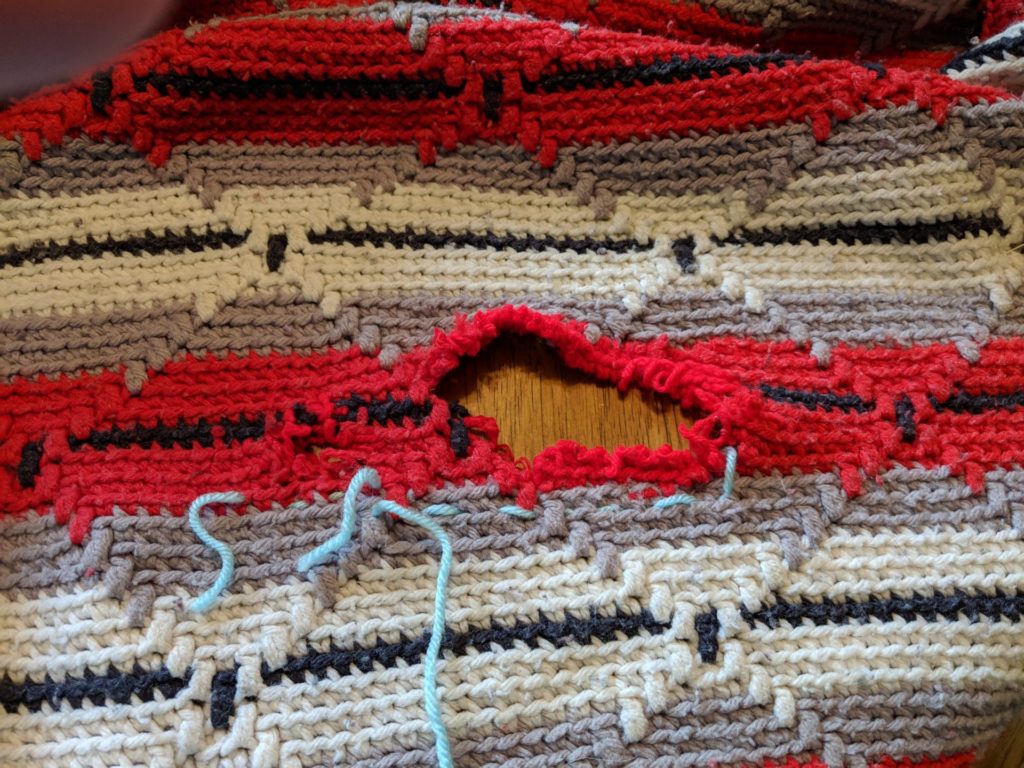
Now I’m tackling the repair that is further up in the blanket. You’ll notice there’s the larger hole, and to the left, another smaller hole. It made sense in this case to also pull out and combine the holes. The yarn in between the two holes was worn away enough that I was concerned about its stablility.
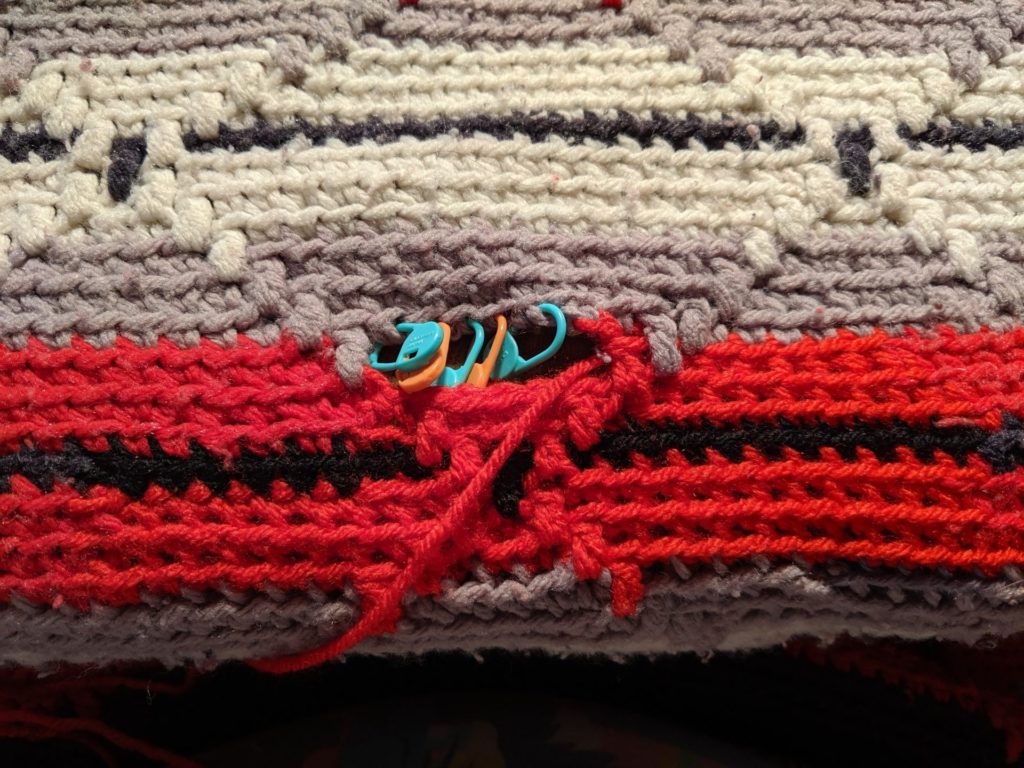
As in many repairs, this is a slow process of just adding the new yarn to the old, crocheting across the row, and then sewing and reweaving the old to the new.  What you can’t see on the backside is all the ends I still need to weave in.
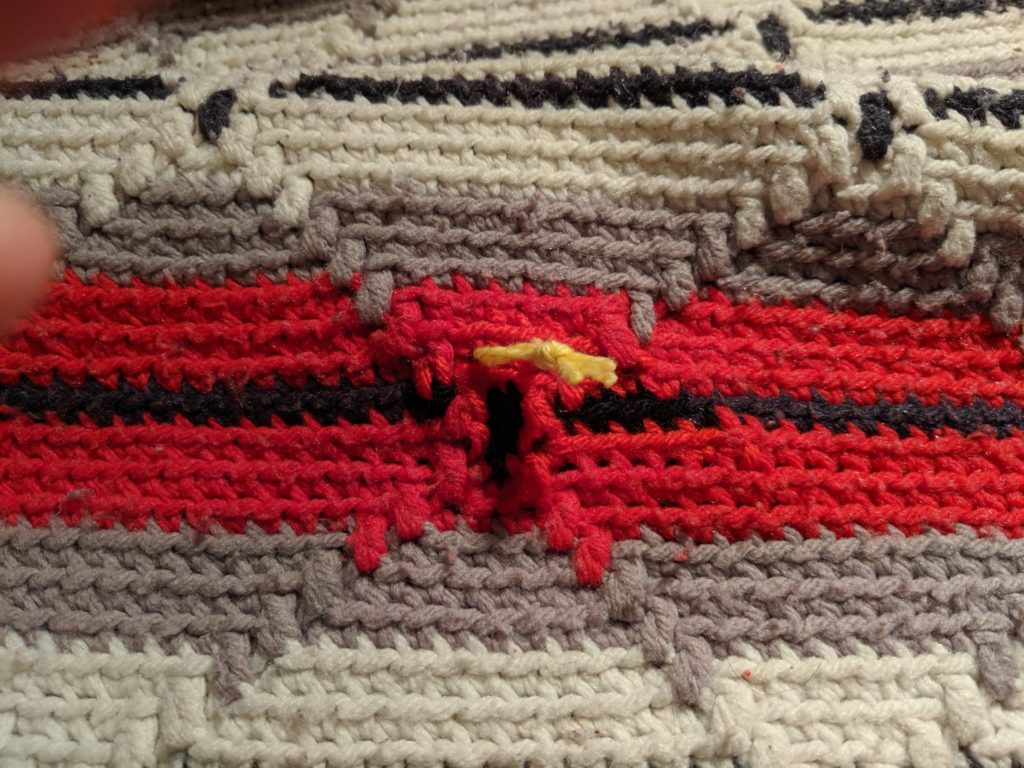
And now we’re at the end: the hole is closed up and the ends are woven in.  A bit of yarn to mark the spot.  Now it’s time for this afghan to have a quick wash before it leaves to go back to its owner.

A helpful tool to Set in Sleeves

I’ve talked before about my love of locking stitch markers.  Today’s tip comes to you courtesy of my rainbow stitch markers, which still fill me with much glee.

When I’m setting in a sleeve, I use locking stitch markers to act as guidelines.  This way, if I have to do some “easing” I know that I’m not going to come to the end of the seam and have extra fabric on one side.

What I do is this:

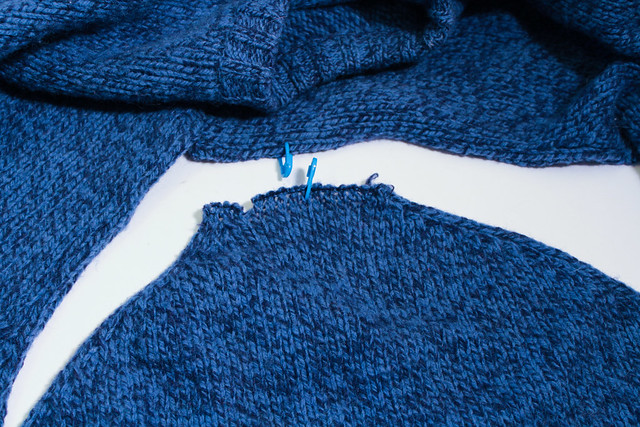
First, I mark the middle of each sleeve with a locking stitch marker.

Uses for Stitch Markers, pinning set in sleeves together

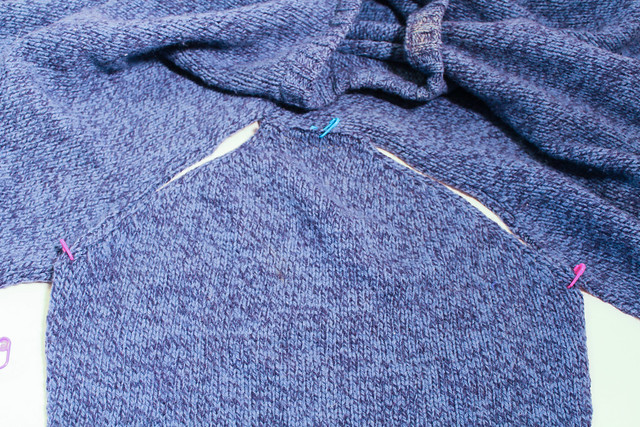
Then, I pin the ends of the sleeve (where it meets at the armpit on both sides) with a different color.  I pin the two middle markers together also.

Uses for Stitch Markers, pinning set in sleeves together

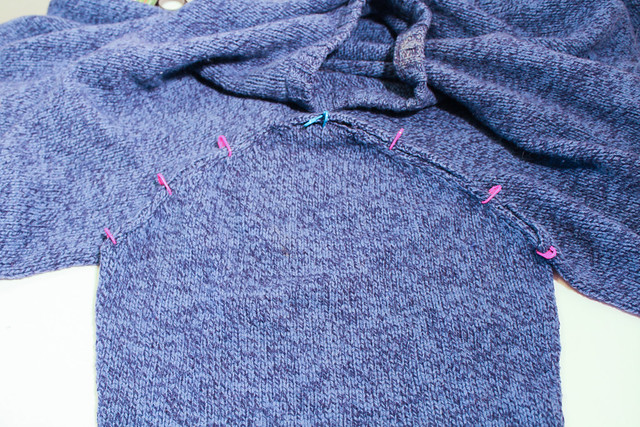
Then, distributing the stitch markers evenly, I pin every few inches the two sides together.

Uses for Stitch Markers, pinning set in sleeves together

The best part?  Unlike pinning with pins, locking stitch markers don’t poke me.  This makes me happy, and a little less likely to bleed on my knitting.

I had some Stitch Markers Come in the Mail

I go through stitch markers like other’s go through toilet paper.  In addition to simply loosing stitch markers or having the cats stealing them, I forever am finding that I give them away – to students, friends or others who might need one.

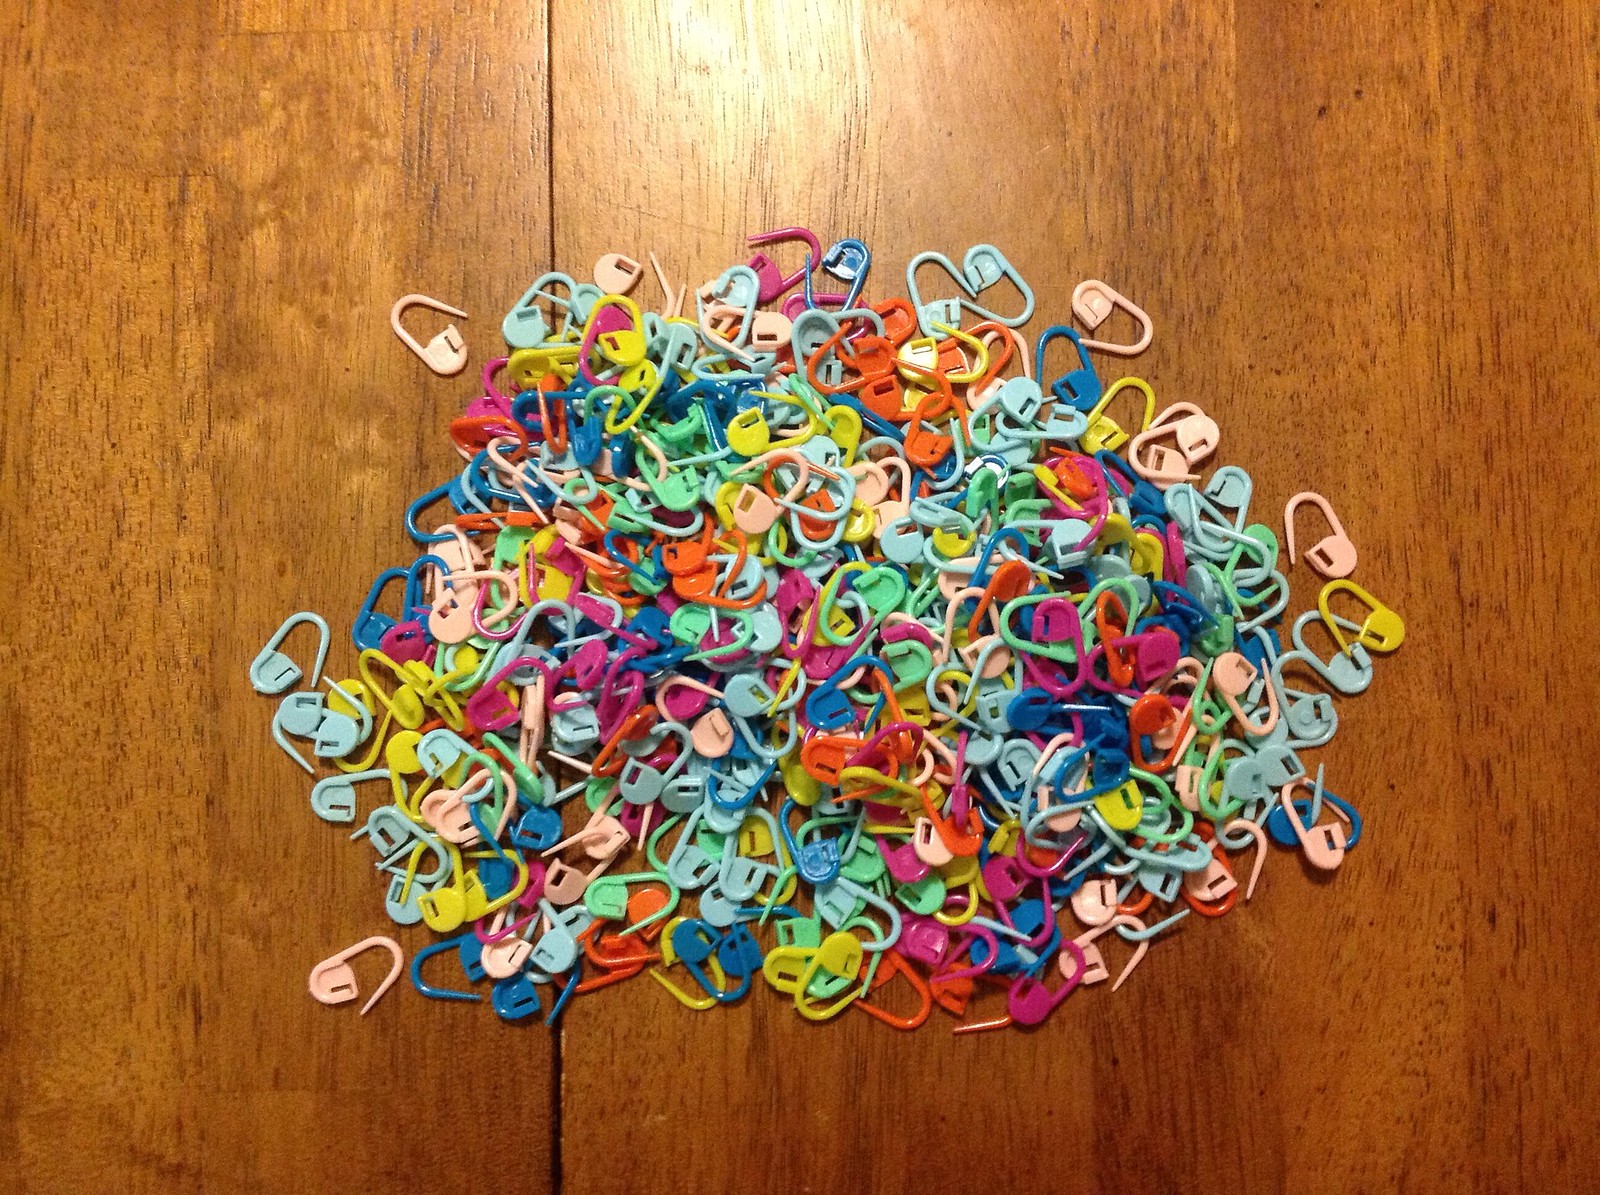
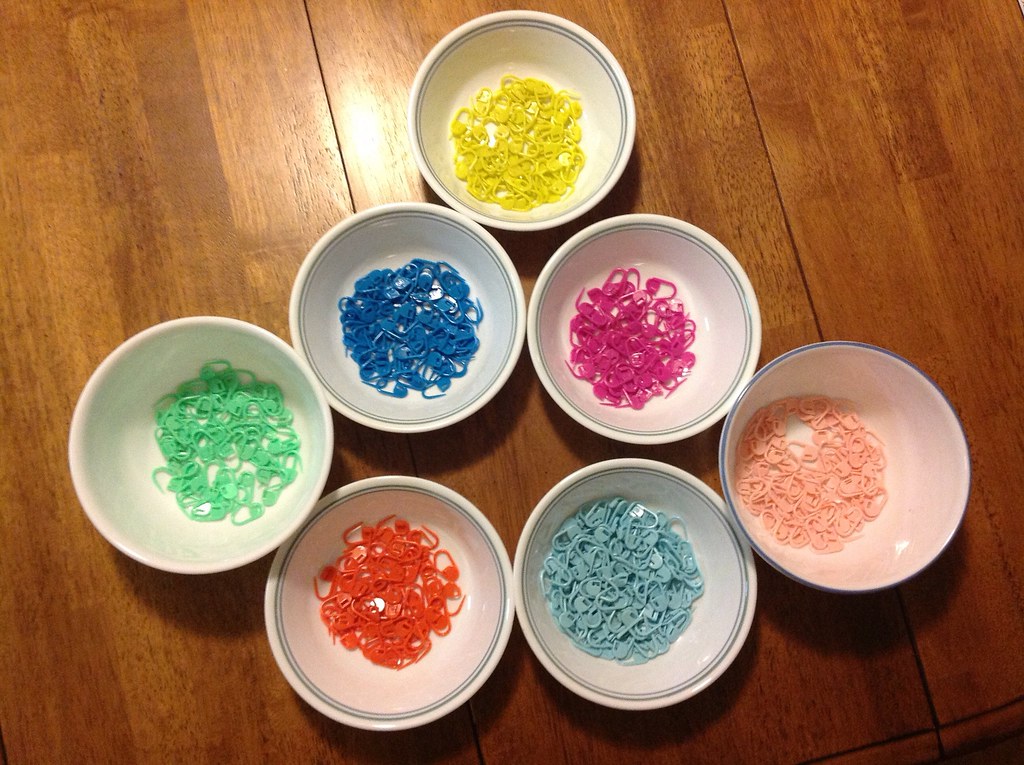
About a week and a half ago I passed by an opportunity I couldn’t miss – about 500 locking stitch markers, in rainbow colors.

Right up my alley.

They were in my mailbox when I went to pick up my mail late last evening.

Naturally, my first impulse was to sort them by color.

Aren’t they all so pretty?  I can’t wait to start using them.

On Learning Crochet

Sweetness, now 6, has recently been asking me to teach her crochet.  On Tuesday, happy circumstance led to my having extra yarn and a hook with me.

Now, many people will start children on a larger hook and larger yarn – I’m not always of the option that those choices are the best answer.  Sweetness ended up with a size D yarn and a non-splitty multicolored sock yarn.  The multi-color because it was easier to see the individual stitches, the smaller hook and yarn because… her hands are small.  A larger hook and yarn wasn’t comfortable for her to use.

I worked a row of foundation crochet for her to work off of, and started her on double crochet. Why double crochet instead of single?  Double crochet has more of a rhythm; at least when I teach it. (Yarn over, into the “V”, yarn over, out of the “v”, yarn over, pull through two loops, yarn over, pull through two loops. After every step you yarn over.)

One of the luxuries of small children is that I could sit Sweetness on my lap (with adults this is a lot harder to do). At first, I fed the yarn and held the fabric while she manipulated the hook. When she felt comfortable, she took over holding the fabric – I was still feeding the yarn.  We worked for a half an hour.  Sweetness could have kept going, but I wanted her to leave on a good note, and her sister, Light, was getting impatient to have her playmate back.

Yesterday Sweetness and I continued, reviewing the stitch, talking about what happens when she “drops her loop.”  Sweetness’ relief when I showed her that she couldn’t have a dropped stitch the same way she could in knitting was comic.  She’s gotten pretty solid – by today she had worked a row of stitches on her own before getting mixed up about which direction she was going.  Her sister also stepped on the yarn and broke it.

The best part about all of this, for me?  Like many of my beginning students, I gave Sweetness a locking stitch marker to keep her stitches from unraveling when she isn’t using them. (I love locking stitch markers.)  Unlike my beginning students, I told her “The first one is free, but if you want another one, it’s 25 cents.” (I figured a little financial incentive would help her not loose it.)

“25 Cents! With four of those, I could buy an Ice Cream at Ikea!” was Sweetness’ response.

Now, every time I look at my stitch markers, I can only think about how many ice creams I could buy at Ikea.