MENU

New Classes at Dances With Wool

wwl-allIt’s always exciting when a new yarn store comes to the area – what yarns are they going to carry?  So it was super exciting when a few months ago Debbie Floyd, the owner of Dances with Wool, got in contact with me.  She was opening a new yarn store in Midlothian, VA.  And she wanted to talk to me about classes.

I’m so excited about this new yarn store to the Richmond VA area, especially as the Knitting Basket is closing.  While I haven’t been by the store since they had their opening, what I did see was a store focused on good quality yarn, beautiful patterns, community and classes.

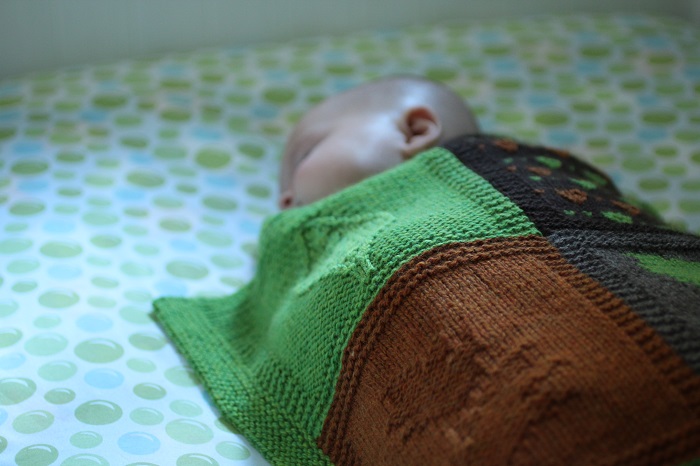
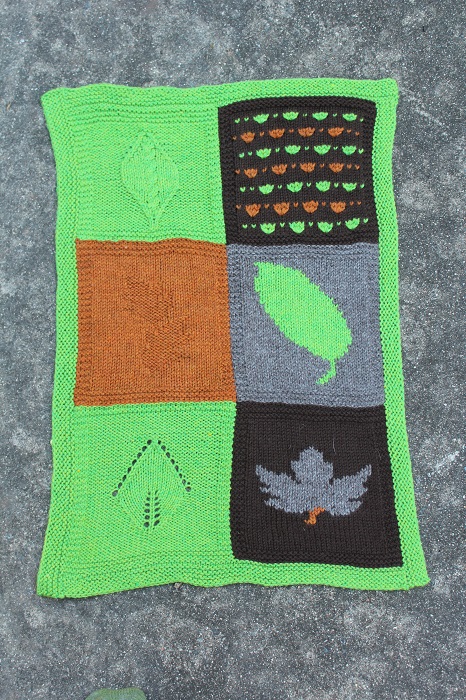
Starting in November I’ll be teaching a Skill Building class focused around my pattern, Wild Wood Leaves.  It’s a crib blanket with options of three different sizes, and is currently only available if you take the class.  The wonder of this series of classes is you can take the entire series of eight (and get a discount on all of them) or pick and choose which ones you need the most.

The classes are as follows:

  • Week 1, Nov. 2, 6-7 pm – Reading Patterns, Knits and Purls (middle left panel)
  • Week 2, Nov. 9, 6-7 pm – Increases, Decreases and Yarn Overs, Beginning Lace (bottom left panel)
  • Week 3, Nov. 16, 6-7 pm – Color Work With Duplicate Stitch (bottom right panel)
  • Week 4, Nov. 30, 6-7 pm – Color Work With Intarsia (middle right panel)
  • Week 5, Dec. 7, 6-7 pm – Beginning Cables (top left panel)
  • Week 6, Dec. 14, 6-7 pm – Slip Stitches (top right panel)
  • Week 7, Jan. 4, 6-7 pm – Bringing It All Together with Seaming and Finishing (all)
  • Week 8, Jan. 11, 6-7 pm – Picking Up Stitches and Borders (all)

You can sign up for the classes here.

I can’t wait to begin teaching locally again!  I’ve missed being able to do it since Rebecca was born, and I’m so pleased to be able to spend time with students while establishing good foundational knitting skills.

You should also check out Dances with Wool!

20161024_9879-small

Techniques: Picking Up Stitches

Over the weekend I had a full schedule, teaching classes at Fibre Space in Alexandria.  One of the things I love about teaching classes is how it puts me in touch with my customer base: both for teaching and for designing.  I also love all the great questions that students shoot my way!  On Sunday I got to teach a class I haven’t taught in a while: Picking Up Stitches.

It’s a great class for showing students how many different ways there are to approach the same thing.  I love “peeling back the curtain” and showing students where designers get their numbers; and how they can “tweak” their own knitting.

Valley Log Cabin blanket by Dena Childs

As the class was ending, several of the students asked if there were patterns I’d recommend to practice picking up stitches, and I couldn’t resist putting together a Ravelry Bundle of some of my favorite patterns featuring picking up stitches that I’ve come across over the years.  You can see the entire bundle here, but I thought I’d share some of my highlights.

One of the first Patterns that came to mind was a Log Cabin blanket.  I’ve got one I work on in my (nonexistent) spare time out of sock yarn scraps.

There’s hundreds of variants of the log Cabin motif.  Essentially, you work your way from the center out, most often in garter stitch.  I’ve rapidly become a fan of Web’s Valley Yarns, and I love the color palette they offer.

I like this particular pattern for it’s simplicity: no need to mess up a good thing!


Albers Cowl by Ann Weaver

The Albers Cowl by Ann Weaver is a rather crafty variant of the log cabin concept.  This cowl features a center motif that’s slightly off-of-center, and I love the more modern feel it gives the piece.

Fibre Space carries the pattern, and both Sweet Georgia yarns and Neighborhood Fiber Company are great options to make this pattern shine.


Jewel Dragon by Svetlana Gordon

The Aranami Shawl by Olga Buraya-Kefelian is a simply stunning example of what can be done with picked up stitches.  I love
the way the colors create optical illusions with the knitting.  While done in a similar manner to entrelac, the effect is quite a bit more flowing than basket-weave.

If you like a slightly more robust challenge, Jewel Dragon by Svetlana Gordon takes a similar construction concept and turns it on its head.  I think the color choices really make this project, and several Ravelers have used rainbow yarns to great effect!

Personally, I’d love to use a long, color changing gradient, so you could see the colors shift from scale to scale.


Karner Butterfly by Jennifer Raymond

Karner Butterfly by Jennifer Raymond

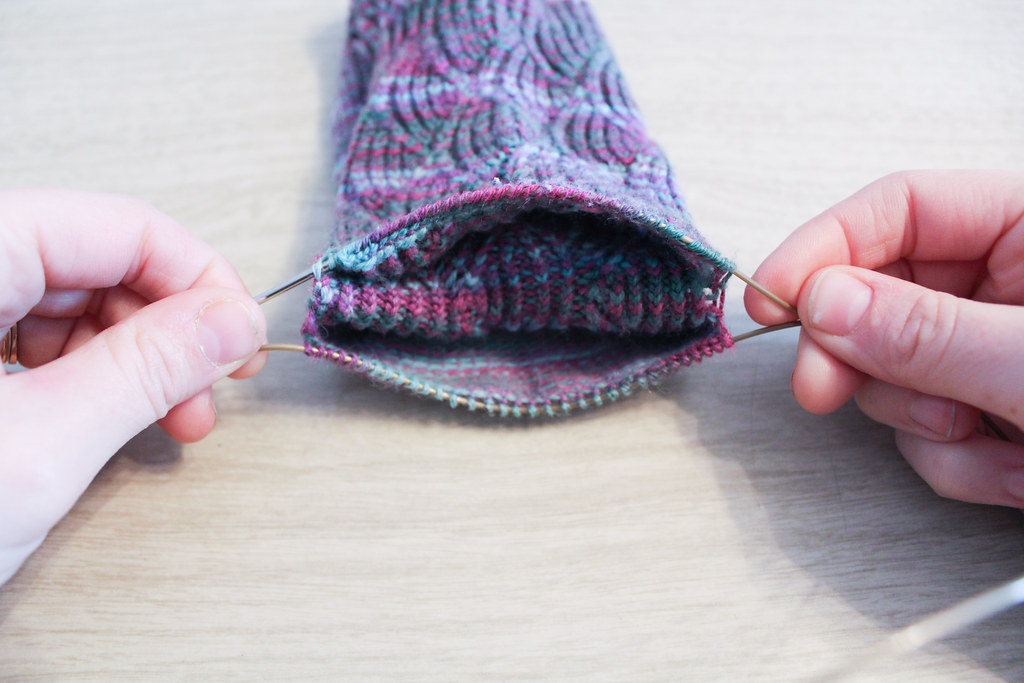
My own Pattern, Karner Butterfly Socks features picked up stitches, too.

Made by working the leg of the sock first, the top cuff and the bottom sock are both worked afterwards by picking up stitches.  I love the color play in this pattern: so many of the ones I picked out to feature have similar color play, vying between two or more colors.

Do you have any favorite patterns that feature picking up stitches?  What are they?  Don’t forget to take a look at my entire bundle on Ravelry here!


What You Need to Know to Repair Handknit Socks: Adding a New Afterthought Heel

One of the reasons I love my mother is because she gives me back the hand-knit socks I made her to repair.  Today I’m going to show you why I love afterthought heels, and how easy it is to replace the heel in an afterthought heel sock.

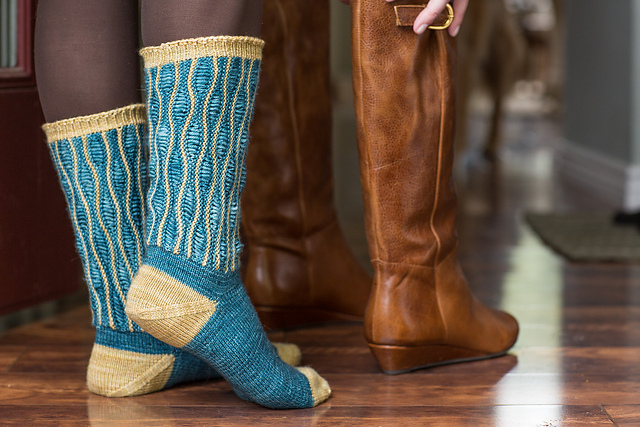
These socks are Pomatomus, an older pattern on Knitty.  You might notice here that my stitches on the sole are twisted… I had a theory a few years back that socks with twisted stitches might wear better.  While I don’t think that’s the case anymore, please just ignore the twisted stitches if you notice such things.

holes in my hand knitted sock
Holes in the Sock

As you can see above, a hole has developed between the heel and the body of the sock.  This is due to a few different things – first, I didn’t really know how to weave in my ends as well as I do now, so things are not staying together as well.  Second, my mother has a rather wide heel-to-ankle ratio (like me) and I’ve learned since I made this pair that it’s better to add a bit of extra room at the heel.  Finally, these socks are over five years old, and one of my mother’s favorite pairs I’ve made her – so they are just wearing out.

holes in my hand knitted sock thin yarn
Thin Stitches

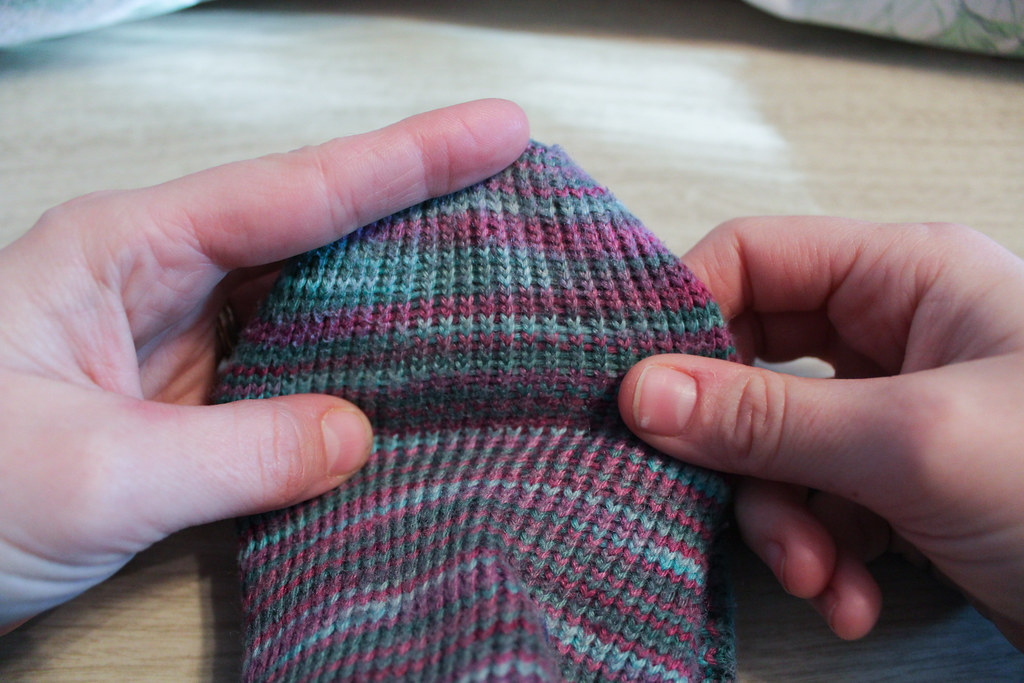
You can see how thin the stitches are wearing.

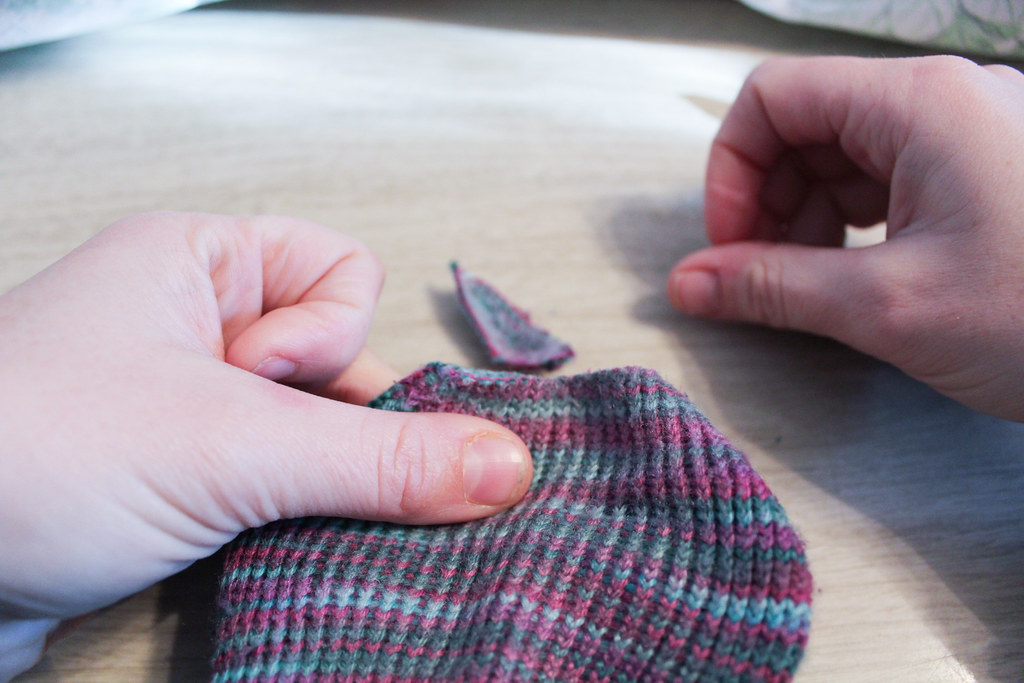
So I’m going to make my mother a new pair of heels, and in the process save the yarn to do some other repairs to the sock (mostly reinforcing).  The first step is to remove the old heel.

cutting away knitting heel
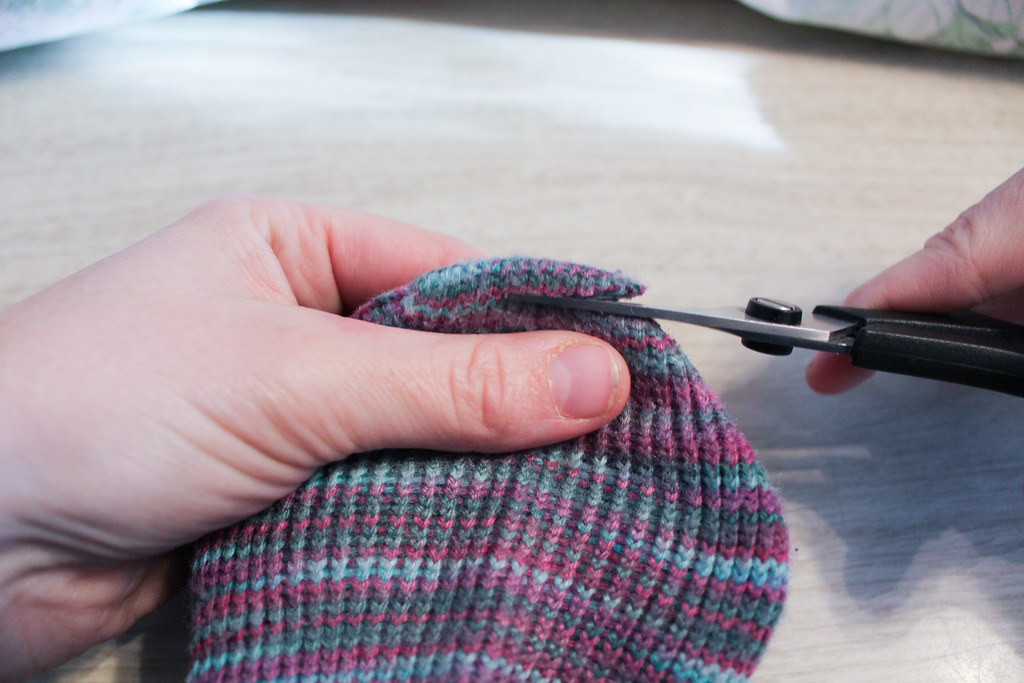
Make small cuts!

I used scissors to just cut the first few rows because the yarn was so felted together there, and I’d done a better job weaving in the end at the heel, so I could find the end to unravel.

Snip!

holes in my hand knitted sock
All Gone!

Heel tip is gone.

I then began pulling the little bits of cut stitches away from the yarn that didn’t get snipped, until the fuzzies were all out.

unraveling afterthought heel
Removing little fuzzies

It took a while, and I ended up with a lot of lint to throw away.

Then I found an end to start pulling.  It worked for about half a row, and then ended, because I had snipped it in the process of snipping out the other end.

pulling out old afterthought heel
pulling yarn

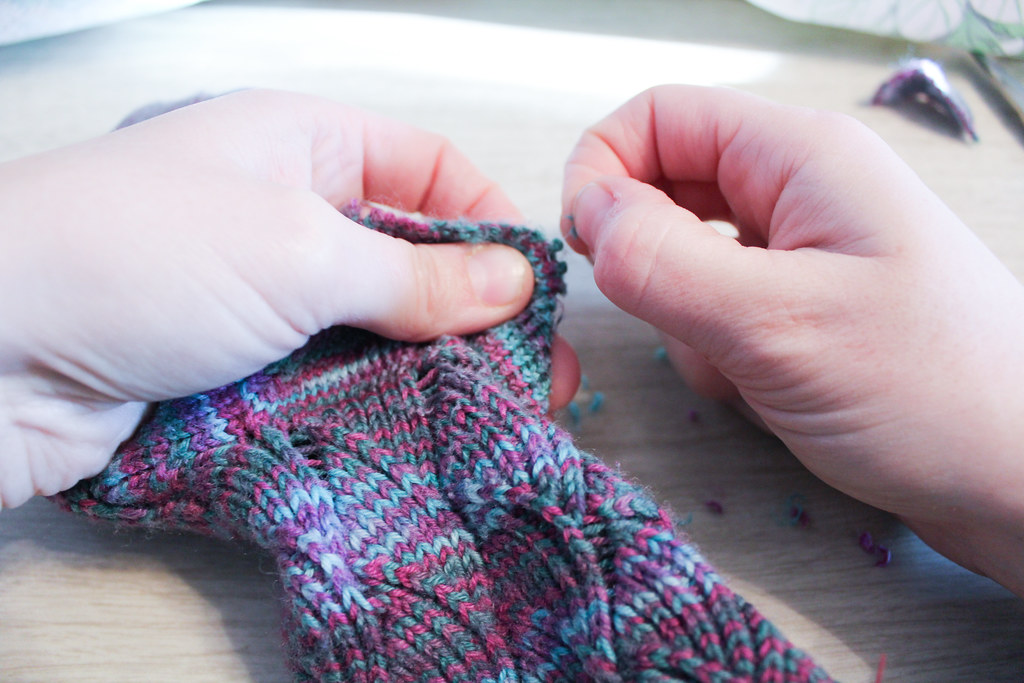
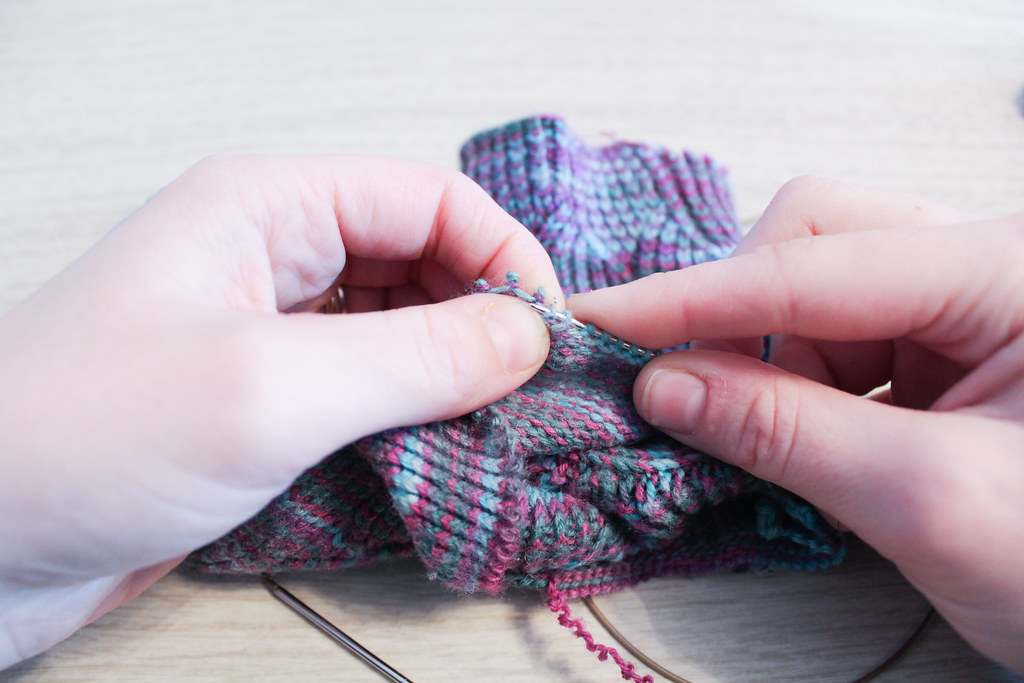
The second end I started pulling was good. I kept pulling that until I was on the last row of the afterthought heel.  I then started picking up stitches as I pulled out each stitch.  I was slow and careful – I didn’t want to drop any stitches!

picking up stitches
Picking up stitches

The thing that worked to my advantage was that this sock has been washed and dried many times – the yarn wanted to stay in the place where it had been – in the stitch.  So I’d have to actively tug at stitches in order to make then drop, because the yarn is so matted together with wear.

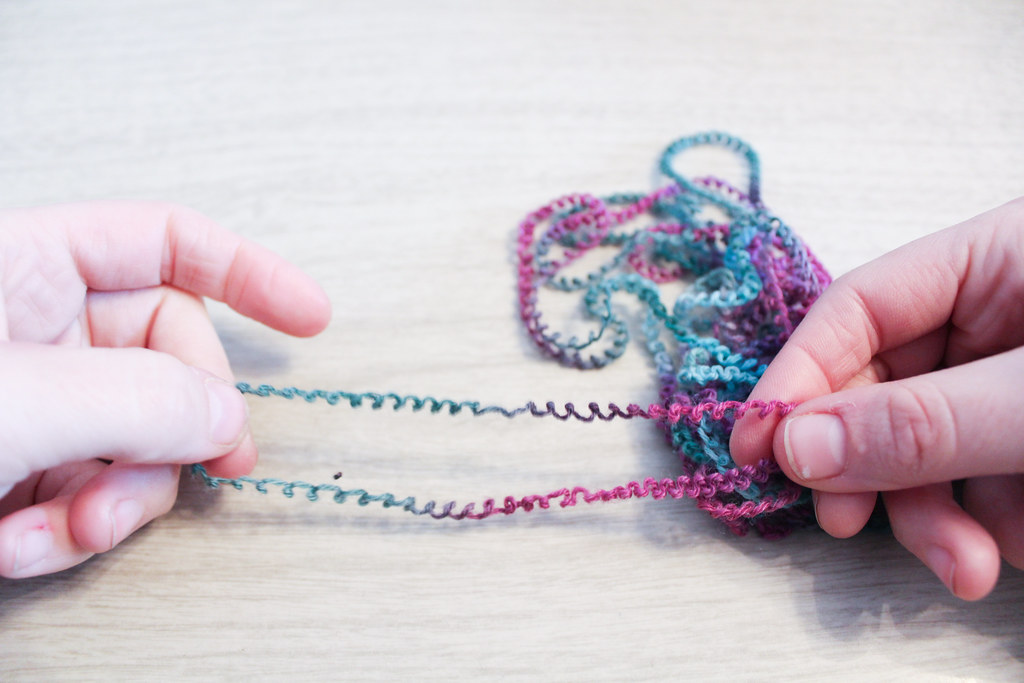
kinky yarn

As you can see, the yarn wanted to stay crinkly even after I’d pulled it all out.  It reminded me of a spring.

kinky old yarn
boing!

This yarn I gathered up and made into a mini-skein.  I wet it down, hung it from a hook in the Farm’s basement, and hung a wrench from it until it was dry, to straighten the yarn out again so I could use it for other repairs.

But back to the sock heel.

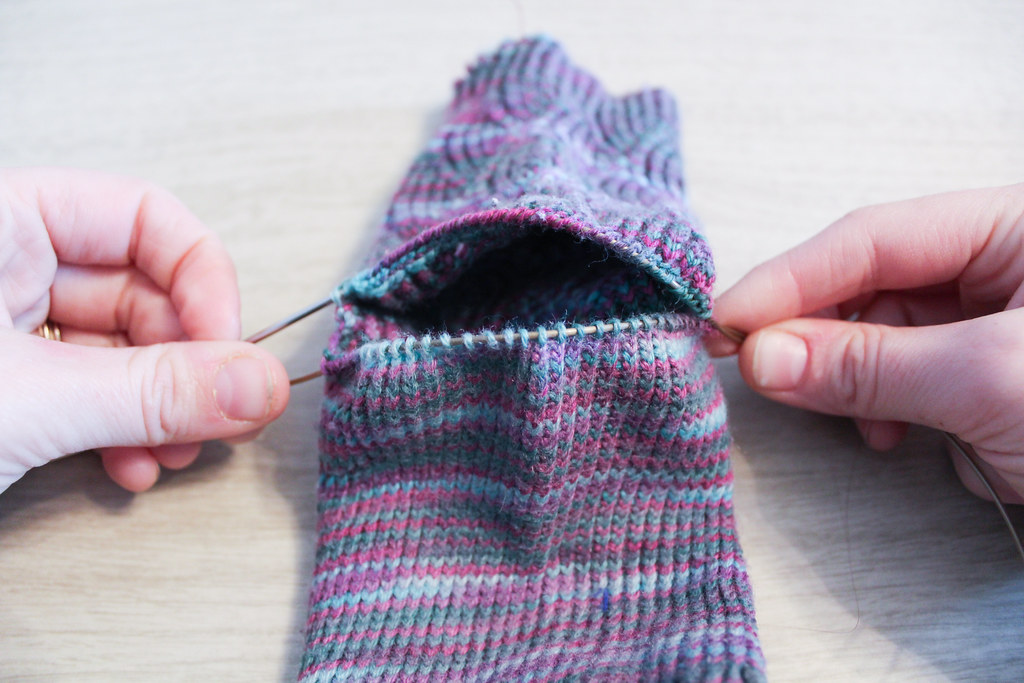
When you’ve picked up all the stitches on both sides, it should look like the sock has sprouted a mouth.

stitches picked up for heel
open heel

Om-nom-nom-nom.

You’ll notice how, at each side of the live stitches on the cable to the needle, there’s a little gap, where there’s no stitches.  In a bit, when we’re working with the new yarn, we’ll pick up stitches along those gaps so there aren’t any holes.

knitting new heel

I like to slip to the middle of the sock to join my new yarn.  This makes the join less obvious, and also because I think it’s easier to weave in ends in plain stockinette rather than where the gaps are. (Another trick I learned since making these socks!)

knitting new heel

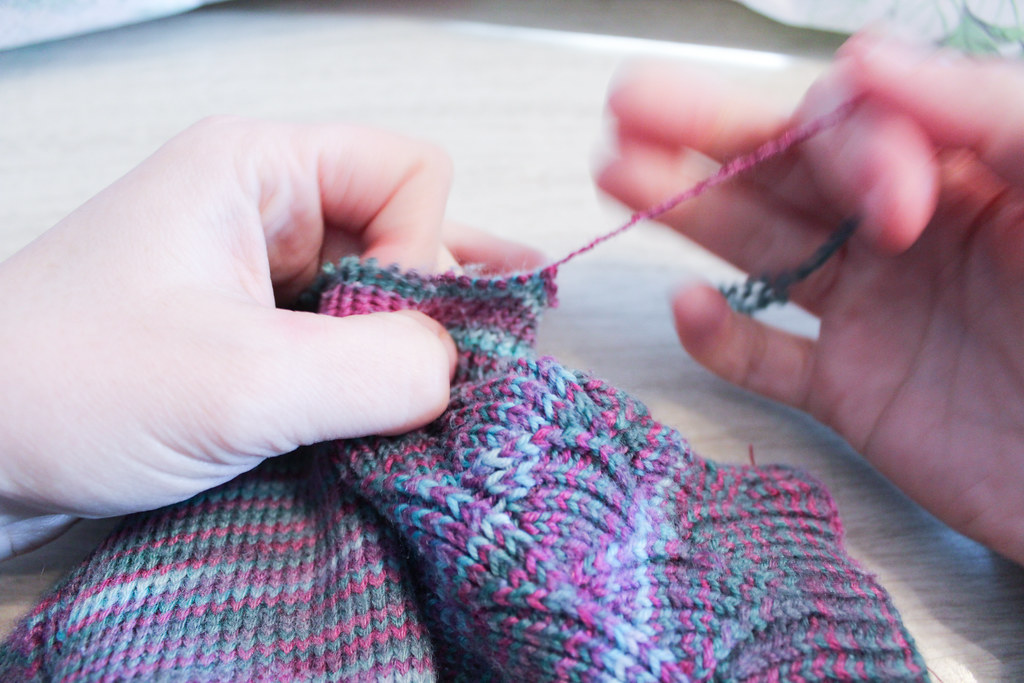
I joined the yarn by just beginning to knit with the new yarn, along the old stitches.  I left the tail hanging, as I’d weave that in later.

picking up heel stitches to close hole

When I got to the gaps I was talking about earlier, I picked up 2 stitches, along the edge, trying to keep the yarn nice and tight here, so the stitches didn’t become sloppy.

Then I kept knitting all around, doing the same for the 2nd gap as I did for the 1st gap.  After I knitted all around, then I began my preferred method of decreases, whichever you prefer for an after-thought heel.

knitting new afterthought heel

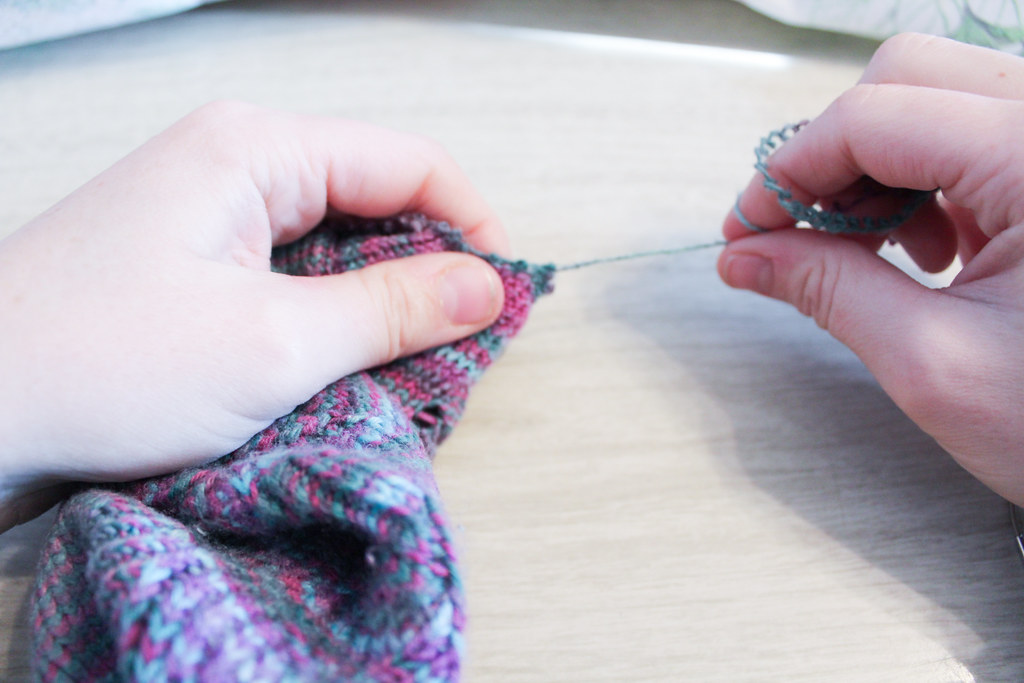
I worked, continuing to decrease, until I only had a few stitches left.  Rather than doing the Kitchener, I just mattress stitched the live stitches together, pulling tight as I went.  I think it creates a nicer ending, rather than trying to get my Kitchener stitches to match my gauge.

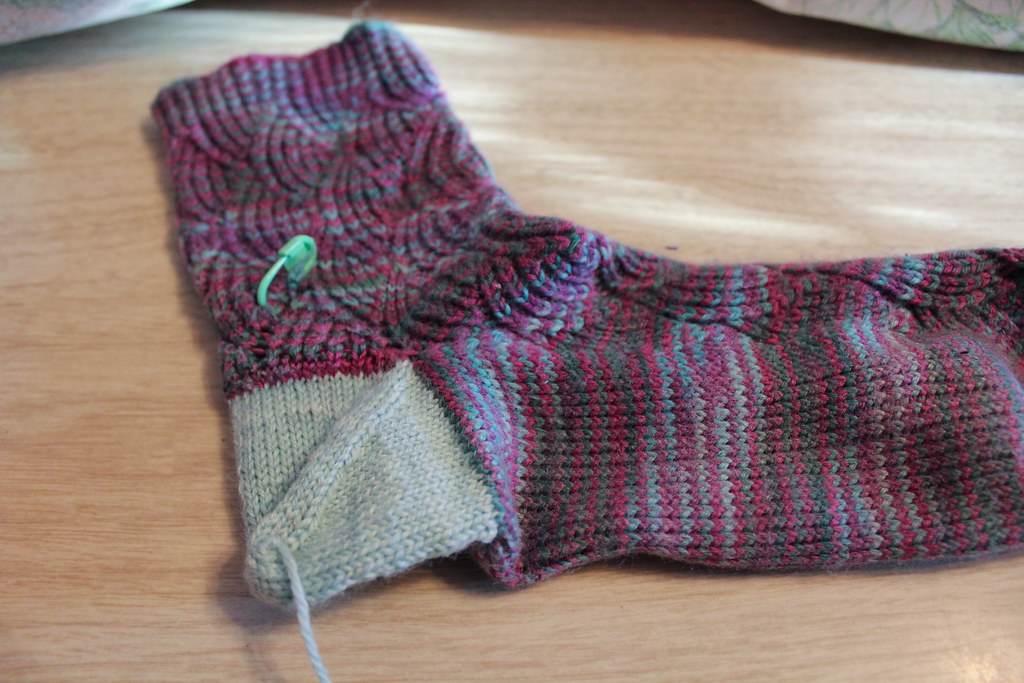
You’ll note, below, that I happened to work the heel in a slightly tighter gauge than the rest of the sock.  This happened for three reasons.  First, my gauge has changed in the last five years. Second, the yarn I used for the heel is slightly lighter weight than the yarn for the sock.  This is because I wanted to match for color rather than for the exact right yarn.  Third, I used a smaller needle size to accommodate the smaller yarn.  I think, after wearing them  a few times, the difference in gauge will even out, or at least become less noticeable.

new afterthought heel in sock
fixed sock – the stitch marker is to mark a place I need to fix

Got questions?  Shout them out!  I’d love to help troubleshoot your own sock repairs!