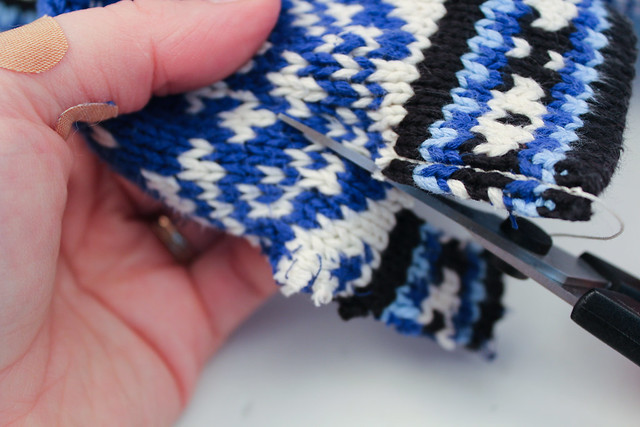
Have you ever tried to steek?
When I was first learning to steek, I felt I couldn’t cut into my own knitting. So I went to the thrift store and got a slightly-felted really ugly sweater and went to town. I practiced sewn-reinforcement steeking, hand-sewn reinforcement steeking, crochet reinforcement steeking, and a variety of other ways. By the time I was done, not only was I really good at cutting between stitches, but I’d gotten comfortable enough cutting knitting without even reinforcing – just going for it!
When people ask me what my favorite type of steeking is, I normally say crochet. This is not because I think it is the best way to steek (sometimes some crochet reinforcements can be a bit tight), but mostly because I’m lazy. I nearly always have a crochet hook and thin yarn/thread on hand. A sewing needle I sometimes have to go searching for.
There’s two ways of working a crochet reinforcement to steek. The first is to work a row of single crochet around the column of stitches to either side of where you are going to cut. While easy to do, it is sometimes hard to make sure you catch all the “floats” on the back of the work when you do this method.
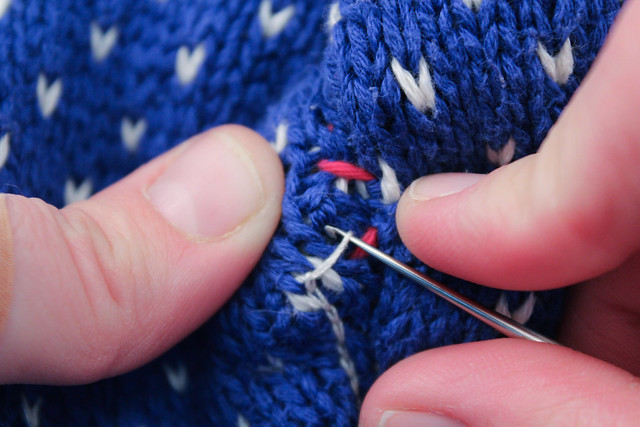
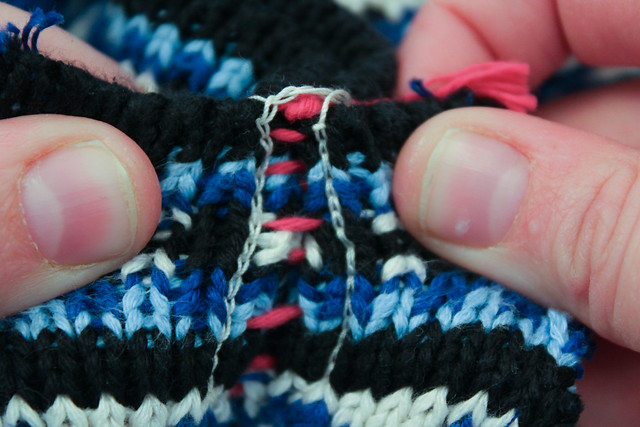
The second way is my preferred way of working a crochet steek, though it is sometimes a bit of an inflexible reinforcement. This involves working a row of slip stitches on either side of the planned cut. Below is the process of how I normally proceed.
But before I speak to that, a note about yarn. Below, I have a sweater that I’m cutting. The yarn is made of cotton, which has very little ability to “grip” itself to prevent it from unraveling, which I why I felt it necessary to add reinforcing. Still, if I wanted to go with a reinforcement that was more stable than crochet, I would have hand sewn. I made the decision to use a crochet reinforcement because the sweater had been washed multiple times, and the yarn was essentially “blocked” into place. When I removed the seams, there was very little fraying unless I actively tugged at the stitches. It’s always best practice to block your piece before steeking.
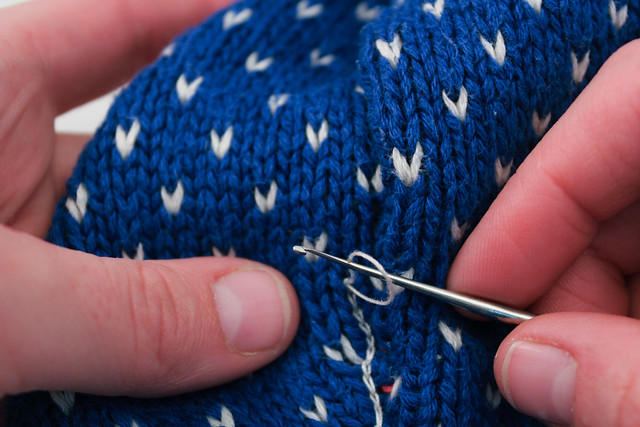
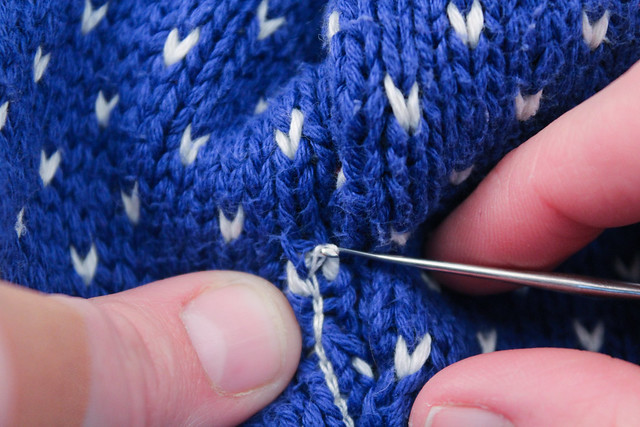
First, take a look at your knitting. Look at a column of stitches. They often look like a bunch of V’s stacked on top of each other. If you pull the “V” apart, you’ll notice between each V is a bar running along the back. Each time you work a slip stitch, you want to be sure you are catching the bar, and any floats that are behind the bar.
 |
| My crochet hook here is pointing to the bar I’m going to go around. |
You want to join your yarn so that your hook and 1st loop is on the front of your work, and the yarn is on the undersides, as shown below.

