MENU

Finishing and Beginning

Tech edits on Trains

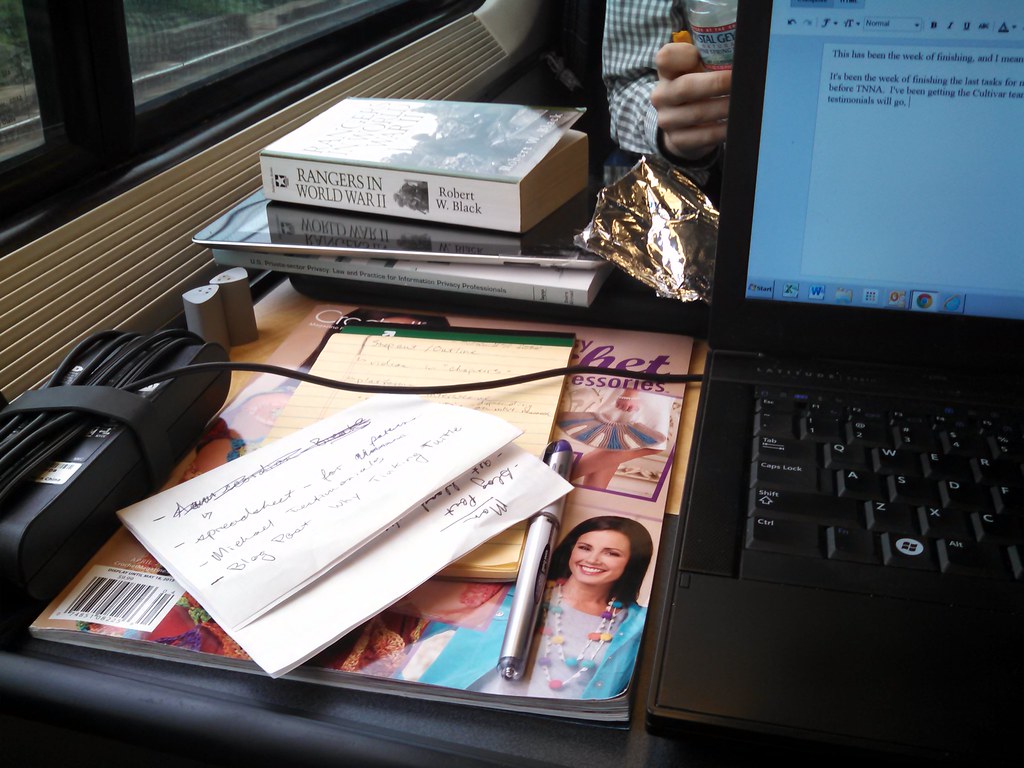
Right now I’m on the Acela heading from Washington, DC to Boston.  As per Mr. Turtle’s dream, we’re riding first class, and living the life for a long weekend.  We’re on vacation, and I couldn’t be happier.  It’s been much needed.

This has been the week of finishing, and I mean that in more than one way.

It’s been the week of finishing the last tasks for my new website: set to launch next Wednesday, right before TNNA.  I’ve been getting the Cultivar team the last of the copy, figuring out where testimonials will go, sorting through pictures, and making sure all the i’s are dotted and the t’s crossed (which, by the way, has become a saying that makes no sense to my brother, who grew-up in the land of typing but no cursive).

It’s been the week of wrapping up finishing and repair projects too: a pair of mittens with the thumbs worn out, a black sweater that needed the seams redone, a sweater & bootie combo that were adorable and needed to be seamed and blocked.  I wanted to get them all off, as my guest bedroom is being taken over by finishing projects.  Now, I just have three afghans in need of repair – which will be fun, as they are all quite of a size.  And then there’s one small and delicate christmas stocking, which is more holes than solid fabric, but much loved.

I’ve been finishing up tidying the house: there’s so many things that aren’t in their proper places.  Yarn’s everywhere the cat’s can’t get to.  I’ve got “body parts” everywhere: my father gave me a whole bunch of display pieces and they were immediately conscripted into work.

I’ve finished with 14 patterns since the beginning of the year – that’s just about the same number of patterns I published last year, total.  We’re wrapping up on tech edits now on most of the patterns… thank goodness!  I’ve got the pleasure of working with some amazing minds to make patterns the best they can be, but it’s still hard bopping between one pattern and the next to make sure everything is as perfect as it can be.

After TNNA (next weekend, and I’m so excited!) I’ll be gearing up for the summer season: which means getting ready for the camps and for the fall.  If you have or know a kid in the DC area looking for some really great craft based camps, you should check out the listing of camps here.

First Snowfall!

Snow!

This morning I awoke to a familiar hue of light – grey and still.  There’s a nearly indescribable quality on mornings after a snowfall, as the bluish/whitish light from the clouds is reflected off of the snow, sneaking through blinds and curtains.  When I lived in New York and Massachusetts, it was fairly common (as every week brings multiple snowfalls, some big some small), but now that we live outside of Richmond, any snowfall is a much rarer event.

And this snowfall was made more special because it’s the very first snowfall of the year – seemingly apropo of my blog post two days ago.

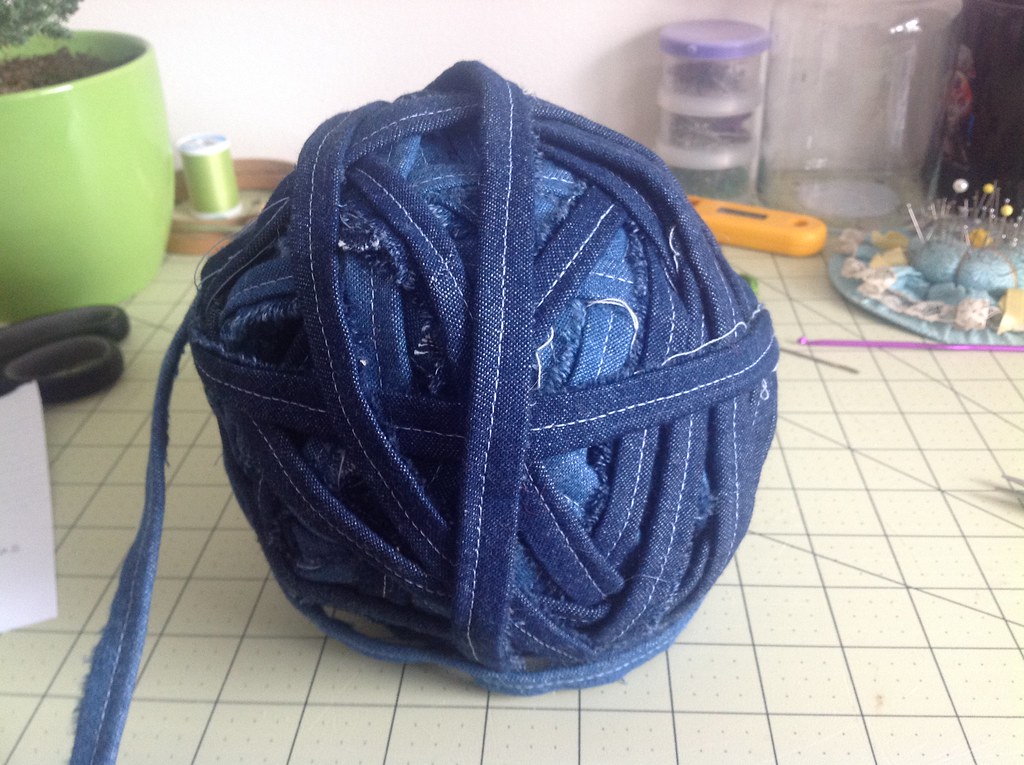
All I can say about the Annie’s Project is it involves this really big ball of
rags. Peake keeps trying to figure out how to steal it.

Earlier this week I bought myself some maple syrup (overpriced and… I’ll be a little snobby – not as good of quality as the stuff I’m used to), as I was feeling a hankering.  Sugaring season is at least a month away, but I was feeling the need.  There’s nothing like the taste of sweetening your tea with maple syrup, or putting it in yogurt, or drizzling it over oatmeal like I did this morning.

Today is a day for tucking in and getting crafting done.  Unlike many around me, I don’t have a snow day today, but I can at least allow myself to do the fun parts of my job: like plugging away on the project I’m doing for Annie’s Crochet!, or working on the sample for the class I’m teaching at Fibre Space in two weekends.  It’s a day for a big pot of tea, and soup at lunchtime.

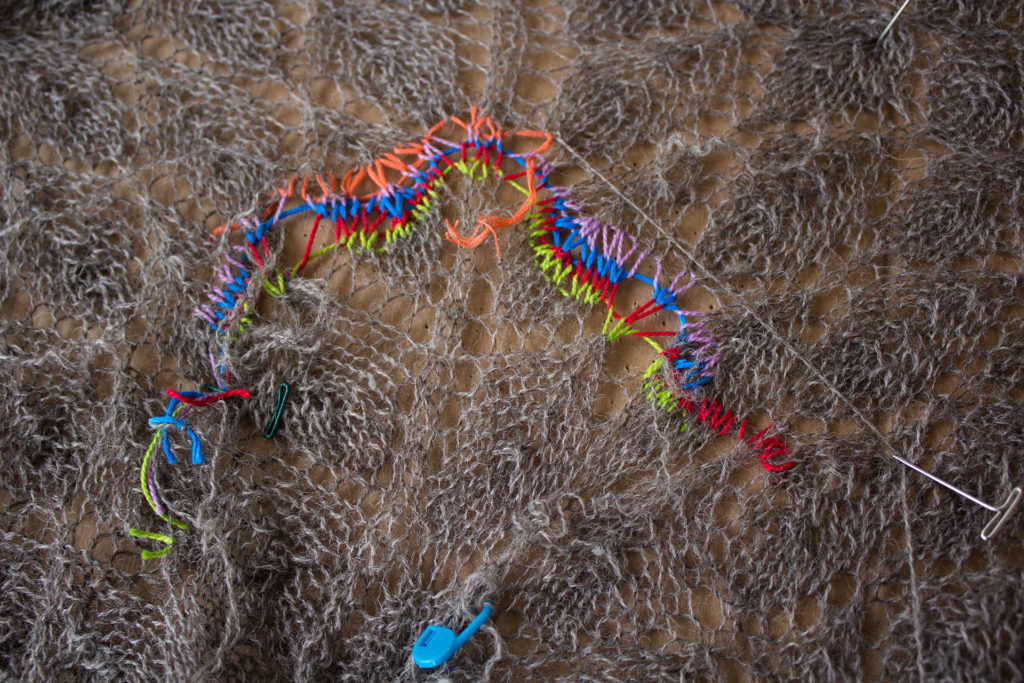
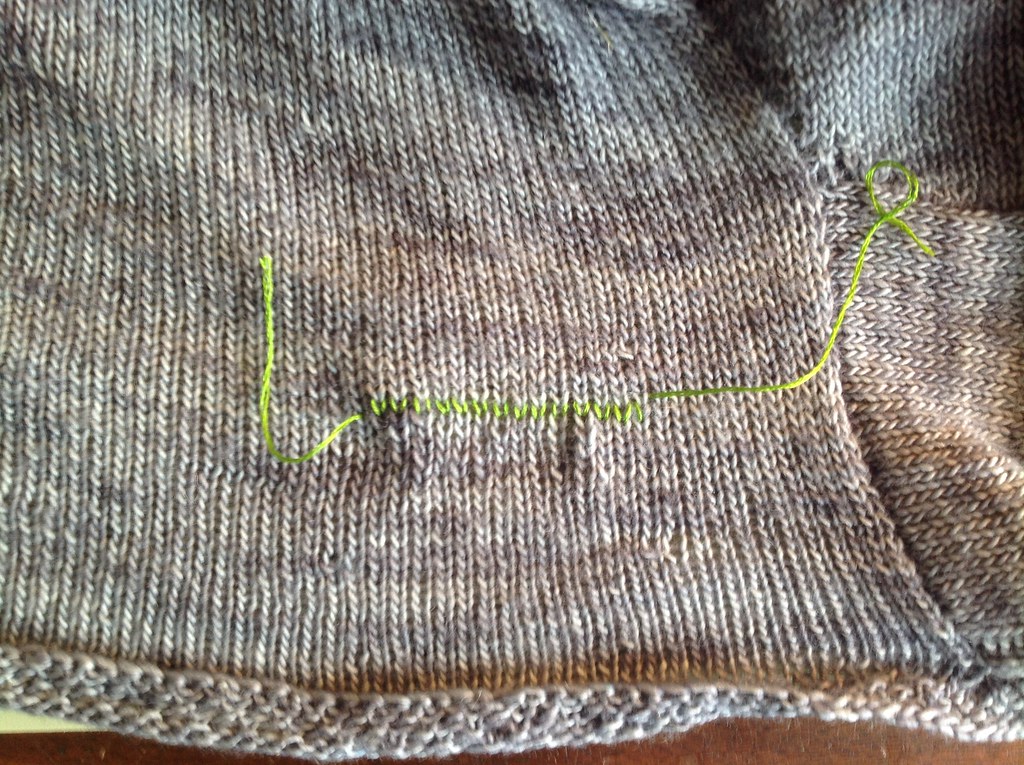
I’ve also been working on a bunch of repair work lately, which has been satisfying.  I really love doing repair work, and I’m working this year on documenting my process a little bit more.  Part of that is taking pictures, like this one:

Repair work on a cardigan in lace weight single-ply yarn.  I can’t even imagine knitting it.

Last two tidbits: I sent out my last newsletter last Friday, talking about teaching dates.  If you don’t subscribe, you can do it on the website with the little tab to the left.  It’s a good way to keep track of what’s going on.

I’ve also been a lot more active on Twitter lately.  If you’re interested in seeing a bit more of my behind-the-scenes process, you should follow me on twitter.

What You Need to Know to Repair Handknit Socks: Adding a New Afterthought Heel

One of the reasons I love my mother is because she gives me back the hand-knit socks I made her to repair.  Today I’m going to show you why I love afterthought heels, and how easy it is to replace the heel in an afterthought heel sock.

These socks are Pomatomus, an older pattern on Knitty.  You might notice here that my stitches on the sole are twisted… I had a theory a few years back that socks with twisted stitches might wear better.  While I don’t think that’s the case anymore, please just ignore the twisted stitches if you notice such things.

holes in my hand knitted sock
Holes in the Sock

As you can see above, a hole has developed between the heel and the body of the sock.  This is due to a few different things – first, I didn’t really know how to weave in my ends as well as I do now, so things are not staying together as well.  Second, my mother has a rather wide heel-to-ankle ratio (like me) and I’ve learned since I made this pair that it’s better to add a bit of extra room at the heel.  Finally, these socks are over five years old, and one of my mother’s favorite pairs I’ve made her – so they are just wearing out.

holes in my hand knitted sock thin yarn
Thin Stitches

You can see how thin the stitches are wearing.

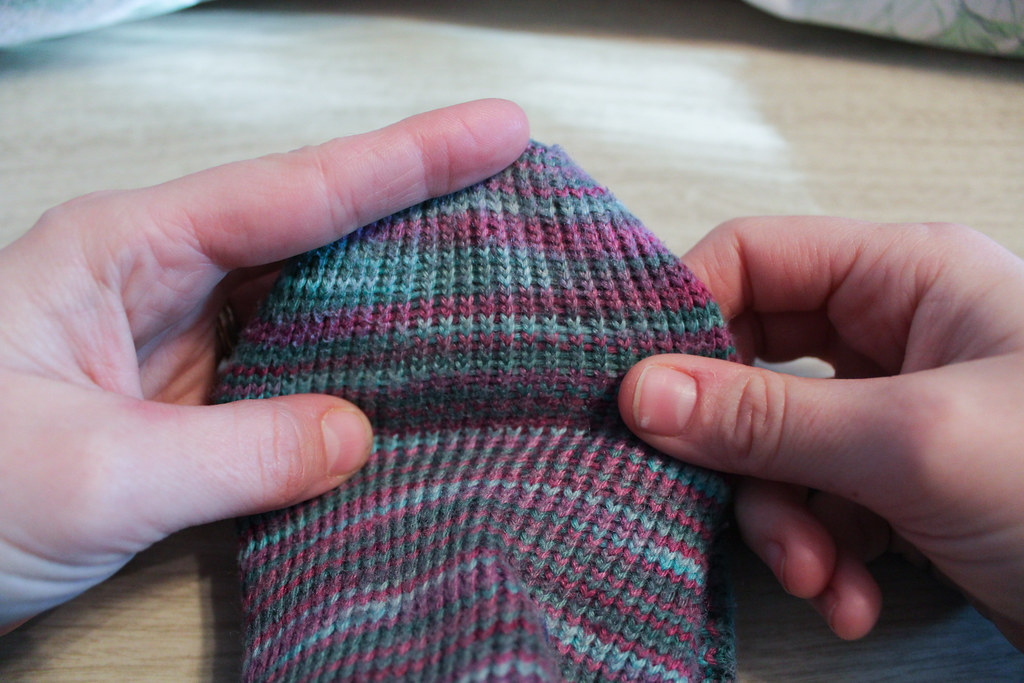
So I’m going to make my mother a new pair of heels, and in the process save the yarn to do some other repairs to the sock (mostly reinforcing).  The first step is to remove the old heel.

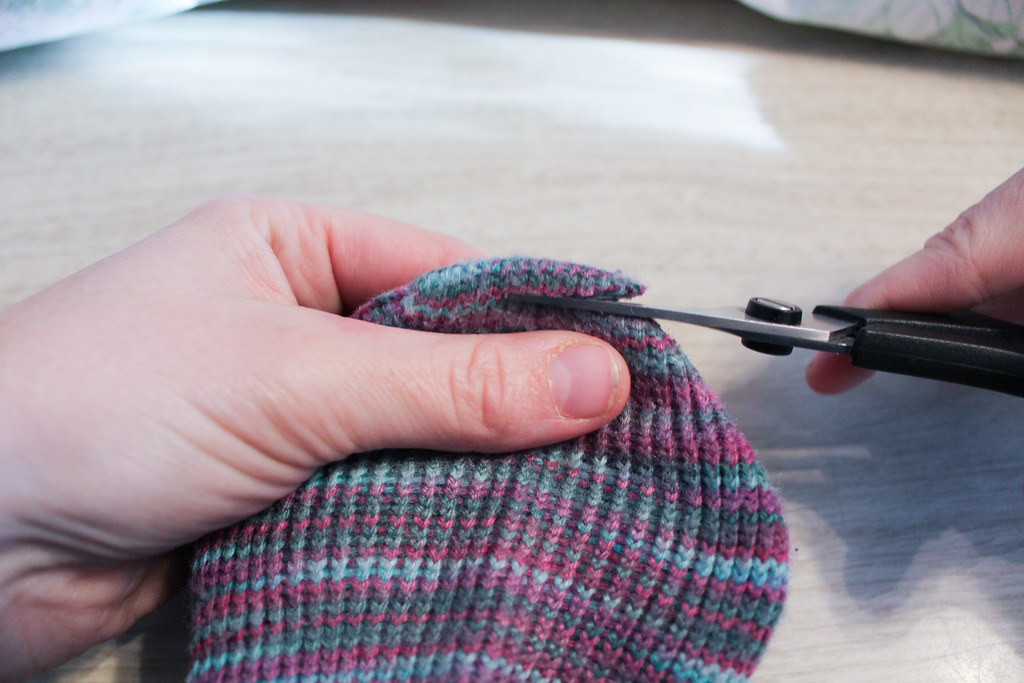
cutting away knitting heel
Make small cuts!

I used scissors to just cut the first few rows because the yarn was so felted together there, and I’d done a better job weaving in the end at the heel, so I could find the end to unravel.

Snip!

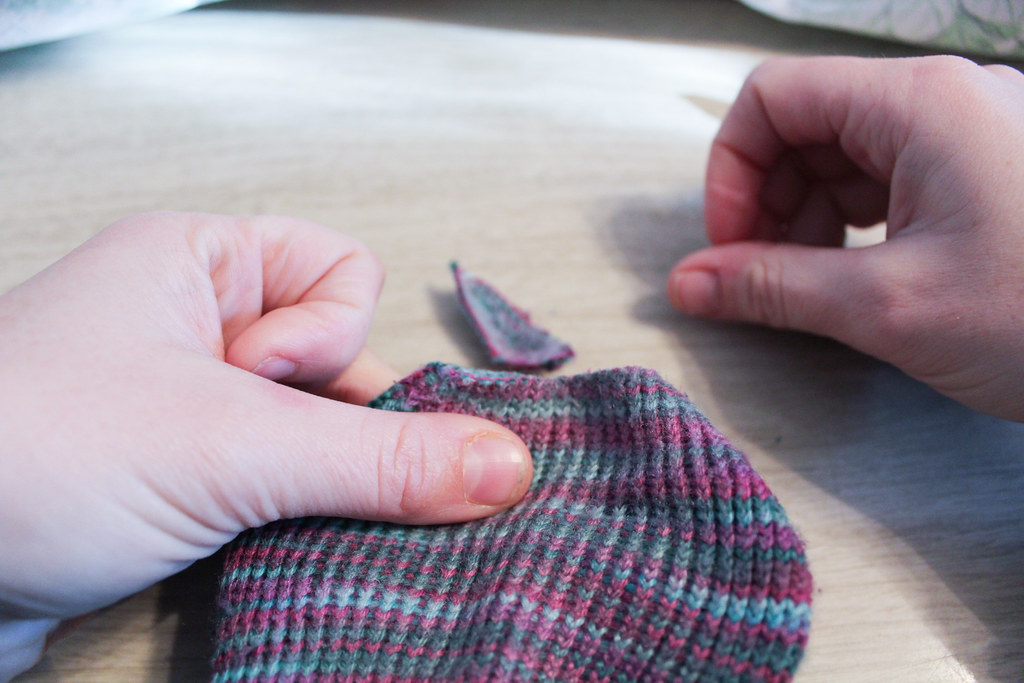
holes in my hand knitted sock
All Gone!

Heel tip is gone.

I then began pulling the little bits of cut stitches away from the yarn that didn’t get snipped, until the fuzzies were all out.

unraveling afterthought heel
Removing little fuzzies

It took a while, and I ended up with a lot of lint to throw away.

Then I found an end to start pulling.  It worked for about half a row, and then ended, because I had snipped it in the process of snipping out the other end.

pulling out old afterthought heel
pulling yarn

The second end I started pulling was good. I kept pulling that until I was on the last row of the afterthought heel.  I then started picking up stitches as I pulled out each stitch.  I was slow and careful – I didn’t want to drop any stitches!

picking up stitches
Picking up stitches

The thing that worked to my advantage was that this sock has been washed and dried many times – the yarn wanted to stay in the place where it had been – in the stitch.  So I’d have to actively tug at stitches in order to make then drop, because the yarn is so matted together with wear.

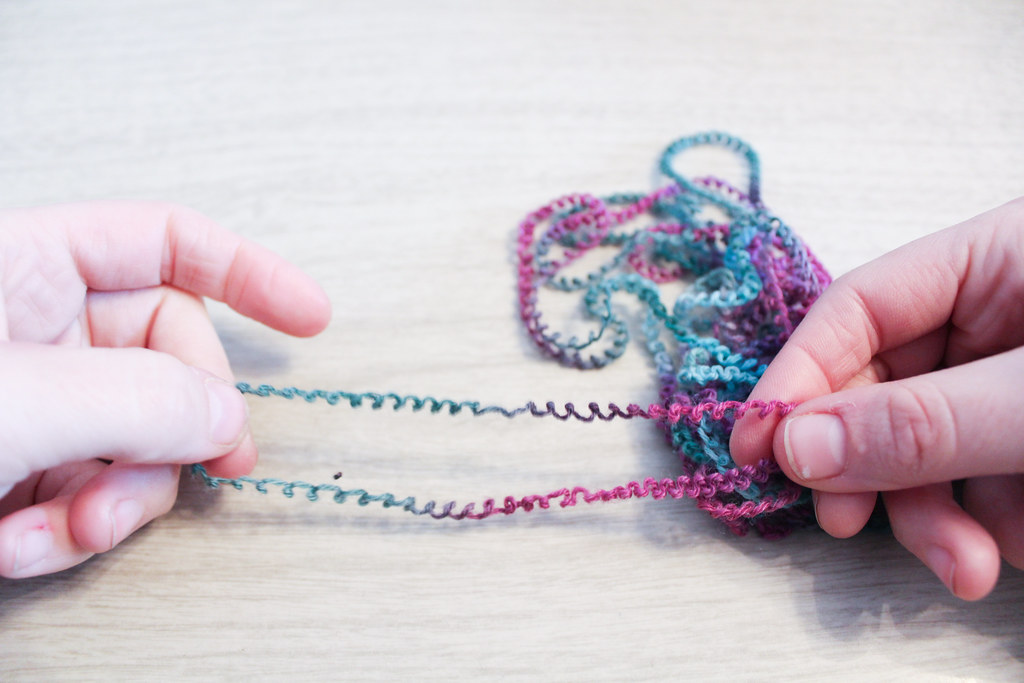
kinky yarn

As you can see, the yarn wanted to stay crinkly even after I’d pulled it all out.  It reminded me of a spring.

kinky old yarn
boing!

This yarn I gathered up and made into a mini-skein.  I wet it down, hung it from a hook in the Farm’s basement, and hung a wrench from it until it was dry, to straighten the yarn out again so I could use it for other repairs.

But back to the sock heel.

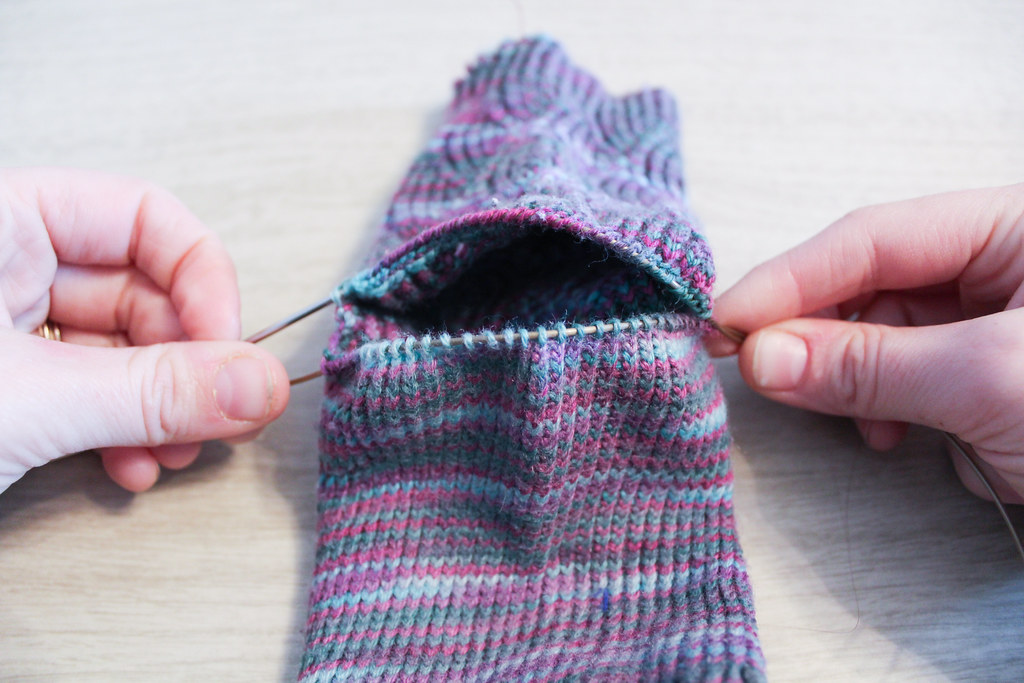
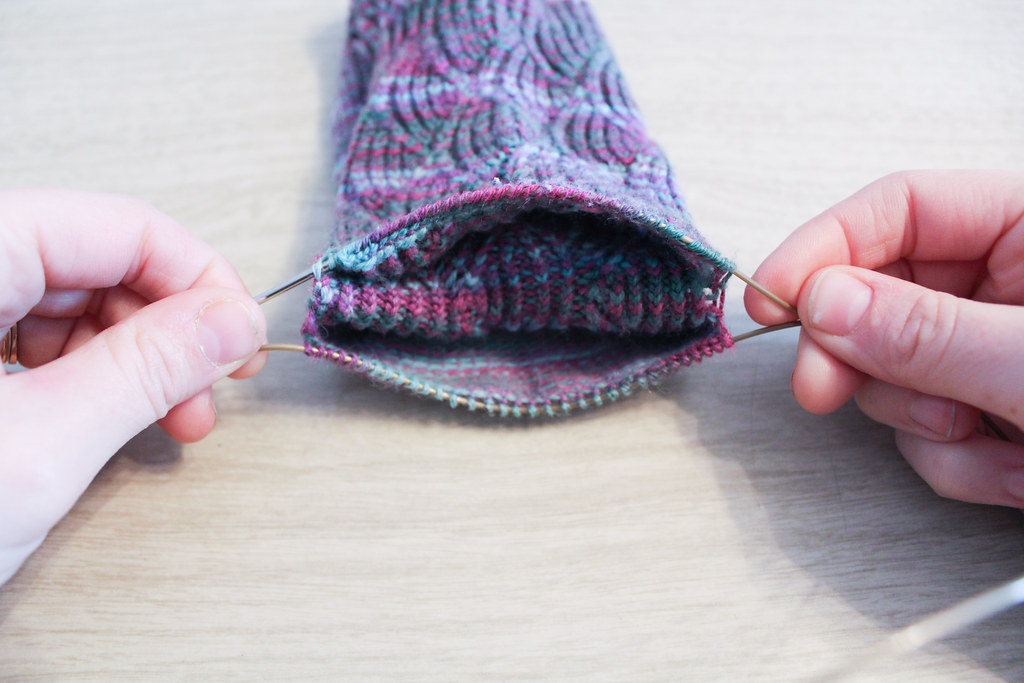
When you’ve picked up all the stitches on both sides, it should look like the sock has sprouted a mouth.

stitches picked up for heel
open heel

Om-nom-nom-nom.

You’ll notice how, at each side of the live stitches on the cable to the needle, there’s a little gap, where there’s no stitches.  In a bit, when we’re working with the new yarn, we’ll pick up stitches along those gaps so there aren’t any holes.

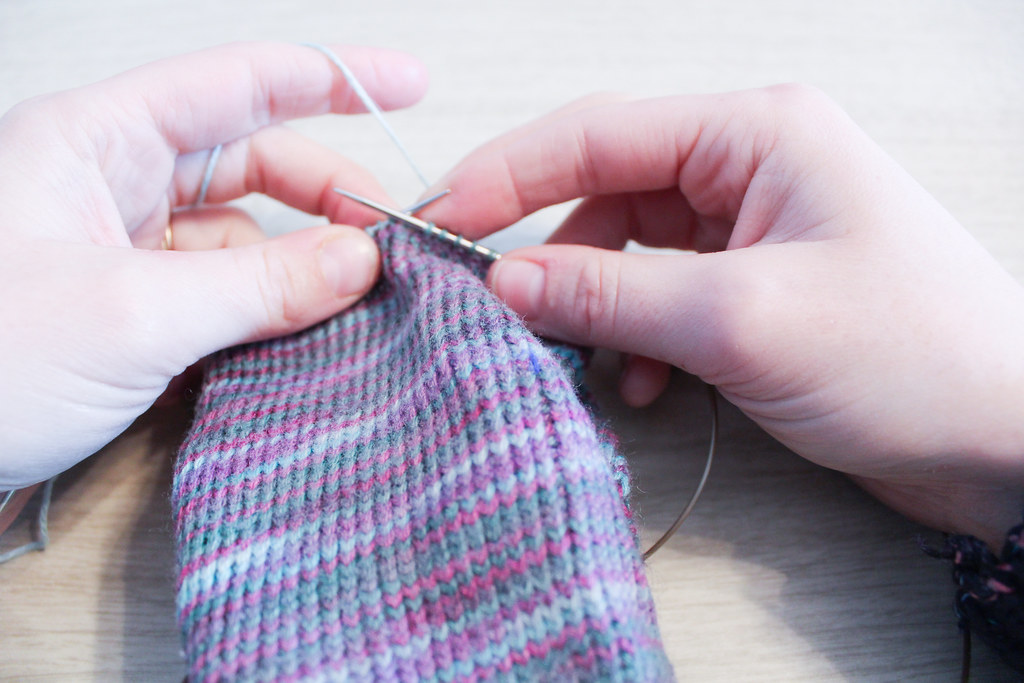
knitting new heel

I like to slip to the middle of the sock to join my new yarn.  This makes the join less obvious, and also because I think it’s easier to weave in ends in plain stockinette rather than where the gaps are. (Another trick I learned since making these socks!)

knitting new heel

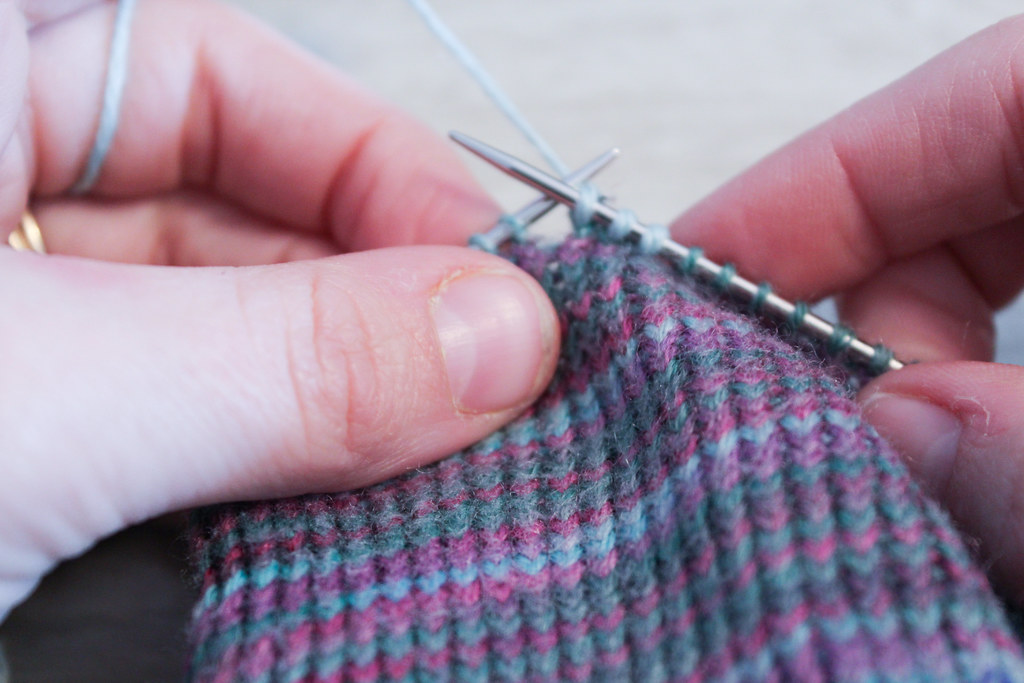
I joined the yarn by just beginning to knit with the new yarn, along the old stitches.  I left the tail hanging, as I’d weave that in later.

picking up heel stitches to close hole

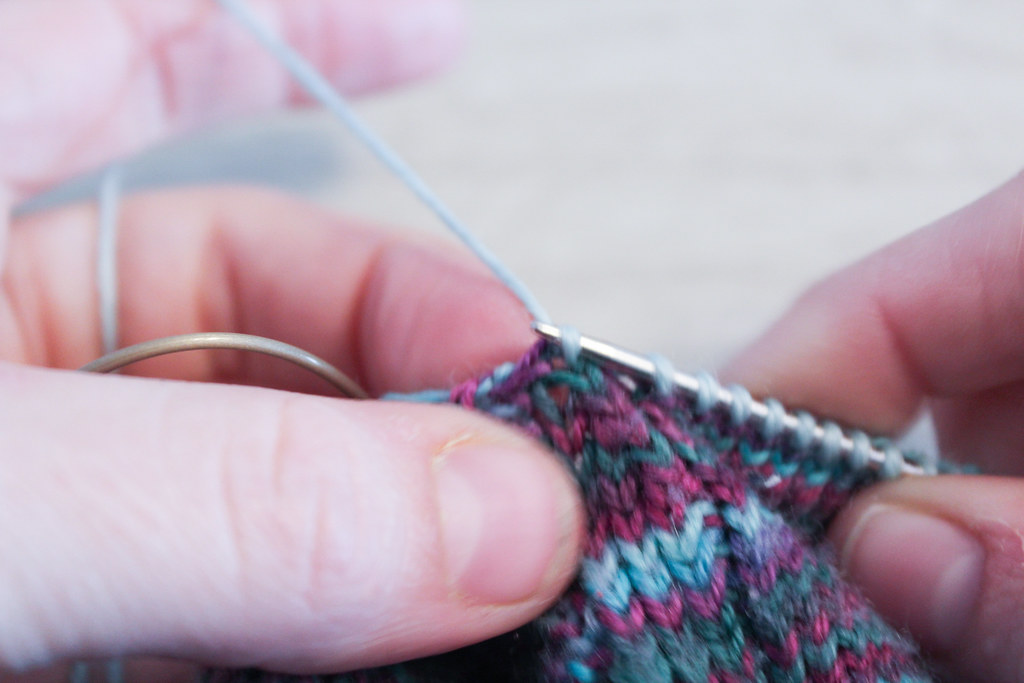
When I got to the gaps I was talking about earlier, I picked up 2 stitches, along the edge, trying to keep the yarn nice and tight here, so the stitches didn’t become sloppy.

Then I kept knitting all around, doing the same for the 2nd gap as I did for the 1st gap.  After I knitted all around, then I began my preferred method of decreases, whichever you prefer for an after-thought heel.

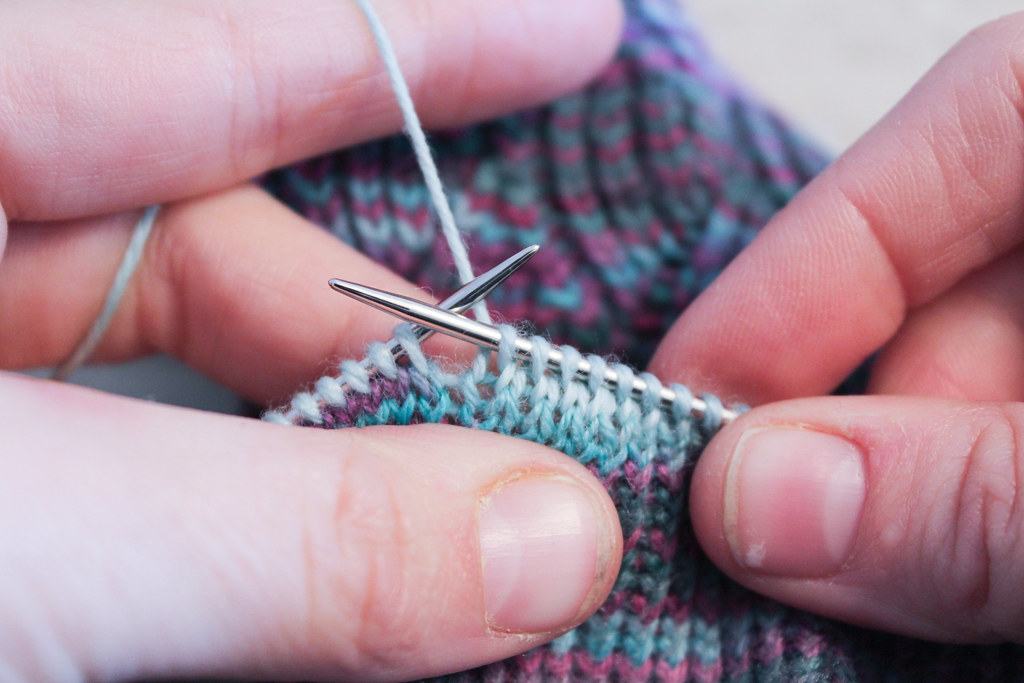
knitting new afterthought heel

I worked, continuing to decrease, until I only had a few stitches left.  Rather than doing the Kitchener, I just mattress stitched the live stitches together, pulling tight as I went.  I think it creates a nicer ending, rather than trying to get my Kitchener stitches to match my gauge.

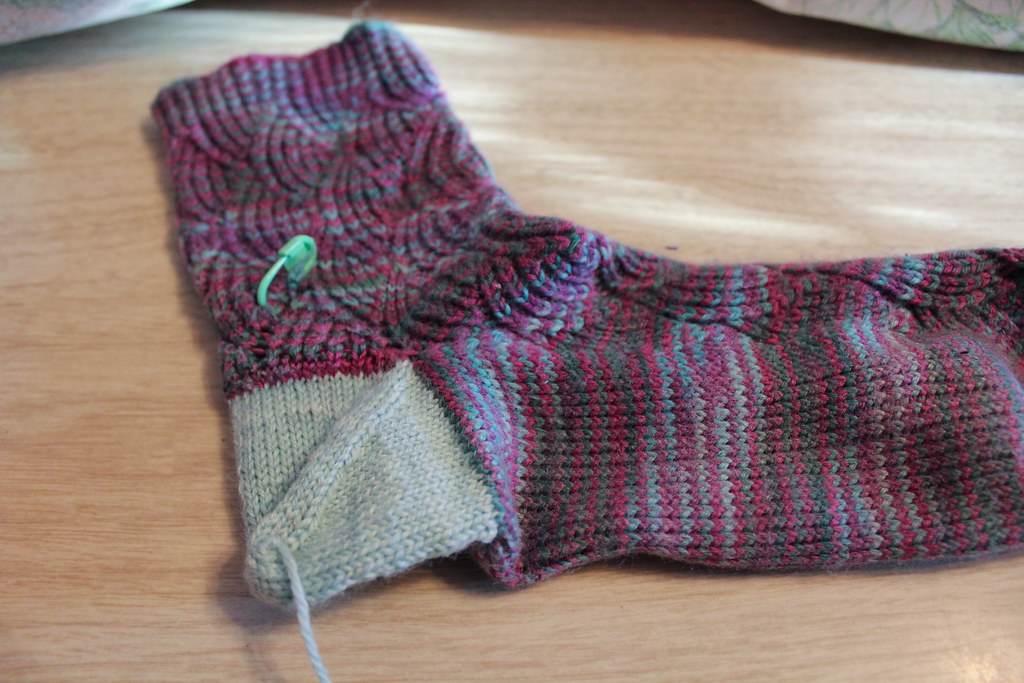
You’ll note, below, that I happened to work the heel in a slightly tighter gauge than the rest of the sock.  This happened for three reasons.  First, my gauge has changed in the last five years. Second, the yarn I used for the heel is slightly lighter weight than the yarn for the sock.  This is because I wanted to match for color rather than for the exact right yarn.  Third, I used a smaller needle size to accommodate the smaller yarn.  I think, after wearing them  a few times, the difference in gauge will even out, or at least become less noticeable.

new afterthought heel in sock
fixed sock – the stitch marker is to mark a place I need to fix

Got questions?  Shout them out!  I’d love to help troubleshoot your own sock repairs!

What to do if your Family Heirloom is Falling Apart

working on repairs

As you are putting away your holiday decorations, you notice it: a hole, a tear, a rip or an unraveled bit of yarn.  Somewhere along the way this holiday season your childhood Christmas stocking, or that bit of lace your grandmother made, or other family heirloom has gotten a little beat up.

What do you do?

I’ve written before about checking your knit or crochet items to make sure they are staying well-cared-for, but what happens when the damage is already done?  What do you do?

First, make sure that the stressors on the item have been removed.  If the stocking was stuffed full of gifts, remove them.  If the lace tablecloth was hanging off the side of the table, move it to a more supported location.

A recent Christmas Stocking Repair, nearly finished. I was fortunate to be able to closely match the red and the cream.

Then, take a deep breath.  Old knitted and crochet objects have a wonderful thing going for them: the stitches and yarn have been sitting in the same way for a very long time.  They’ve settled and, perhaps in the case of wool, even felted a little bit.  That means unless you are pulling and tugging on the object, the stitches should stay in place and unravel no further.  If the yarn or fibers aren’t too delicate, fold the object up and put it in a bag that protects it from sun and dust.  If it’s plastic, don’t seal the bag: it can trap moisture in with the fibers, which isn’t ideal.

Next, get on the phone or the internet and see if you can find a Local Yarn Store.  If not, see if you can find a local museum or historical society that might deal with textiles.  Often someone will know of someone who might have the skills to repair your object.

Repairs to the edge of a sweater.

Then, think.  Before you talk to someone about repairing your heirloom
determine your goals.  Are you looking to restore it to it’s former glory?  Do you want to just have it fixed so you can continue using it?  What is feasible for caring for your heirloom in the future?

A local knitter, crocheter or stitcher of some great experience might be skilled enough to repair holes and return your heirloom to former use, but they might not have the resources to do a perfect restoration.  On the other hand, they might be more affordable.  Meanwhile, someone affiliated with a museum might have more resources to do a full restoration of your heirloom, but it will probably cost more.

Making a decision about your commitment to keeping the heirloom safe and preventing it from deteriorating further is also important.  If you plan to keep using the heirloom, it’s not feasible to have it under glass.  Sometimes the best ways of preserving textiles is to not use them, which can be problematic if the reason you love a heirloom is because of it’s tradition of use.

Repairs to the arm of a person on a stocking – not all color matches can be perfect.

Personally, I fall on the side of loving and using family heirlooms.  I’m careful about how I handle and store them, but it doesn’t prevent me from using the object.  As someone who creates, I think that useful objects (like furniture, clothing, blankets and many textiles) lose some of their meaning when they are no longer able to be used.  And if the object takes some damage?  Well, I’m fortunate enough to be able to make repairs myself.

Traveling, Knitting, Repair

A couple of weeks ago I looked at my calendar and realized that every week until New Years I was committed to something that involved traveling.  And I realized that I needed to have a plan if I was going to get all the knitting and crochet I needed done by Christmas.
For this last week this meant traveling with a half blocked sweater (that got spread out in our Amtrak room to dry as we went to get dinner so I could finish sewing it), and two other sweaters in need of repair.  Then there was my sock knitting (a design!) and hat knitting (another design!).  Needless to say, we brought the big suitcase.

Michael and I were heading to a wedding.  We got on the Amtrak train in Washington, DC Friday night, ate dinner, worked, slept, ate breakfast, and got off at the station.  The wedding didn’t start until 4, and we didn’t have a hotel room, so I camped out in the Amtrak station to work on a sweater repair.  I got some odd looks.

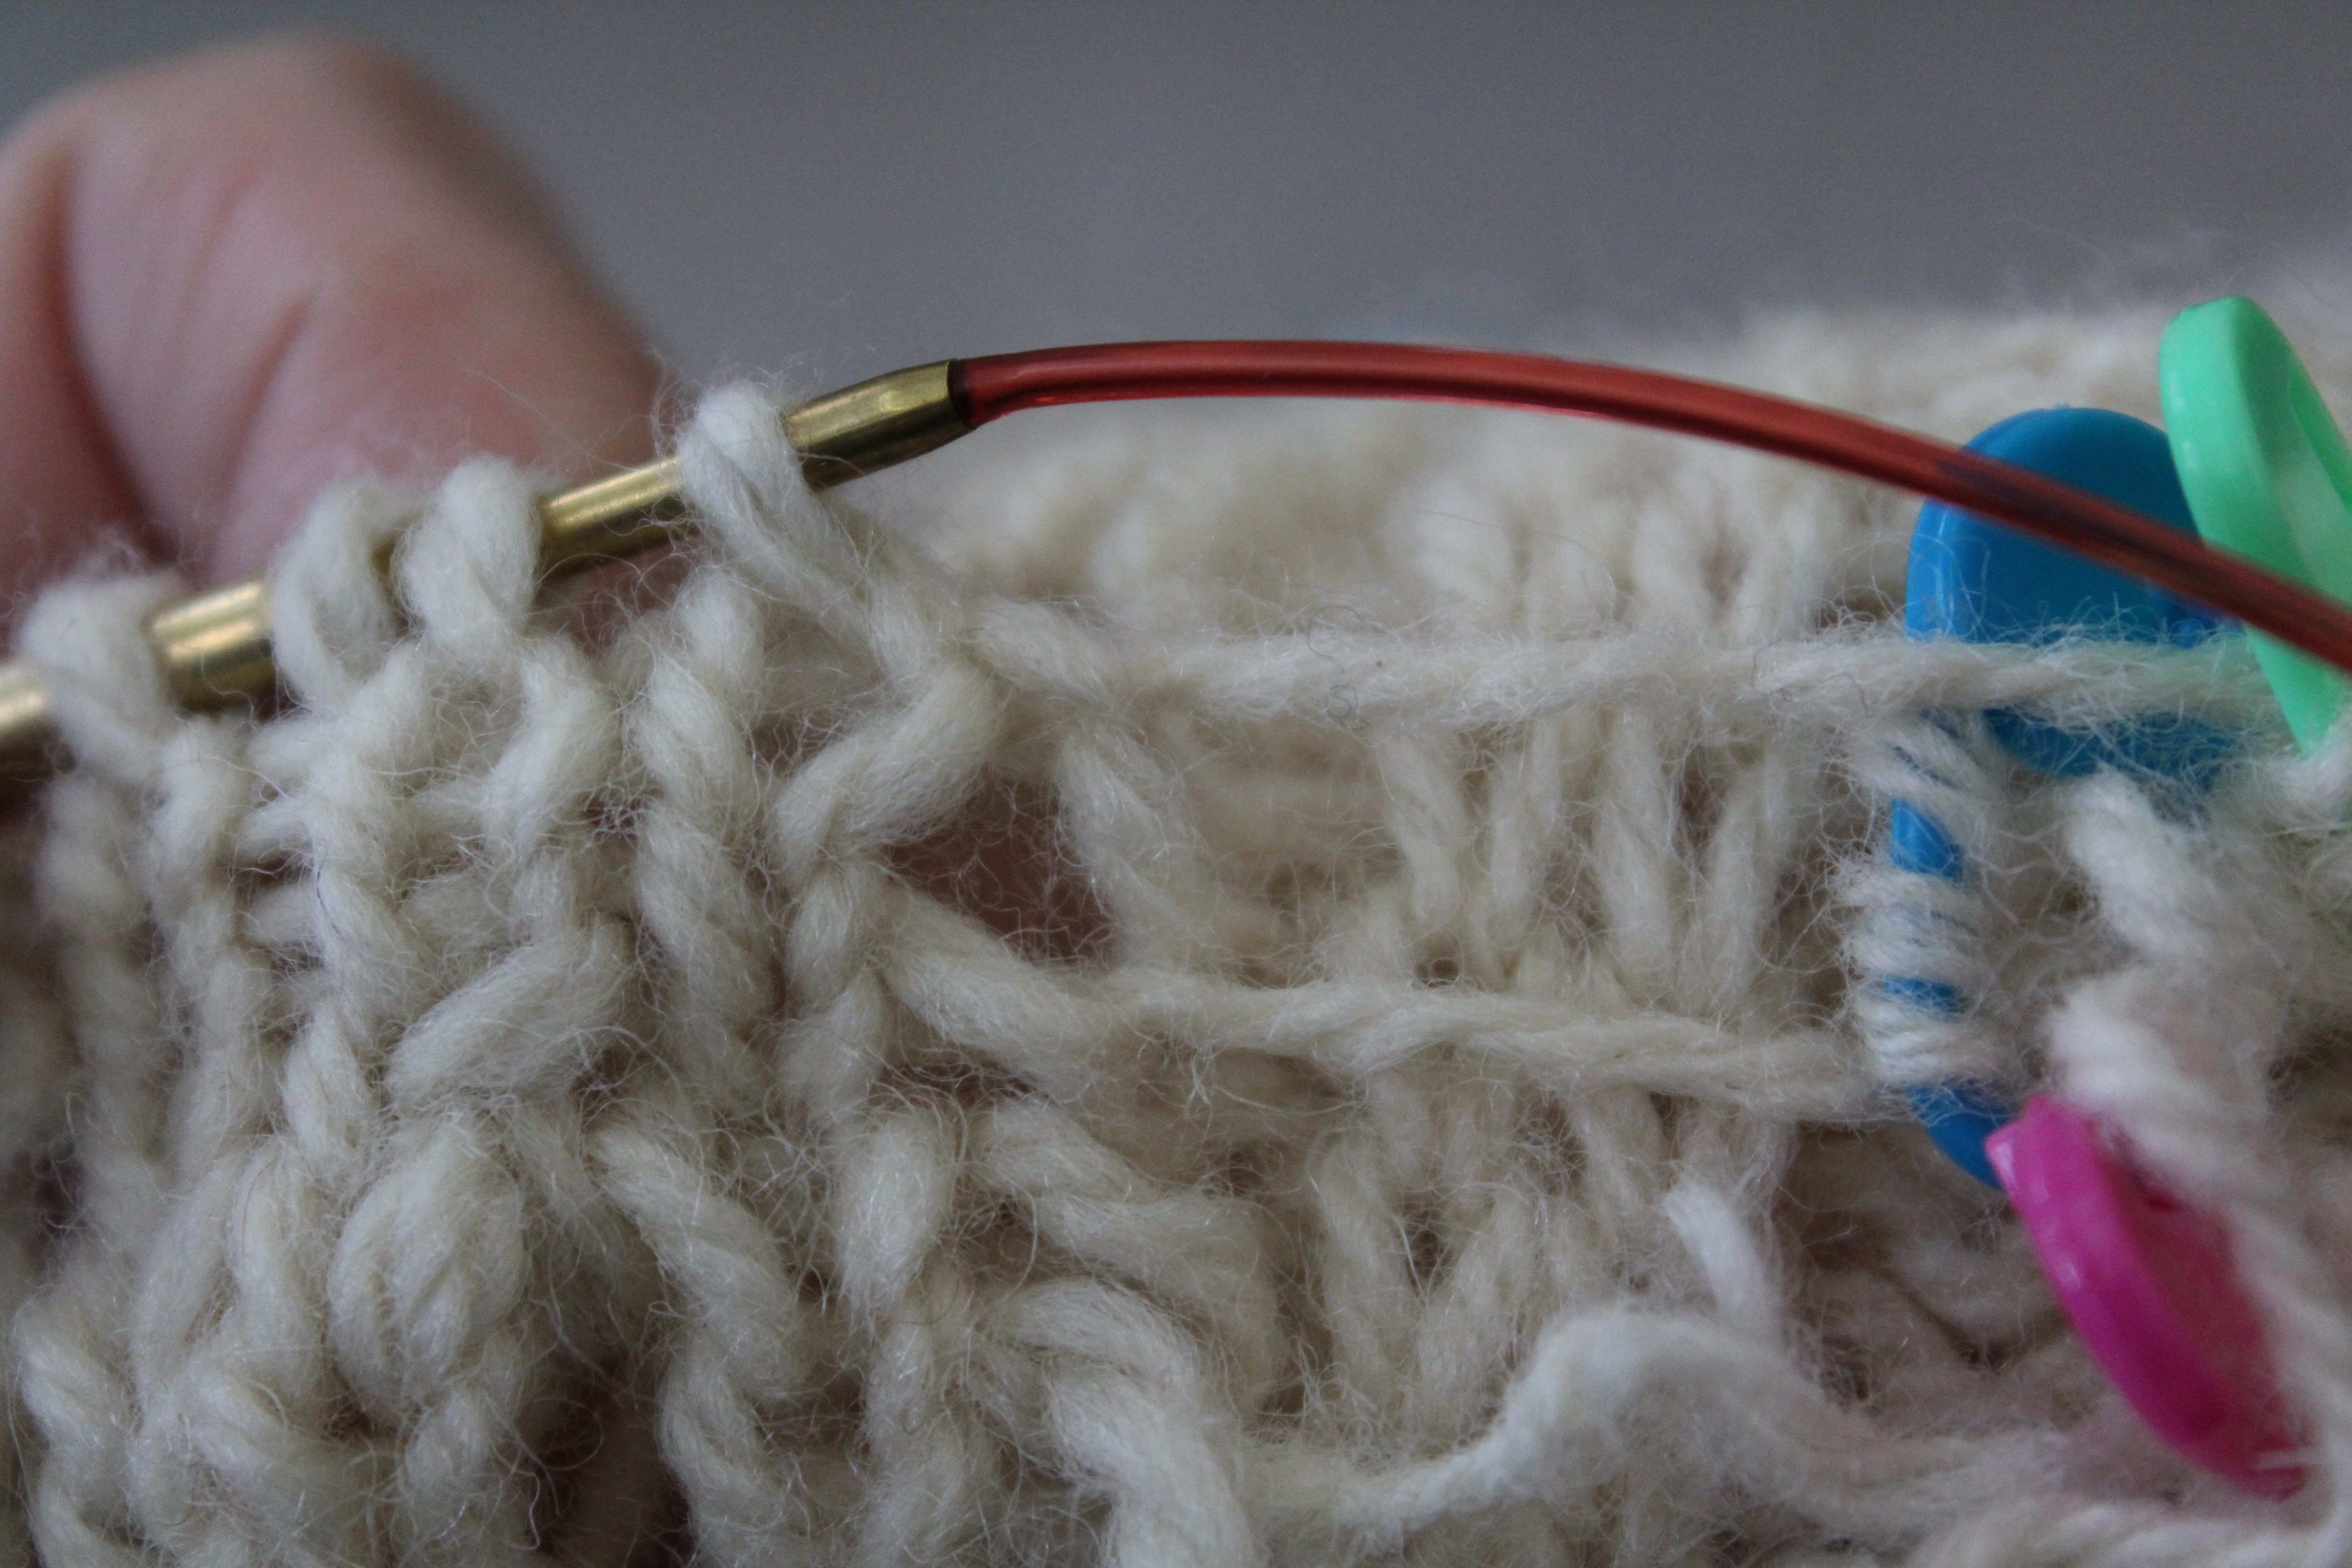
Picked up stitches on circular needle, unraveling part that will be patched.
The sweater was possibly one of the most challenging patterns I’ve had in a while.  The tag said it was an “Irish Hand Knitted” sweater, and as far as I can tell, I believe it.  There’s simply no way to make that many cable crosses on a machine and make it cost effective.

The sweater had suffered from some poor storage, and had a hole about 4″ wide about a 1/2 from the left side seam.  The pattern was a doozy: a variation of a slipped puff/bobble stitch that involved using cabled slip stitches on the wrong side.  Normally I’d try to reconstruct the fabric around the hole, but in this case, it was more time effective to pull the section out and knit a patch.

Wrapping yarn around new patch yarn to create “retroactive intarsia.”

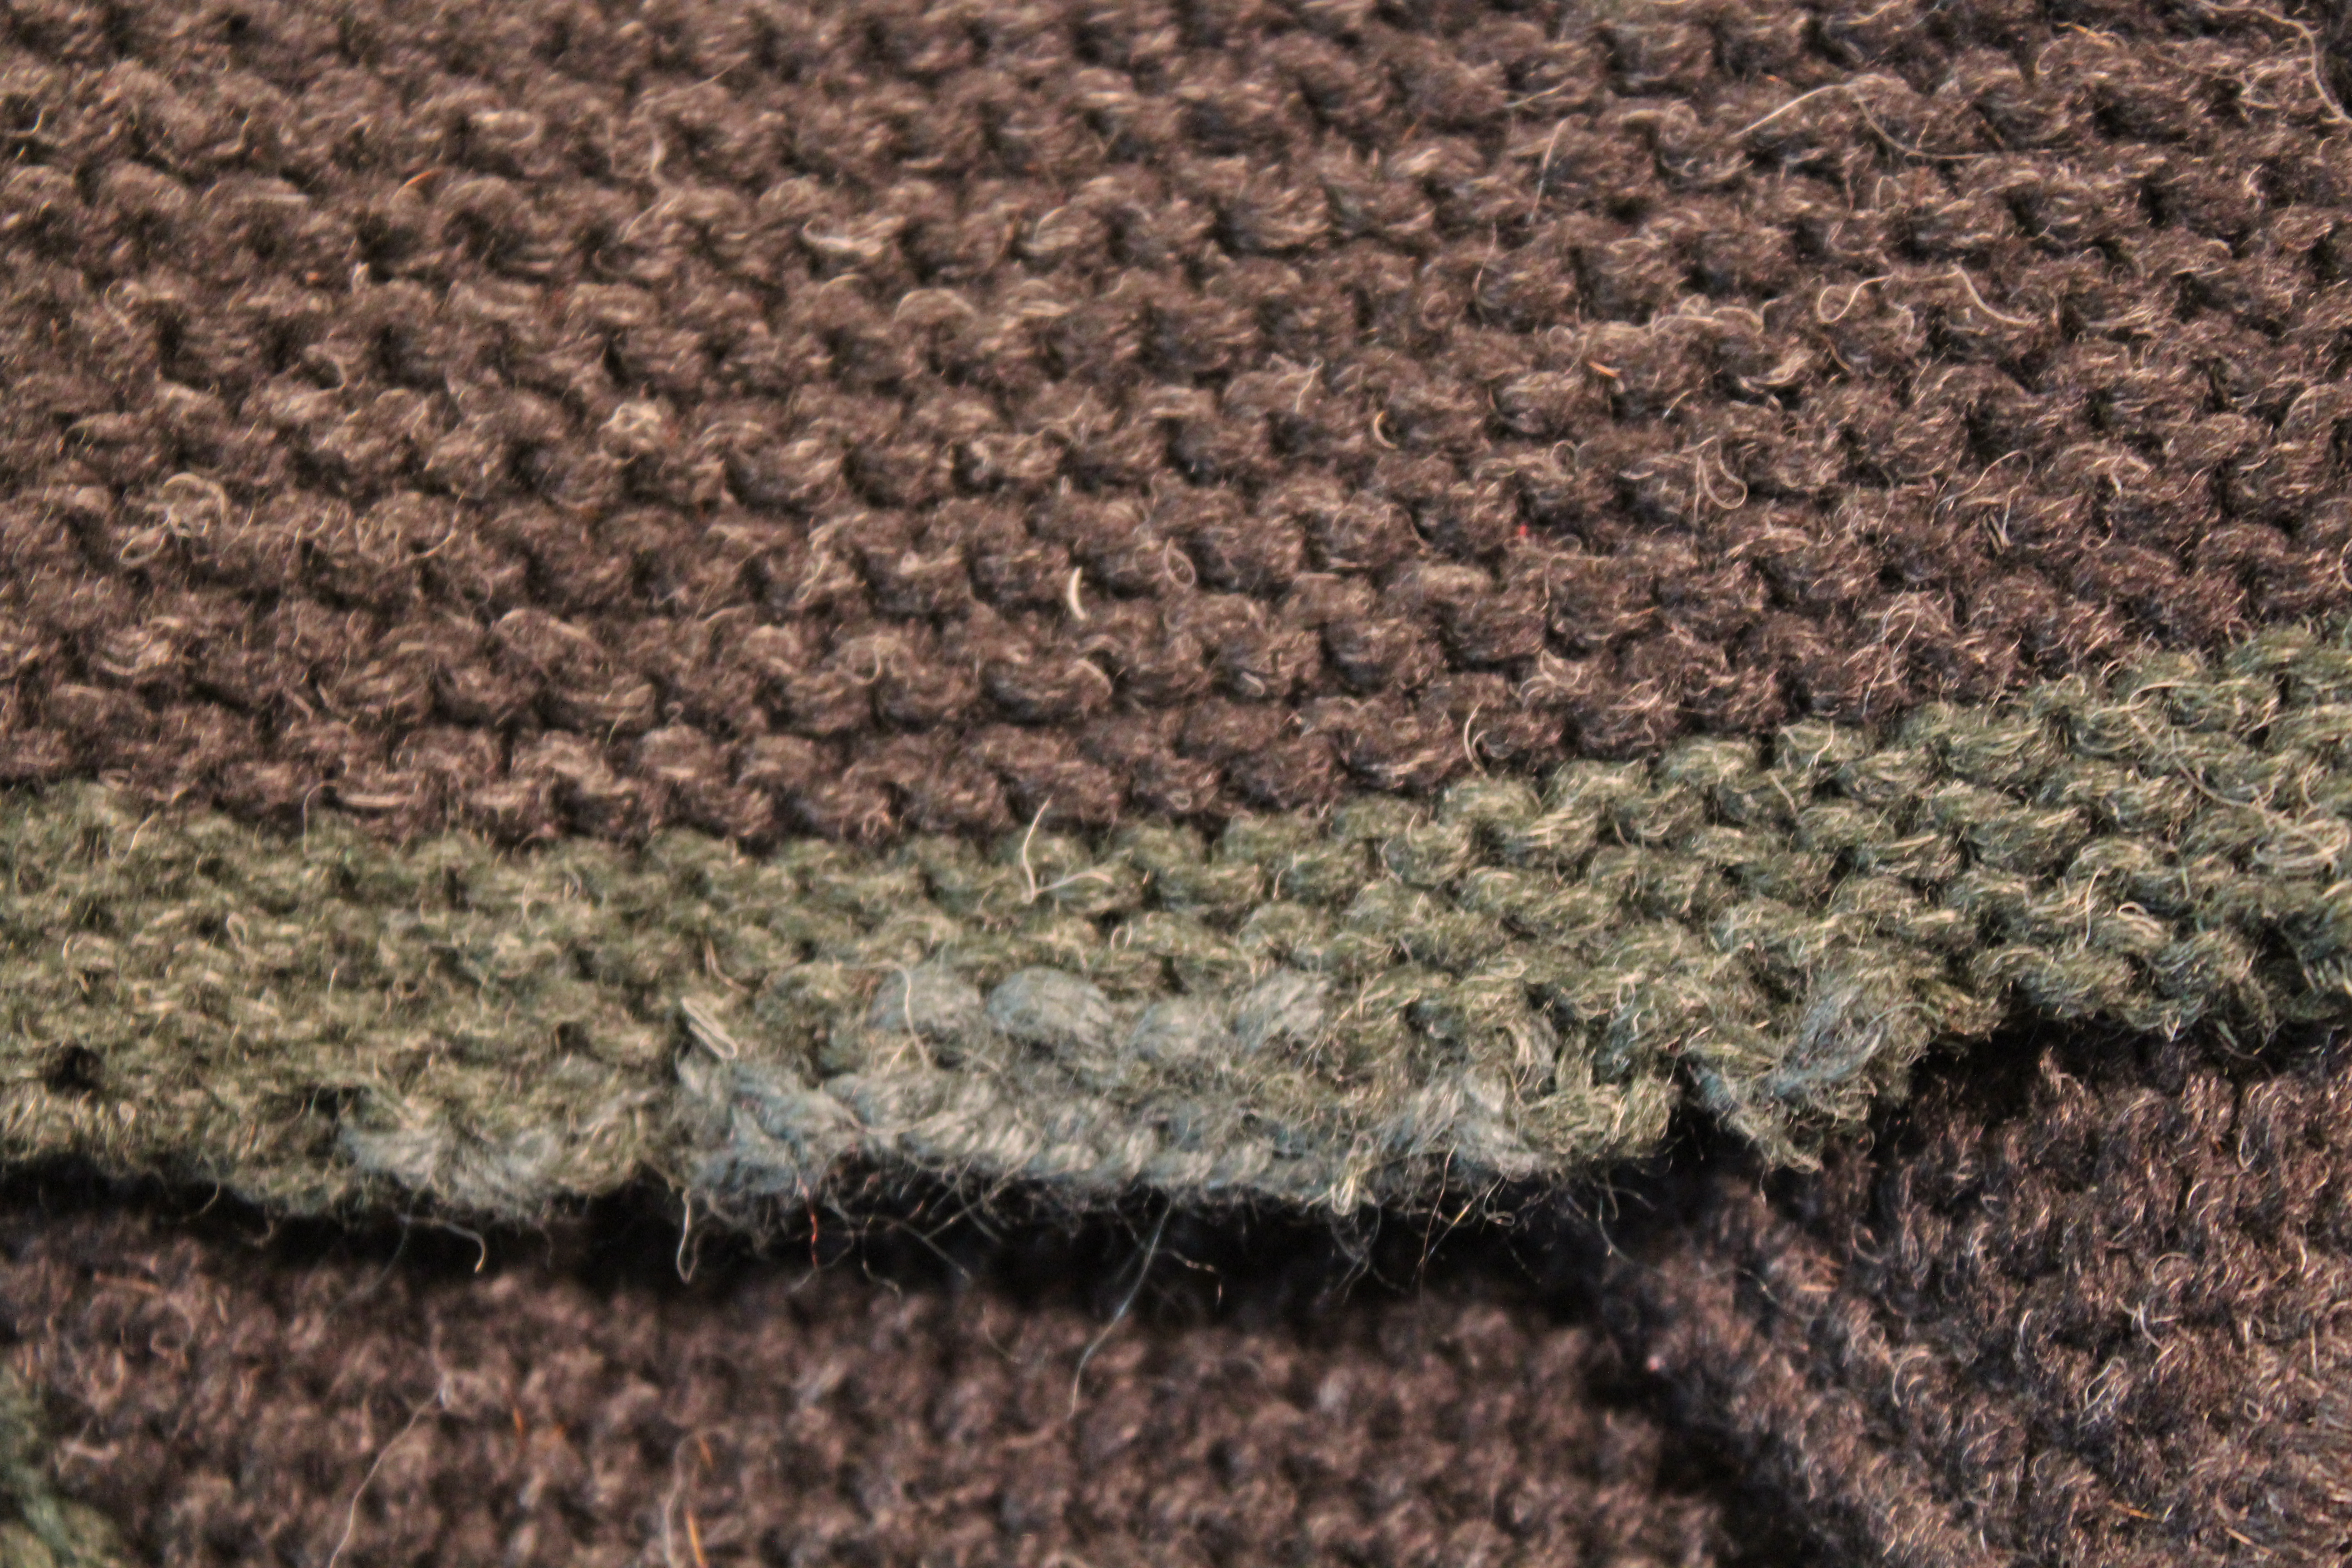
The old yarn, since it was on the edge, was long enough that each row, as I knit back and forth, I’d work a type of retroactive intarsia, wrapping the patch yarn around the old yarn, then weaving/skimming the old yarn into the original fabric.

At one point I had more than 45 locking stitch markers in play, holding various ends out of the way, holding live stitches, marking future holes to repair, and marking where I started.

So much fun!

Detail of “retroactive intarsia.”

I could kick myself though: while I got pictures of the process, because I had to turn this project around quickly, I neglected to get pictures of the finished repair.  Suffice to say, that when I handed the sweater to my husband to take a look at, it took him a good 3 minutes to find the patch.

I call that success.

Stitching, other than Knitting and Crochet

While Michael and I were in India, my backpack gave up the ghost.  I’d been babying it for a while, as the zipper had some weak spots where the toggle would jump the track.  But I’d been making it work.  While we were shopping one day, Michael was putting our purchases in the backpack, and being rather rough with it.  I told him, “Be careful, the zipper is delicate.”

He said, “I’ve got it.”

A moment later, he yanked and it broke broke.

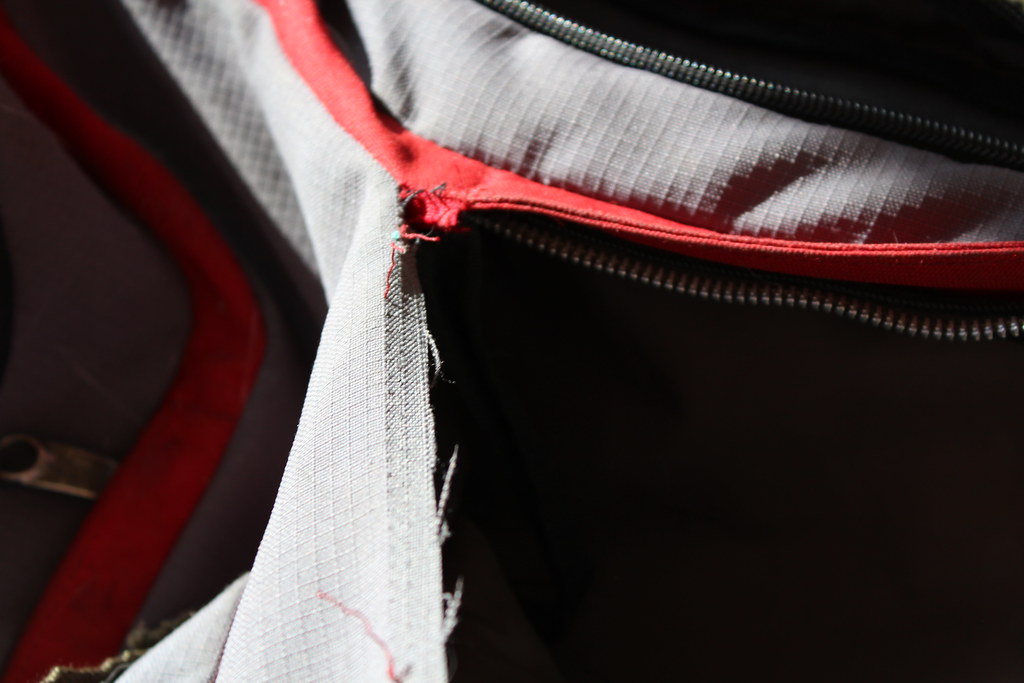
Try as we might, that zipper pull wasn’t going back on the track.  In desperation, we cut a hole in the fabric to strap it shut with a length of twine, and I struggled not to be mad at him the rest of the day.

When we got home, we had one gift card left from the wedding that we hadn’t used.  We decided this was going to be used to buy me a new backpack.  So I looked for a new backpack.

Now, it must be said.  I’ve had this backpack for eight years.  It’s been with me since the first day of college, and has carried two computers, books, projects, and more things than I can count.  It’s been to Sweden, across the United States, to India, Norway, and I’ve carried it 5 days out of 7 for the last eight years.  I haven’t had a seam split or a strap break or anything. (It’s one of the higher end models by Jansport).  It has a place to put my computer, with ample padding and a shock absorbing insert on the bottom in case I drop it (which I’ve done a lot).  A roomy main pocket, a headphone pocket that is perfect for a pair of in-progress socks, and plenty of other pockets.

When I looked online, nothing fit.  None of the backpacks I could find (even the ones out of my price-range) had adequate padding.  The shoulder straps were wonky.  I wasn’t looking for much, but nothing fit.  After hitting up multiple stores to look at backpacks in person, and searching online more than I cared to admit, it occurred to me that I might be happier if I just replaced the zipper myself.

So I went digging in my stash of zippers (as my grandmother threw nothing away, and this included clipping buttons and zippers out of everything). Miracle upon miracle, I found a jacket zipper that worked (it means that instead of zipping out from the middle, it zips out from the sides) and fit the hole.

Below follows the process of resurrecting the backpack, if you ever are interested in doing the same:

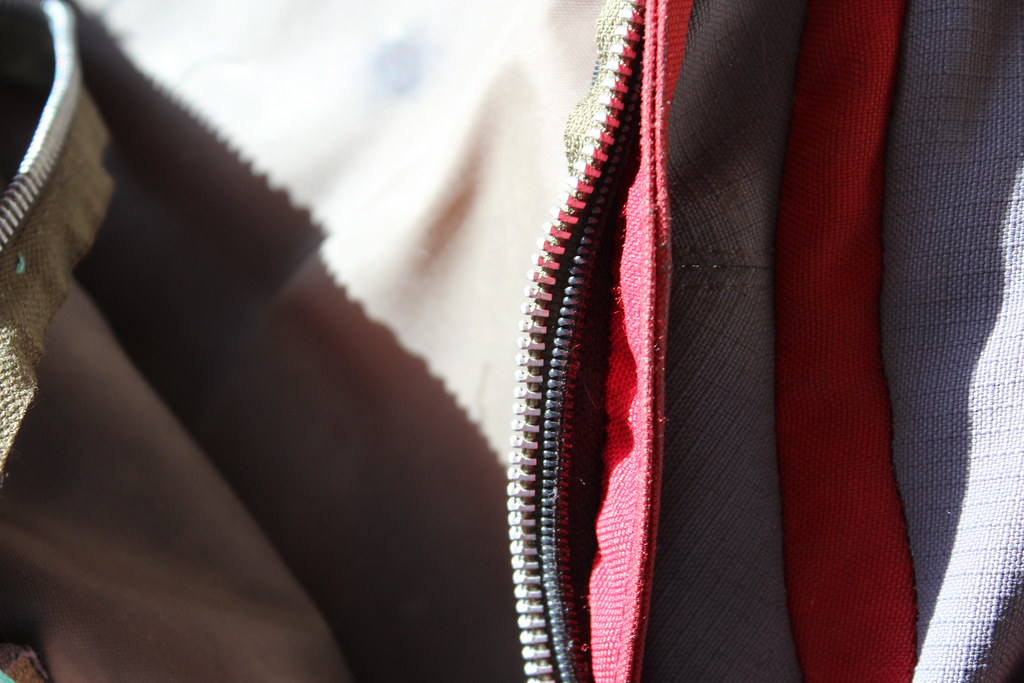
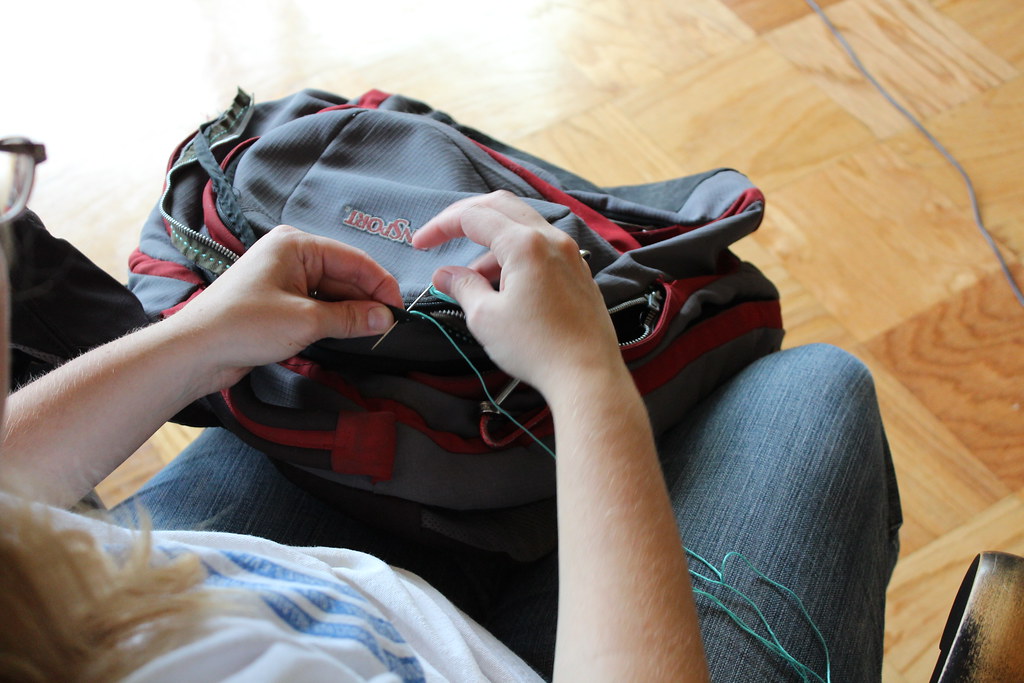
I unpicked the stitches to the zipper on one side.  On the other side (the part with the red zipper flap) the seam also
held the zipper flap, so I just sewed the new zipper flush to the old zipper.  This worked surprisingly well.
A simple running stitch made in super-tiny stitches worked really well.  I used a bright color for my eyes, and because
 when making repairs of this nature, I had no ability to hide the repair, so might as well make it a design feature, right?
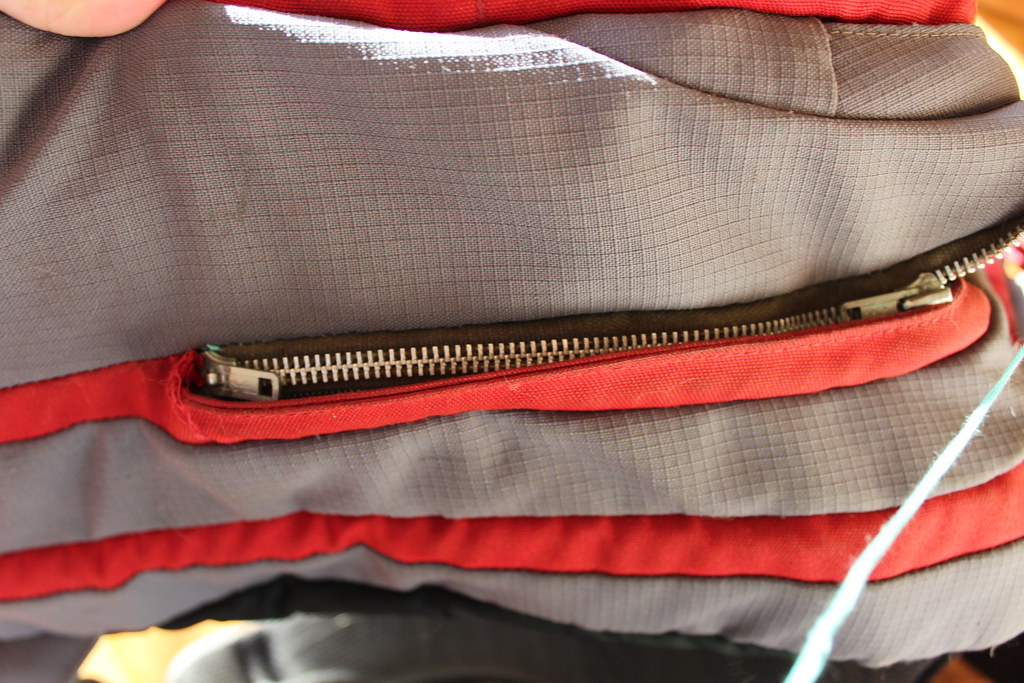
New zipper lying flush to old zipper.
Patience is a virtue.  Halfway through I realized that I’d sewn the zipper in with a twist, had to unpick it and re-sew it.
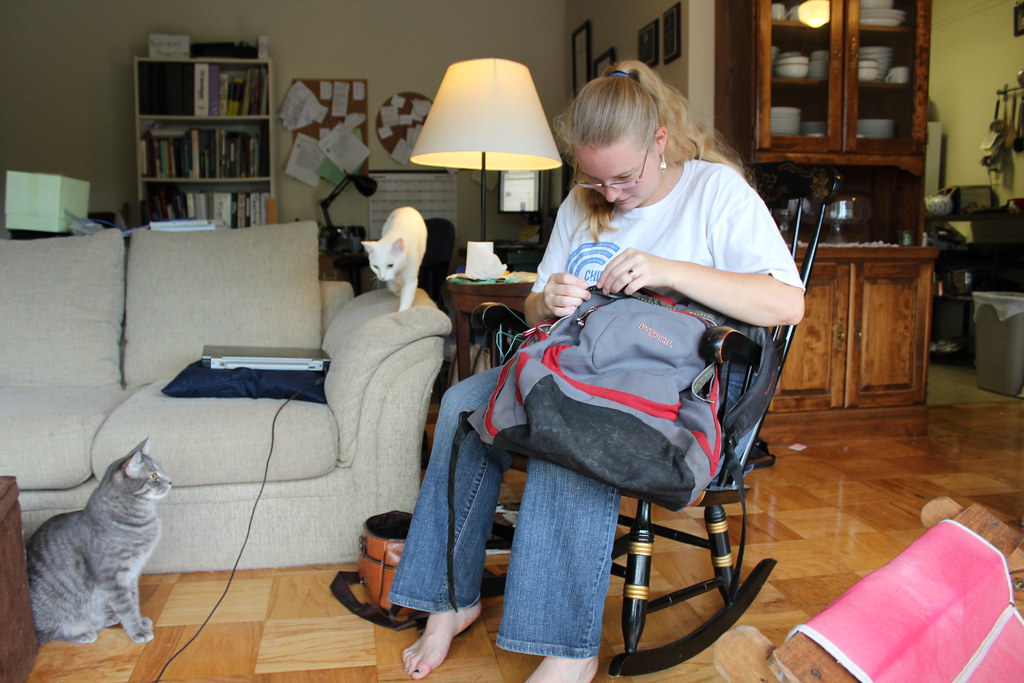
The cats could not stop staring at me the whole time.  Thread, flicking and moving and
oh-so-pounce-able, and they got spritzed every time they tried to go for it.
Zipper nearly finished, working as it should.

Rainy Weekend Activity – Darning Socks

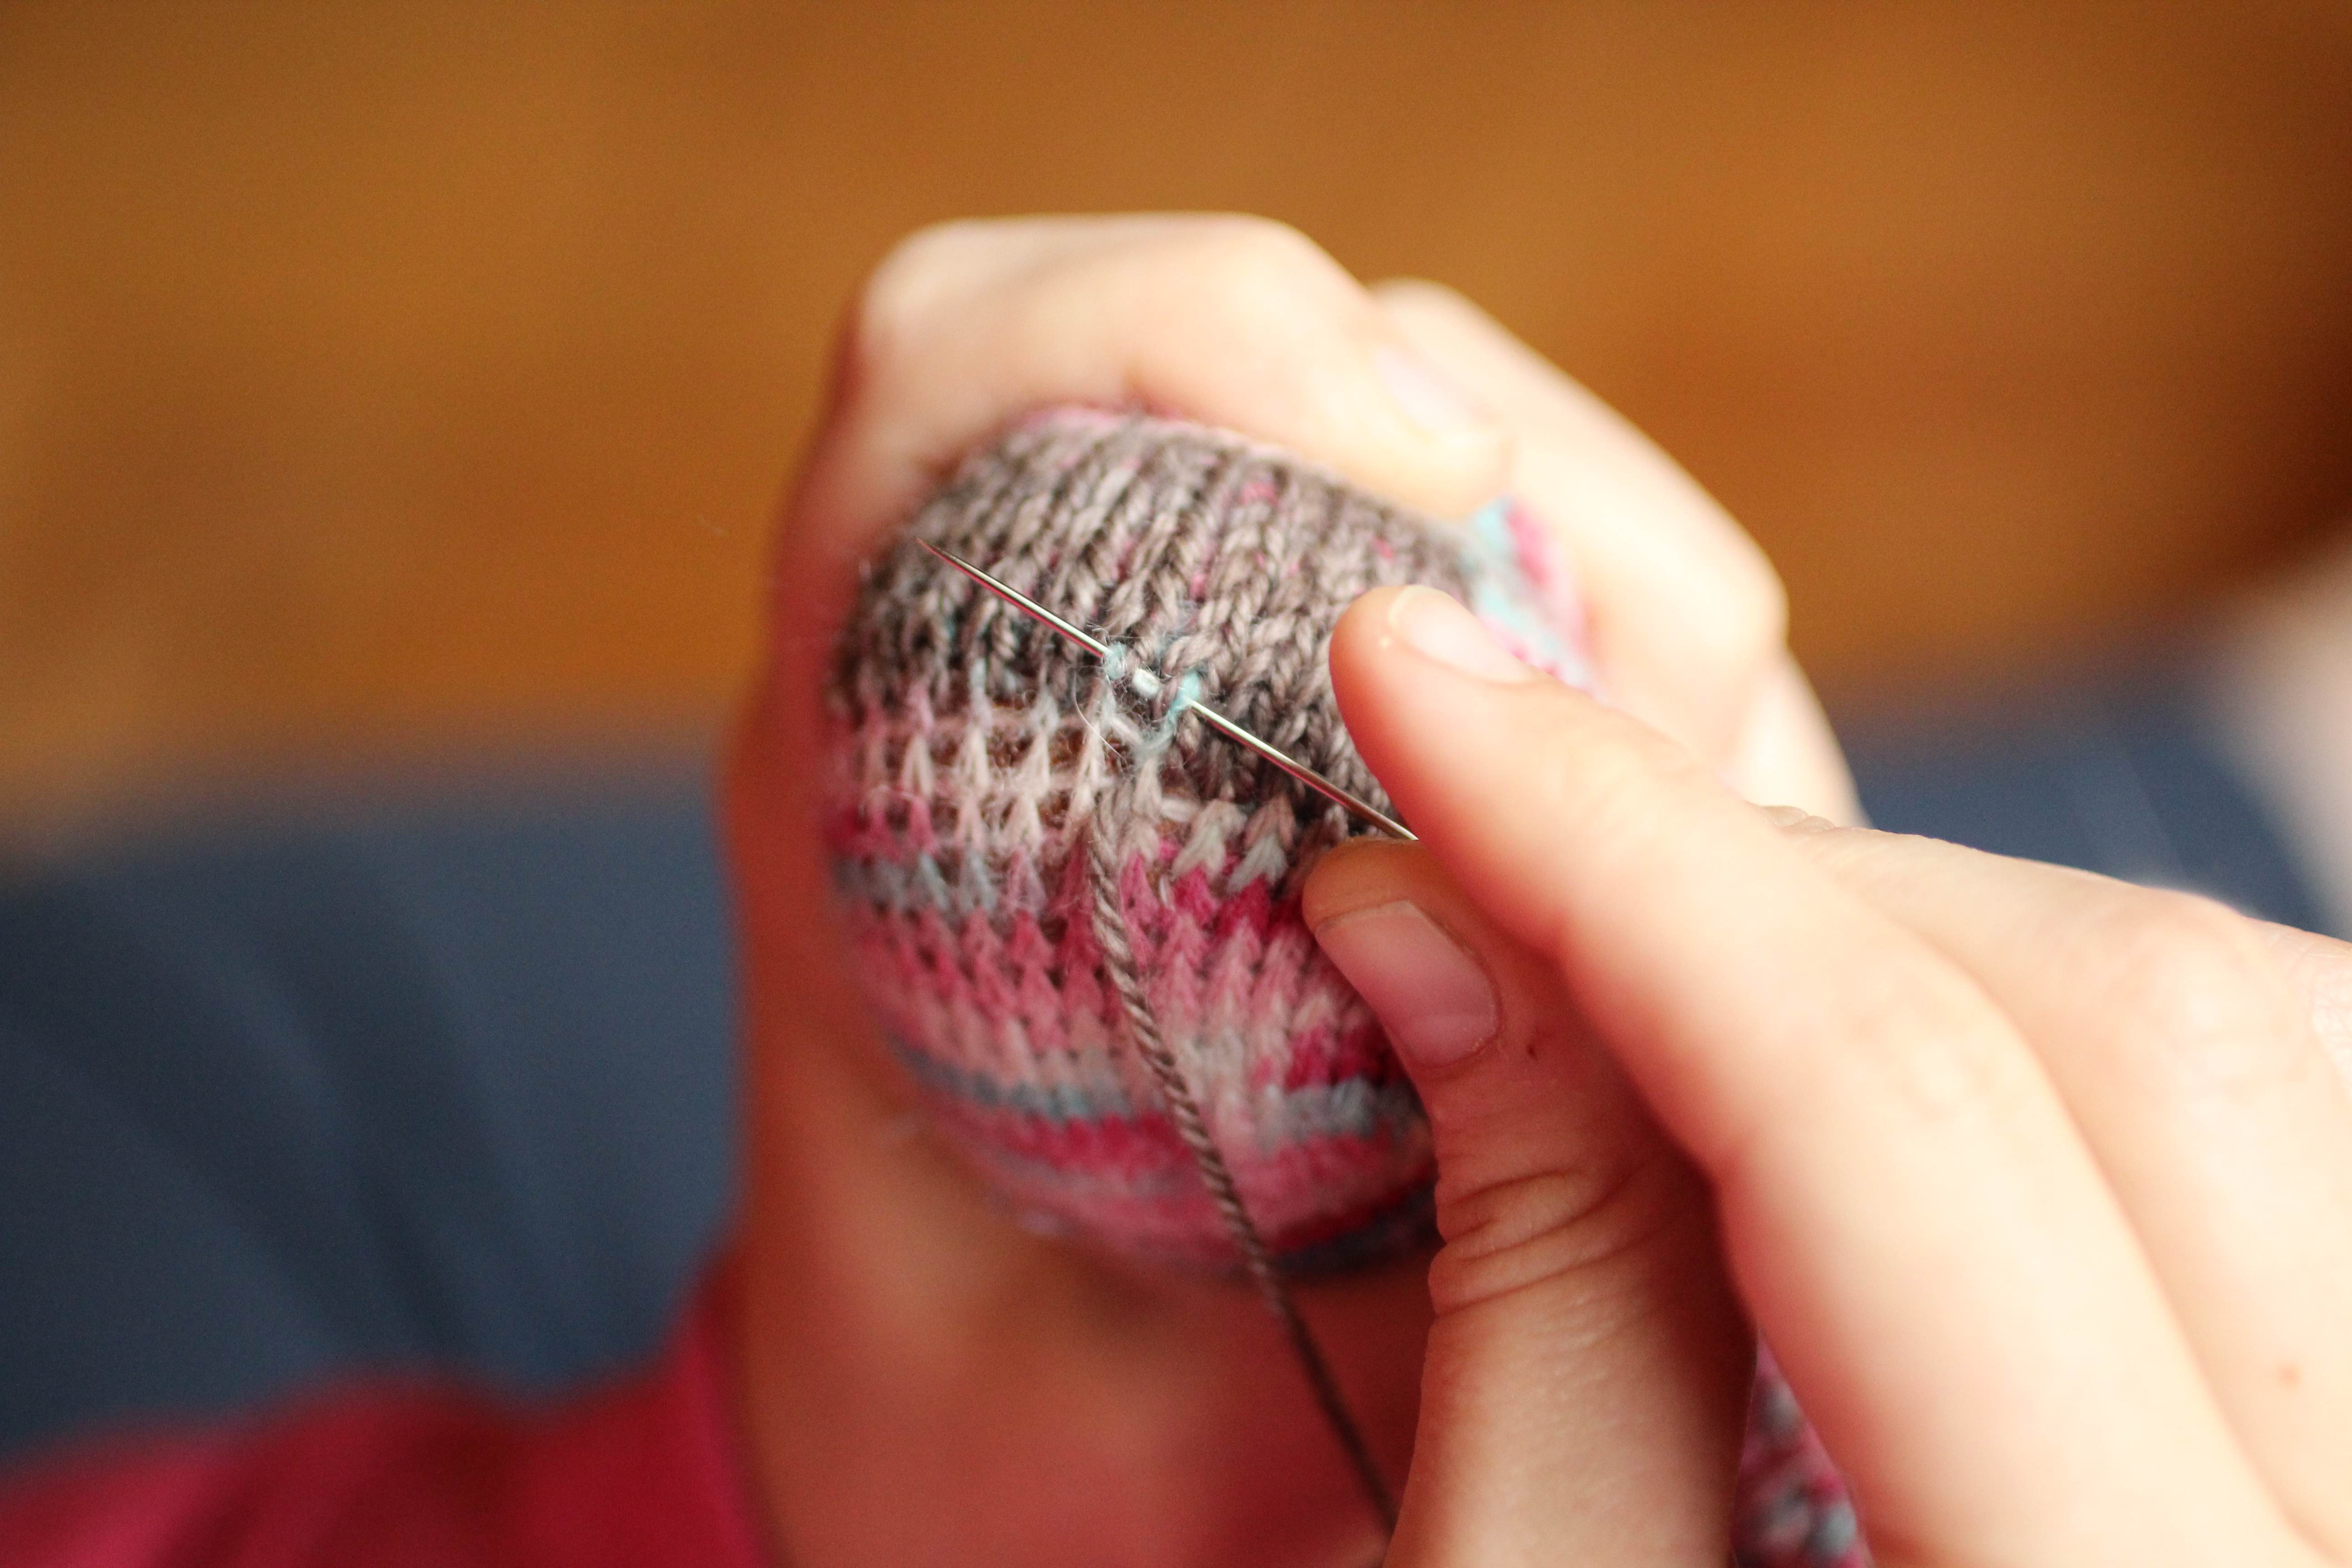
Like most of the East Coast, this past weekend was a rainy drizzly grey one.  I bravely left the apartment for teaching classes, but in the evening I snuggled into the couch with my really ugly slippers, a blanket, tea and one of my two current projects.  I’m working a technique that I’m hoping to turn into a design proposal, so I can’t show pictures of that right now.  The other thing I was working on was repairing a pair of socks.

As the old adage goes, “A stitch in time, saves nine.” I’m trying to avoid a more extensive repair by reinforcing the heel right now.  Not a surprise these have worn out – the yarn is stellar, but I wear these socks for 3 days straight.  They get so comfy and nice.
Eagle-eyed readers will notice that the area I’m repairing has twisted stitches, and I’m reinforcing it without twisting my stitches.  While I could repair every row and twist the thread as I’m working, I was feeling lazy.  The twisted stitches were part of an experiment to see if adding twisted stitches on the sole of the sock would reinforce the sock – and my conclusion is, it doesn’t really matter that much.  The sole would be worn out at this point (going on 4+ years that I’ve been wearing them, I believe) no matter if the stitches were twisted or not.
On another note, it’s a really precious thing to get pictures of me working on a project from this angle.  Whenever I try and get this angle on my own, with a tripod, it ends up looking rather awkward.  If not, it takes me an hour and a half to get a shot I’m happy with (seeing as I don’t have a remote trigger). Yesterday, I was up in the morning, and the light coming in the room was just beautiful, and I was looking at my project wishing I could get a picture of what I’m doing, because I never get a good picture of me darning something.
Then Becca, my best friend who is visiting, wandered out of the guest bedroom looking sleepy, and I co-oped her into taking some photos.  Best friend for the win.  Despite being a Nikon girl, she managed to bear with me while I set the settings on my Canon and handed her the camera.
I also tried to persuade her that it would be a good idea to wake up at 6 am and go for a walk so I could take some project photos on her.  She nixed that one.  Smart girl.

4 Warning Signs Your Handmade Afghan is Falling Apart

My business has many arms – my teaching, pattern writing, and more recently, finishing.  Normally finishing involves piecing together sweaters or blocking shawls, but sometimes I get another type of request.  Sometimes I get requests to do repairs on well loved a
fghans and blankets that are lovingly knitted or crochet.  Many times I’m able to fix things before they get too bad, but sometimes I have to be the person saying, “I’m sorry, but there is no way to fix your family heirloom.”  This is a terrible thing to say, and so I have a list of things to look for to know when your afghan is in need of repair, before it gets irreparable.

  • At the First Sign of Trouble, seek help.  There’s an old adage that says, “A stitch in time saves 9.”  And it is so true – making repairs before they happen is the best way to prevent tears, rips and holes.  Look for weak spots in your knitting or crochet – where the thread is getting thin or wispy.  These are places where holes will form.  Find someone to help you retrace the stitches and reinforce the work.
  • Pulls or loose threads.  Sometimes yarn that has been carefully woven in works its way loose, or gets caught and creates a pull or snag.  Don’t panic! If the thread is not broken, just stretched and out of the weave of the fabric, carefully pull it in different directions, and see if you can ease it back into place.  If not, see if you can find someone (like a finisher or a more experienced knitter or crocheter, that can help you work the yarn back into the stitch.

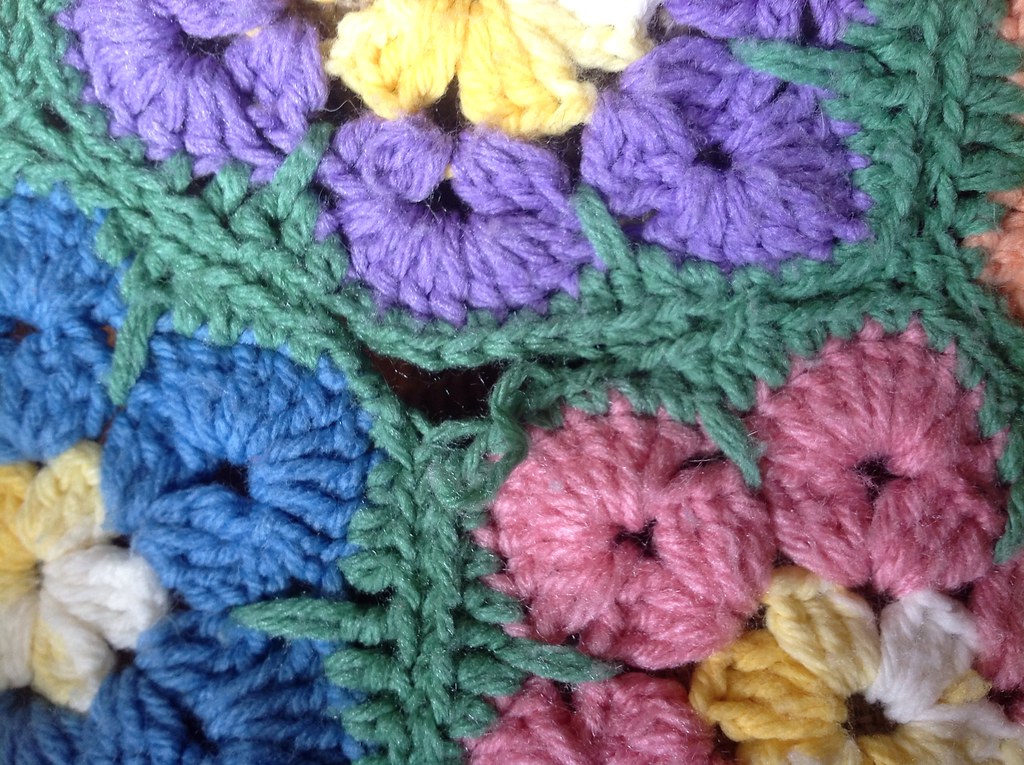
  • Seams coming undone. So many crochet (and even knit) afghans have their seams come undone.  One of my very first repairs to a blanket was my father’s well-loved afghan, made in long strips of knitting and seamed together.  If a seam comes undone, don’t panic.  Take a bit of matching yarn or thread, and carefully seam the edges back together, using a ladder stitch or running stitch.
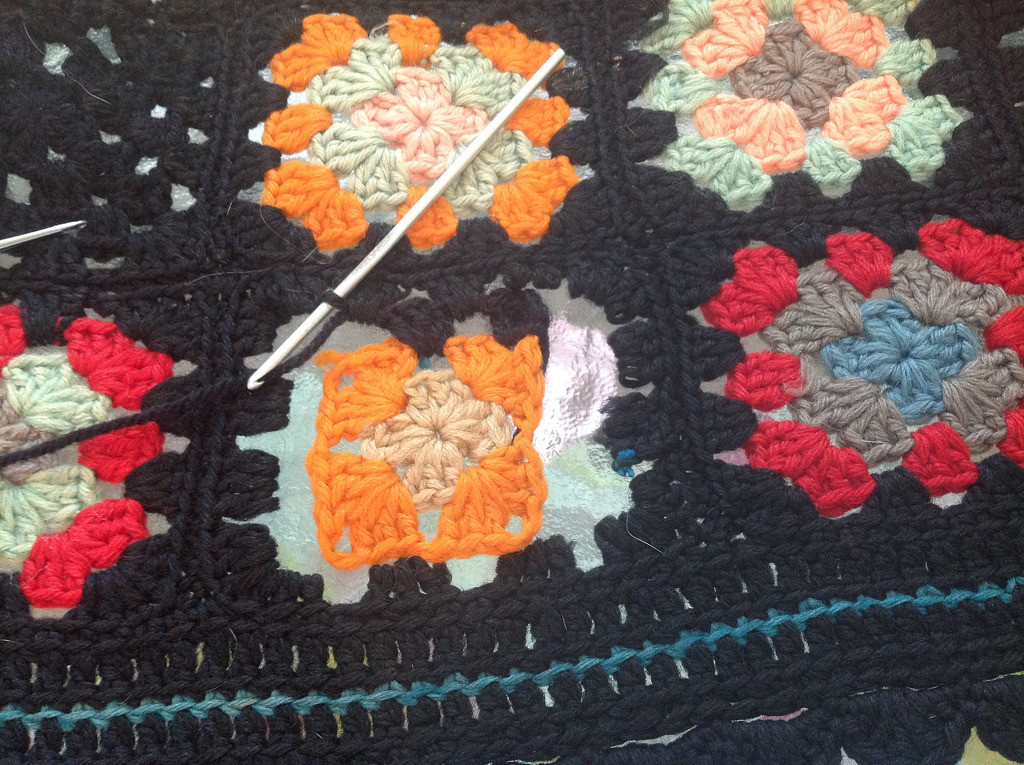
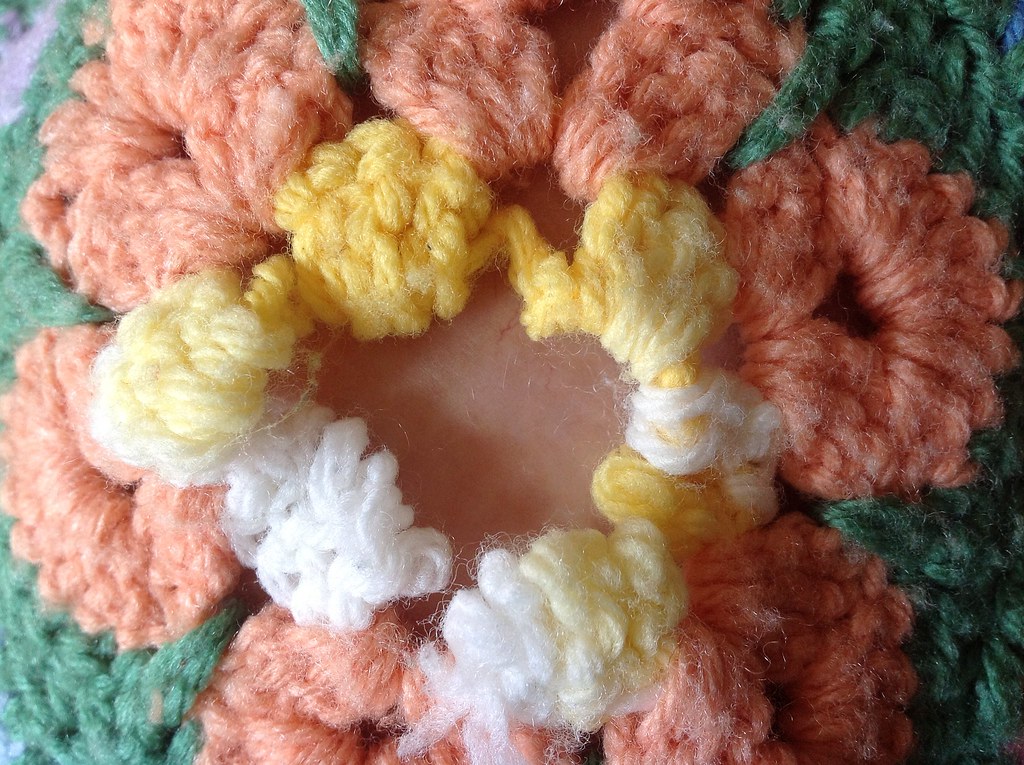
  • The center of motifs are a common place I see in need of repair.  Either because the original creator didn’t secure the ends enough, or just because of stress, this can be a common cause for problems.  If you can, try to pick up as many of the loose loops and put them on a stitch older or locking stitch marker, to prevent further unraveling. This is one repair I’d say, if you can, to get a professional to do, as it takes a deft touch and a good understanding of how stitches work to get it back to matching the others.
The key to all of these problems is if they are caught early, they can be fairly painless repairs.  If you let the problem go, the worse things get, and the more likely that the afghan will need to be reconstructed or have more extensive repairs.Have you ever had to repair a project?  Tell me about it on twitter or facebook.  Looking to have your own repaired?  Get in touch with me through my finishing form!