MENU

Mending a Midwest Inspried Crochet Afghan

This midwest inspried afghan had a lot of damage done to it over the years, and the owner contacted me about doing some repairs and mending to bring it back up to shipshape! This was an interesting piece – each row was done through the back loop (hence the distinct ridges, and each row the yarn was cut on the end, resulting in the creator only ever going from right to left when working on it.  The cut ends became part of the fringe.

It did make the repairs a lot easier to do, as I didn’t need to flip the blanket over for each row. Working through the back loop does mean that the last row invoves a lot of sewing, though.

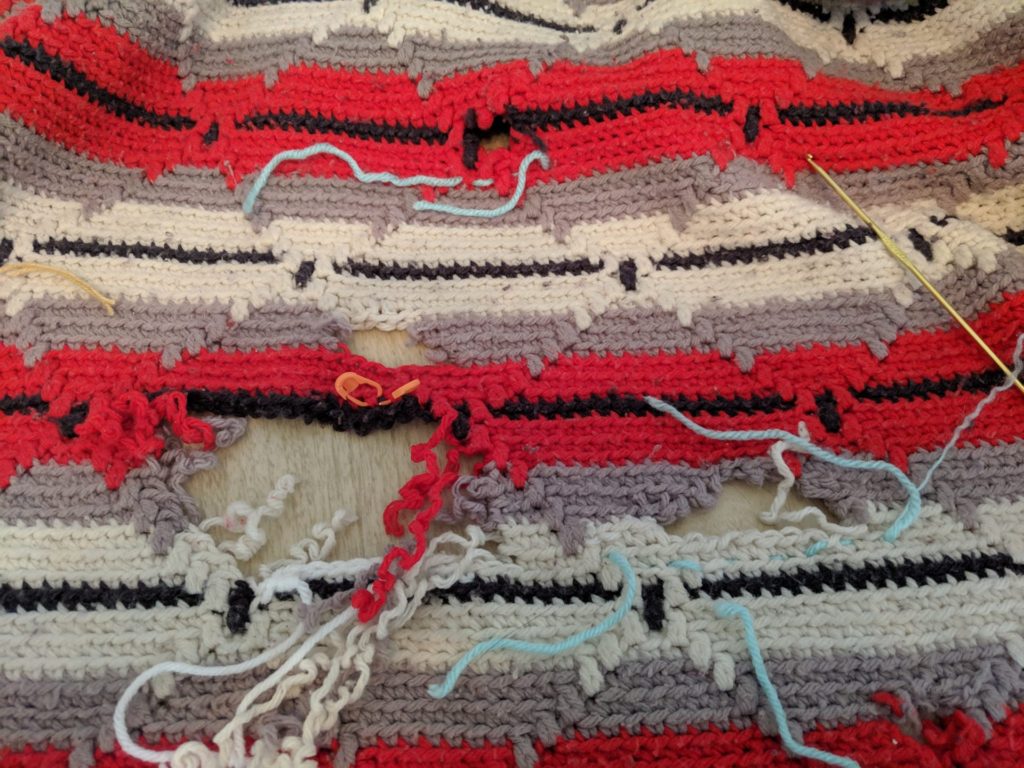
The two holes right above the the black line were so close together it made more sense to pull out the yarn between them and work them as one large hole. I decided to tackle that first.
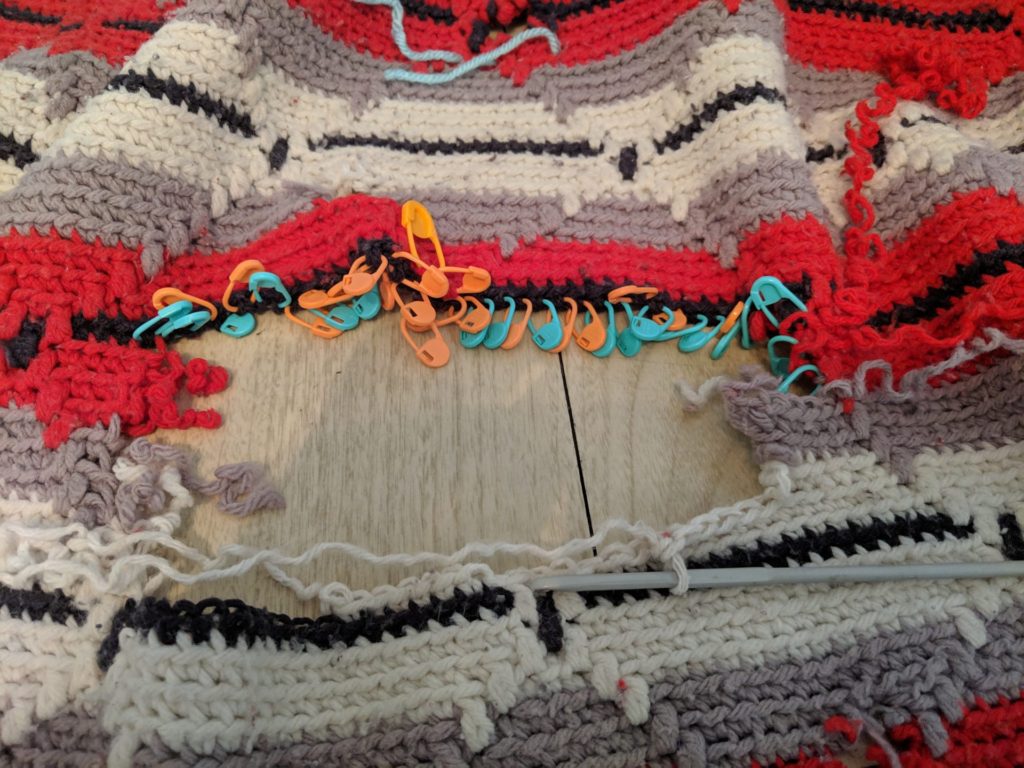
To keep track of each stitch, I used locking stitch markers to hold each leg of the single crochet together.  This will help when I reweave the last row. 
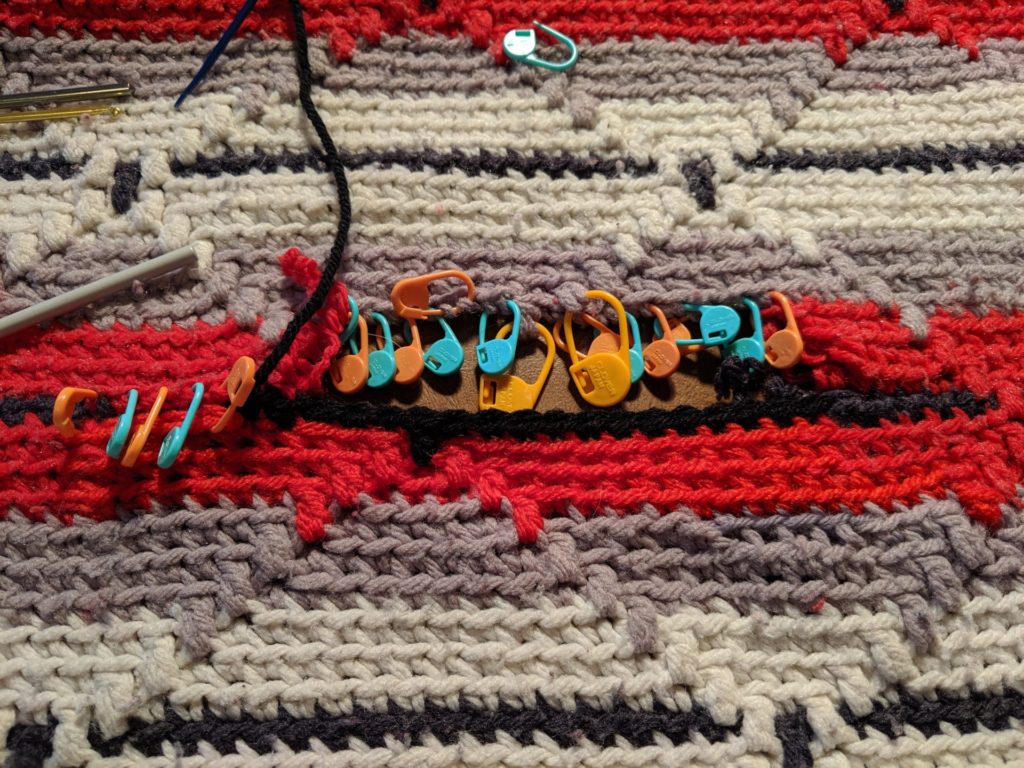
Nearly done! After working each of the rows, I’m finishing up by joining together the last row. I had to take out the black row later in the process as it had more damage to it than I realized.
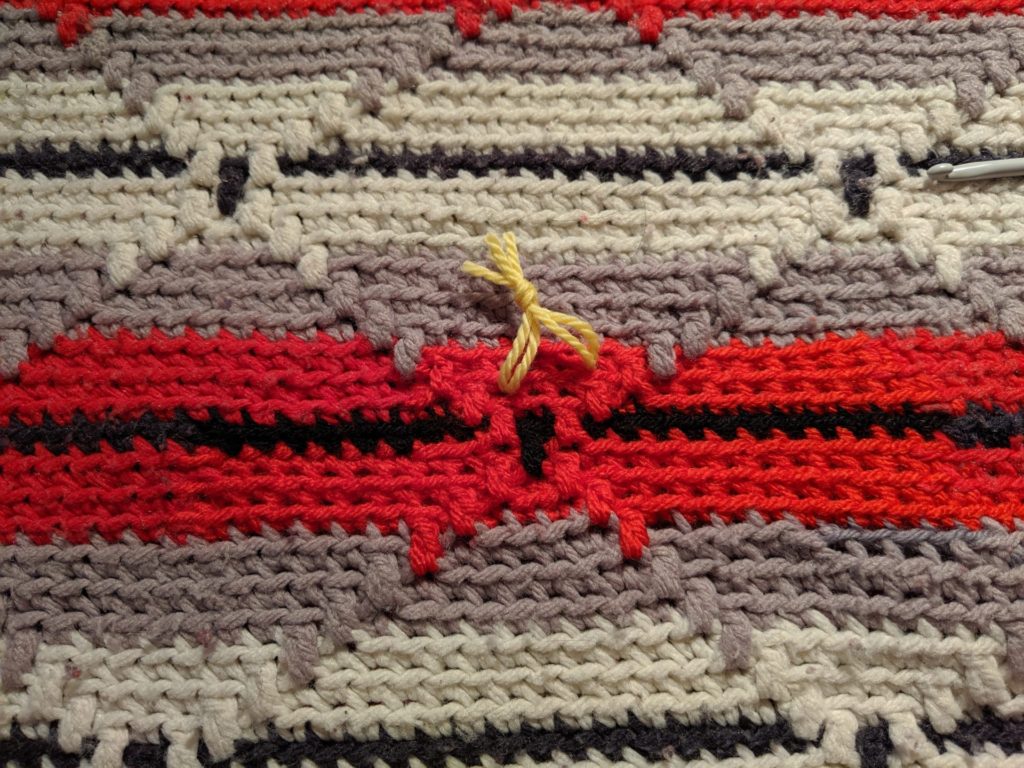
Finally Done!

Now I’ve got everything worked up and the ends woven in. I mark each area of repair with a piece of yarn, so the repairs are easier to find. When the clients get the repaired piece they can take the markers out.

See that the stitches look a little more lively where I’ve done the repairs? This will improve as the piece gets used, and the newer stitches gain some wear.
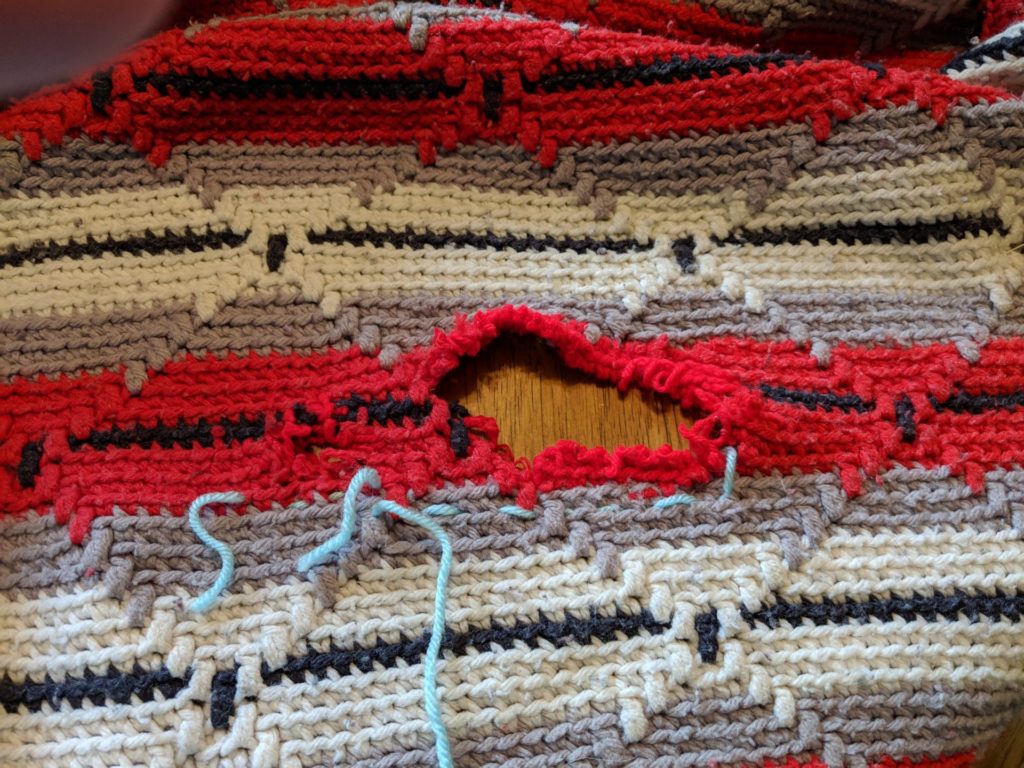
Now I’m tackling the repair that is further up in the blanket. You’ll notice there’s the larger hole, and to the left, another smaller hole. It made sense in this case to also pull out and combine the holes. The yarn in between the two holes was worn away enough that I was concerned about its stablility.
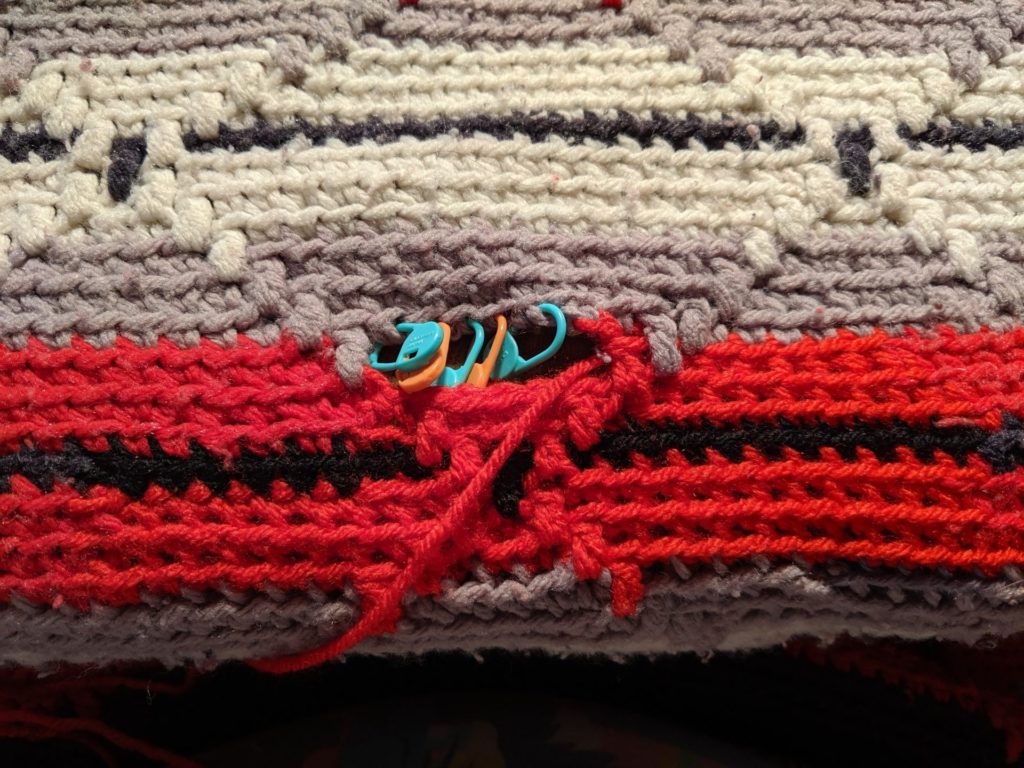
As in many repairs, this is a slow process of just adding the new yarn to the old, crocheting across the row, and then sewing and reweaving the old to the new.  What you can’t see on the backside is all the ends I still need to weave in.
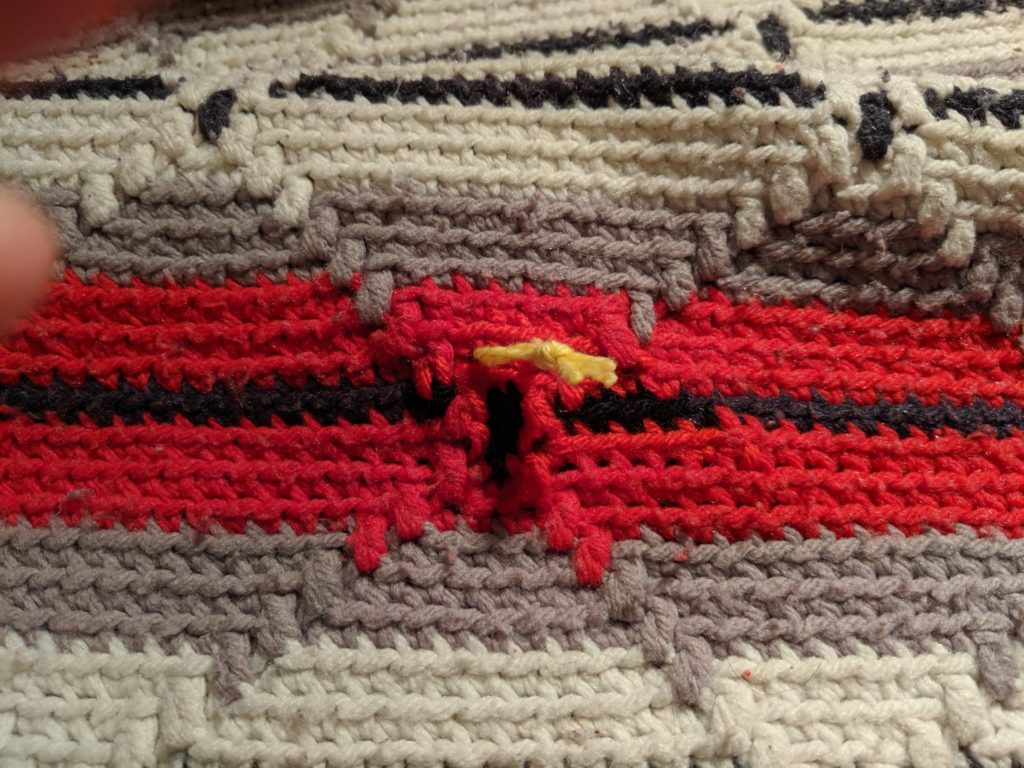
And now we’re at the end: the hole is closed up and the ends are woven in.  A bit of yarn to mark the spot.  Now it’s time for this afghan to have a quick wash before it leaves to go back to its owner.

Crochetscene 2015: Riverbend Skirt

Riverbend is the final of the patterns I worked for Crochetscene 2015.  Like Bow Wrap and Crossed Arrow, I had a really good idea of this pattern long before I turned it into a proposal.  Unlike the other two, Riverbend’s genesis and maturing happened at a lot slower of rate.

Part of this was I was working on other projects, and part of it was wanting to let the genesis pattern have a bit of distance before I created something in the same vein.

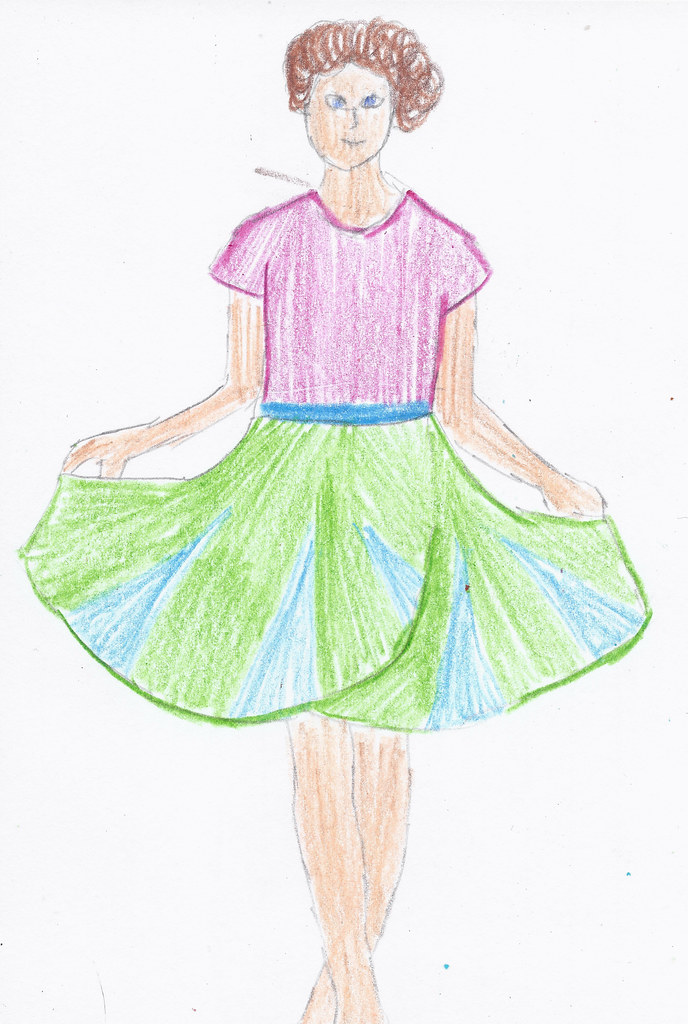
Sketch for Riverbend

Riverbend became a design idea back when I was working on Victoria’s Riflebird.  Victoria’s Rifebird is a wrap that should be familiar – it has very similar shaping to Riverbend!  You could say they are siblings.  Once I had finished Victoria’s Riflebird, but before I wove in the ends, Sweetness, one of the girls I nannied at the time, wrapped the wrap around her waist and gave a swirl.  I realized then that a similar shape would work really well with a skirt – with some minor adjustments!

I love the idea of wrap skirts.  I like the versatility and the sizing flexibility.  When I was a kid one of my favorite skirts for about a year was a wrap skirt made of two layers of fabric.  Now, I have another wrap skirt that I wear at least once a week in the summer and the fall.  Riverbend is directly influenced by both those skirts.

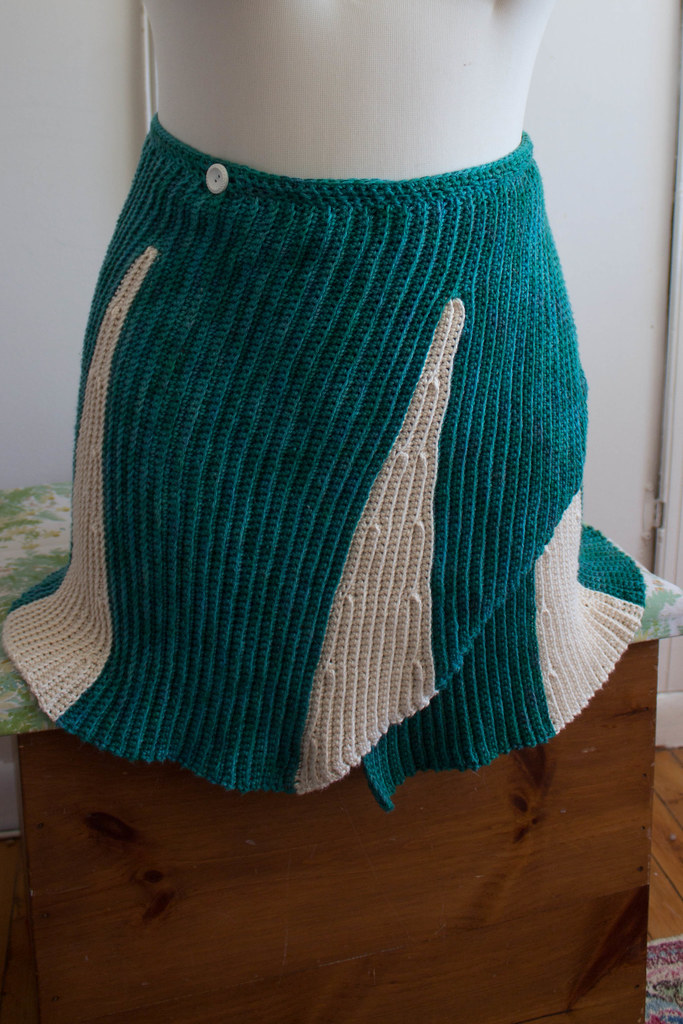
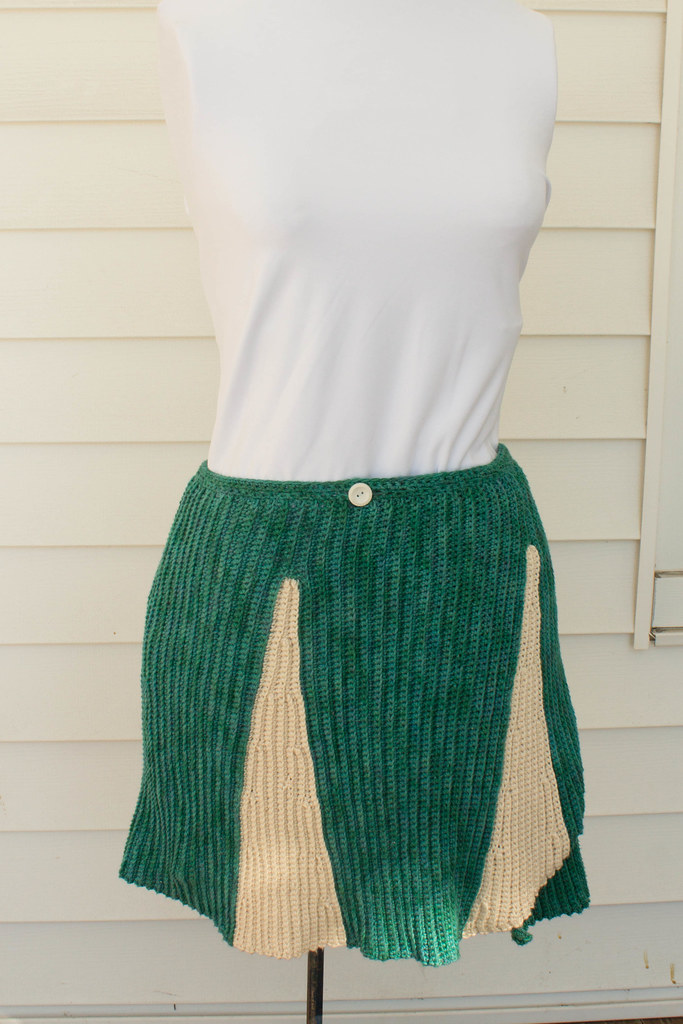
Riverbend is also defined by the finishing details of this skirt: there’s a bold fun button in he same color of the wedges (a vintage one harvested from my great-grandmother’s collection), and another vintage button in the main color on the inside.

Riverbend, all finished and on one of my new models – this one being more full-hipped.

Riverbend is a wrap skirt, and sizing makes it super flexible.  The subtle a-line of the skirt makes it great in multiple colors for a summery cover-up for every-day skirt, or do it in solid colors for a more professional look.  The distinctive wedges are created using my special technique to work crochet short rows.  (Keep an eye out, there’s a class on that with Interweave coming soon!)  The ribbed fabric gives it a bit of a sexy silhouette – it hugs the hips just a bit before flaring out.  Unlike my original sketch, which had the skirt looking a lot more full, math and practicality made the finished project a little bit less flared.

Riverbend, on my model that’s a bit less full-hipped, you can see the difference in the way the skirt hangs.

Riverbend is currently available in the newest issue of Crochetscene 2015.  You can check out it, and my other three patterns, in the issue!  Also check out my Ravelry page, where you can read my personal notes and the stats about the time I spent on this project!

Crochetscene 2015: Bow Wrap

Bow Wrap from Interweave Crochetscene 2015 by Jennifer Raymond

Photo Credit: Interweave/Harper Point Photography

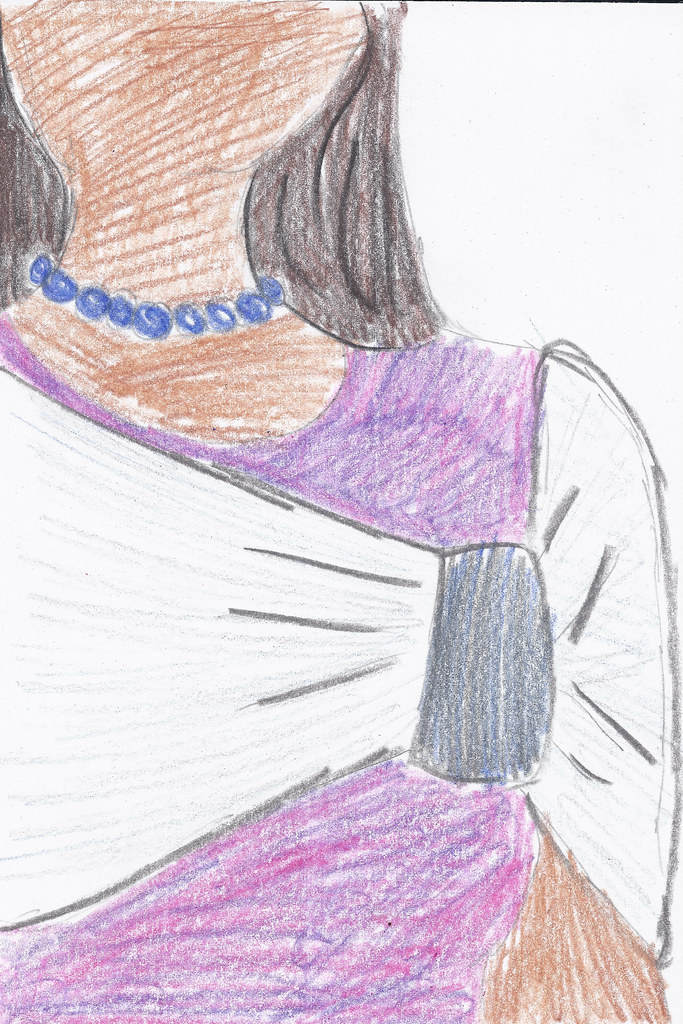
My original sketch for the design proposal.

They say that copying is the highest form of flattery.  While I’m not quite sure that’s true, this piece is directly inspired by a cute little miniature wrap I saw on a small child last winter.  While I wouldn’t be surprised if the little girl’s version was more complicated, I immediately thought that I’d wear her wrap, in an adult size.  Bow Wrap was then put in my brain’s back pocket, until I submitted the idea to Crochetscene.

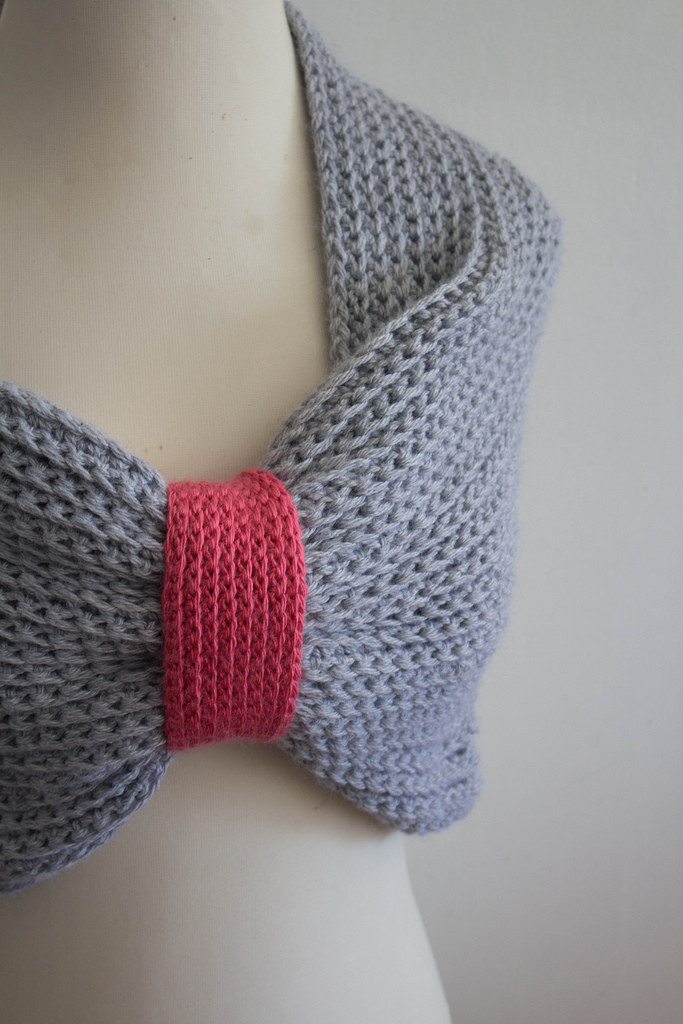
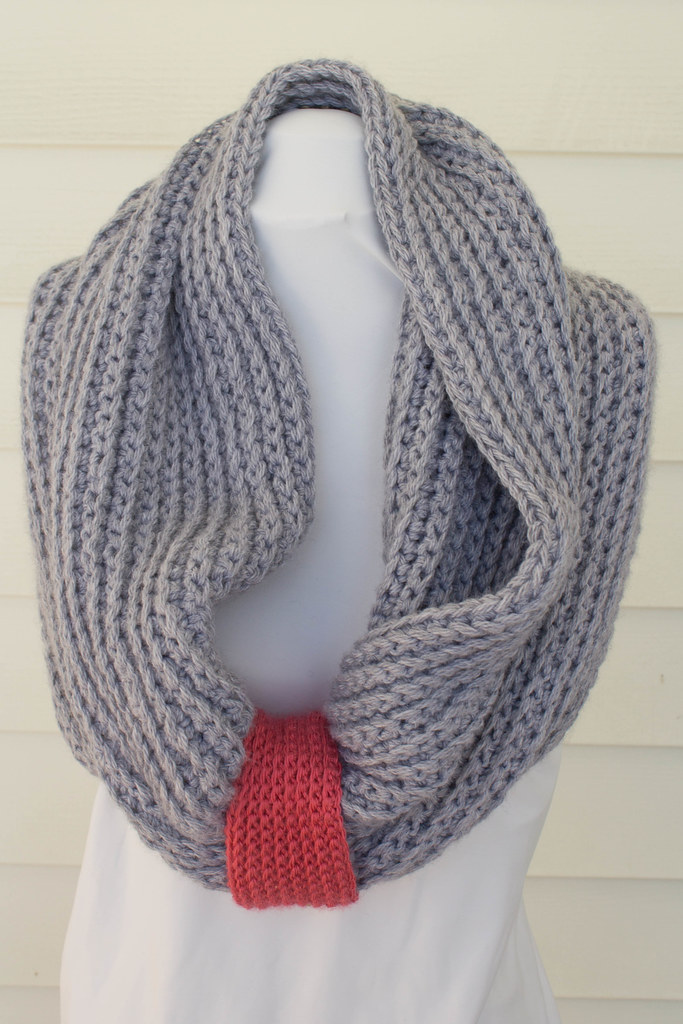
As I mentioned on Monday, when I was working on proposing these designs for Crochetscene, I was also coming off of working on a few projects in finer yarn, and I knew that I wanted something a little bit more sized up.  Bow Wrap is made holding two yarns together, but you could easily substitute for a bulkier yarn with similar results.  Holding the two yarns together creates a cushy, stretchy and warm ribbed fabric.  The ribbed fabric is created by working crochet through the back loop.

The “gather” is made in a contrast color, with a single yarn held together.  I toyed with the idea of creating another version of this, in a sparkly yarn or fastening some glittery pin over top of the gather, for some added class and interest.  Well, I may yet make a second version!

Bow Wrap from Crochetscene 2015

I love the look of the textured stitches, and the way the wrap drapes over the shoulders!

There’s two things I think that make Bow Wrap stand out as a project.  The first is simplicity: Bow Wrap is essentially made up of two squares – the magic happens in the seaming.


Bow Wrap by Jennifer Raymond

Wear over the neck and shoulders to keep out the chill!


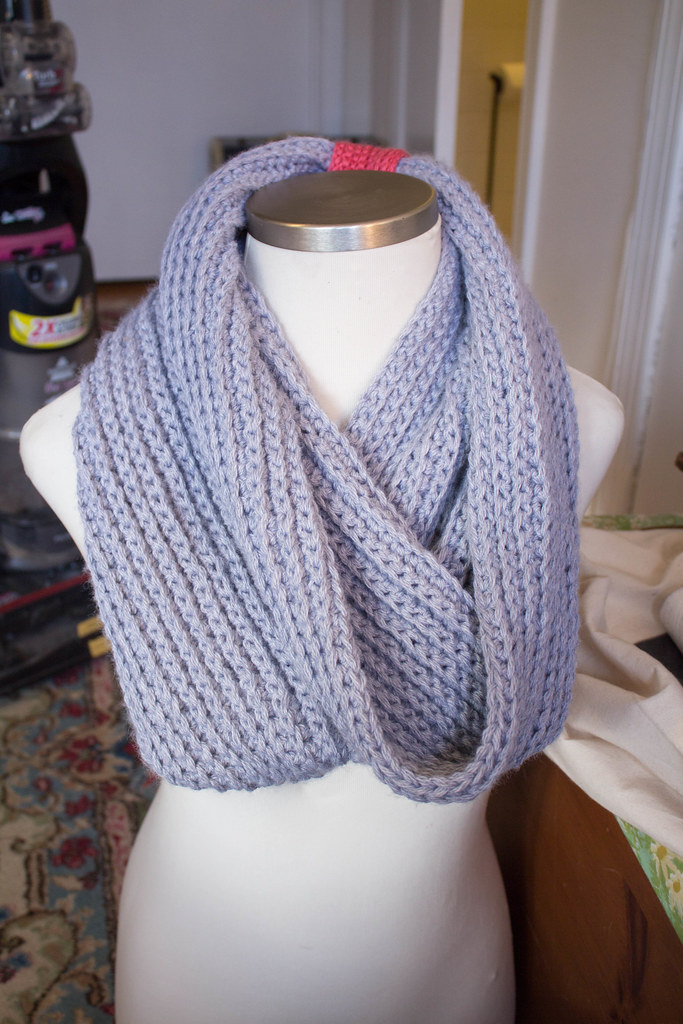
The second thing I love about Bow Wrap is the styling options.  It can be worn like it’s featured in the magazine, but it can also be worn a few other ways!  I had fun taking pictures of a couple of different styling options.


Bow Wrap by Jennifer Raymond

Wear it like a traditional cowl, with the “gather” in the back

Bow Wrap can be found in the latest issue of Crochetscene 2015, or on Interweave’s website.  For more information and notes about my sample, you can read about it in my Bow Wrap pattern page.